This article was reviewed by Luigi Oppido and by wikiHow staff writer, Nicole Levine, MFA. Luigi Oppido is the Owner and Operator of Pleasure Point Computers in Santa Cruz, California. Luigi has over 25 years of experience in general computer repair, data recovery, virus removal, and upgrades. He is also the host of the Computer Man Show! broadcasted on KSQD covering central California for over two years.
This article has been fact-checked, ensuring the accuracy of any cited facts and confirming the authority of its sources.
This article has been viewed 117,422 times.
Are you still being charged for Uber Pass or Uber One? While Uber Eats Pass and Uber Ride Pass are no longer available for purchase, you may still have a subscription if you signed up before 2021.[1] If you don't want to use your Uber Pass benefits, you can easily end your membership in the Uber app on your Android, iPhone, or iPad. And if you signed up for Uber One, the replacement for Uber Pass, it's just as simple to cancel your subscription. This wikiHow article will teach you how to unsubscribe from Uber Pass and Uber One on your smartphone or tablet.
Things You Should Know
- Cancel Uber Pass: Open the Uber app, go to Account > Uber Pass > Manage membership > End membership, and tap "Leave Uber Pass."
- Cancel Uber Eats Pass: Open Uber Eats, go to Account > Uber Pass > Manage membership > End membership, and tap "Leave Eats Pass."
- Cancel Uber One: Open Uber or Uber Eats, go to Account > Uber One > Manage membership > End membership, tap a reason, then tap "End membership."
Steps
-
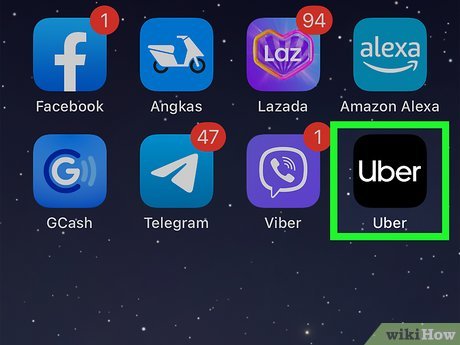
Open the Uber App on your Android, iPhone, or iPad. You'll find its black icon on your Home screen or in your app list.
- If you subscribed to Uber Eats Pass only, open the Uber Eats app instead. In most regions, Eats Pass was replaced with Uber One. If you don’t see the option to cancel Eats Pass in the Uber Eats app, use this method to learn how to cancel Uber One.
- If you cancel Uber Pass at least 48 hours before your next billing date, you won't be charged again.[2]
-
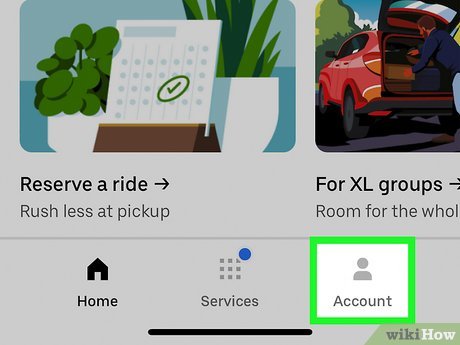
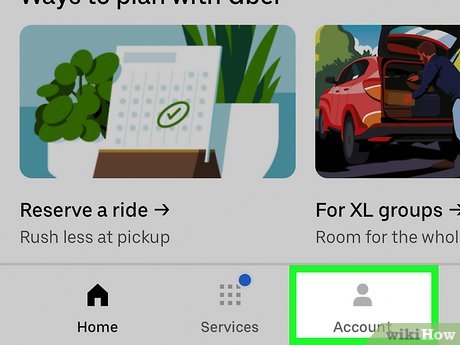
Tap the Account menu. It's the outline of a person at the bottom-right corner of the screen.Advertisement
-
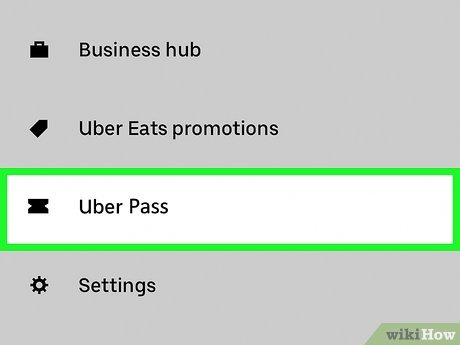
Tap Uber Pass. You'll see this on the menu if you're currently subscribed to the service.
-
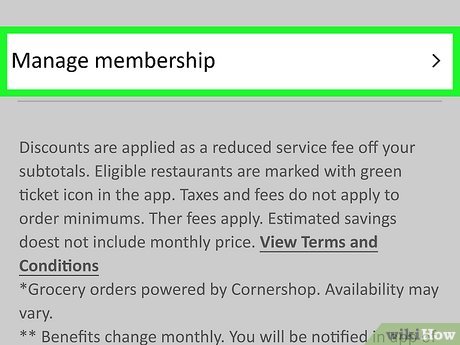
Scroll down and tap Manage membership. This displays information about your Uber Pass membership, including your next billing date and your Uber Pass benefits.
-
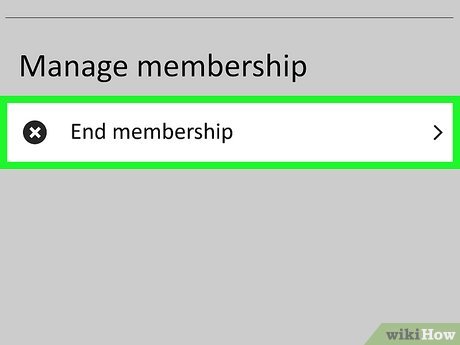
Tap End membership. You'll see this option under "End membership." A confirmation message will appear.
- The End membership option disappears 48 hours before your next payment is due. The option will return after your next payment is made.
- If you need to cancel but don't see the End Membership option, you can contact Uber support by phone at 800-353-8237.
-
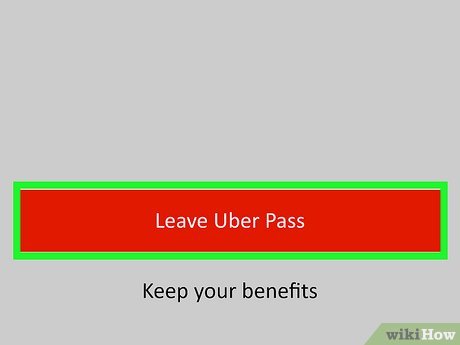
Tap Leave Uber Pass to confirm. If you're subscribed to Uber Eats Pass only, tap Leave Eats Pass instead. This cancels your Uber Pass (or Uber Eats Pass) membership immediately.
-
Open the Uber app or Uber Eats app on your Android, iPhone, or iPad. Because Uber One provides benefits for both Uber Eats and the traditional Uber ride app, you can cancel the service in either app.[3]
- If you cancel your Uber One membership at least 48 hours before your next billing date, you will not be charged again.
- If you have a free trial, your benefits will end as soon as you cancel Uber One.
- If you've been paying for Uber One, you will continue to get Uber One benefits after cancellation until the last date of the current billing cycle.[4]
-
Tap Account. It's the outline of a person at the bottom-right corner of either Uber app.
-
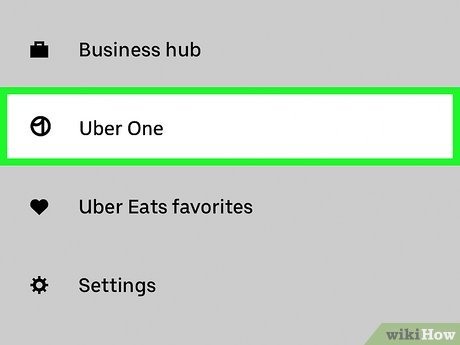
Tap Uber One. You'll see this option just under "Messages" in the Uber app, or under "Business Preferences" in the Uber Eats app.
-
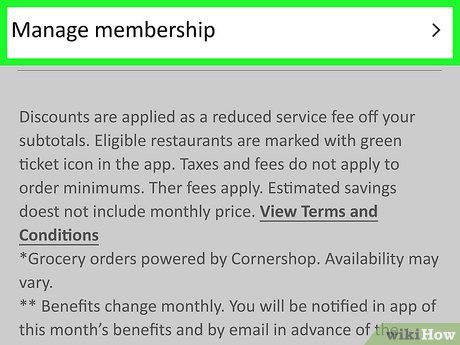
Tap Manage membership. This option is at the bottom of the screen. Now you'll see your billing information, including your next billing date and the amount you'll be charged.
-
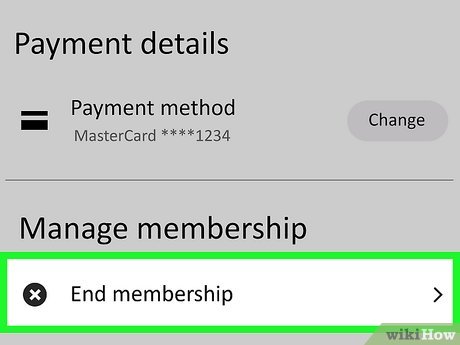
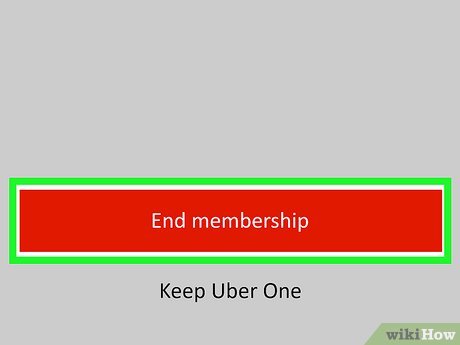
Tap End membership. It's at the bottom of the screen.
- The End membership option disappears 48 hours before your next payment is due. The option will return after your next payment is made.
- If you need to cancel but don't see the End Membership option, you can contact Uber support by phone at 800-353-8237. If you're using Uber Eats, see How to Contact Uber Eats.
-
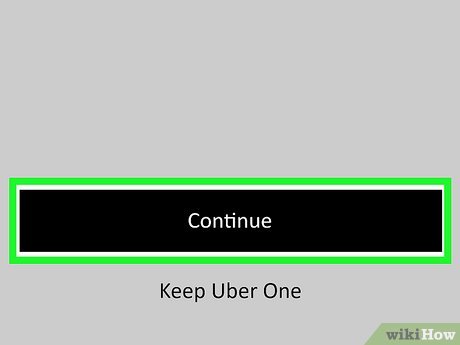
Select a cancellation reason and tap Continue. Choose any of the 4 options that describe your reason for discontinuing your membership.
-
Tap End membership to confirm. This ends your Uber One membership.
Expert Q&A
Tips
-
Uber Pass is no longer available to new subscribers. If you cancel Uber Pass, you will not be able to sign up again.Thanks
-
If you're having trouble canceling Uber Pass or Uber One or want to inquire about a refund, you can contact Uber at https://help.uber.com/ubereats (for Uber Eats) or https://help.uber.com (for Uber).Thanks
-
If you want to stop using Uber completely, you can cancel your Uber or Uber Eats account.Thanks
References
- ↑ https://help.uber.com/riders/article/what-is-uber-pass?nodeId=1f9dbe59-8c13-45f6-8048-689e9c76b3ac
- ↑ https://help.uber.com/ro-RO/riders/article/how-to-unsubscribe-my-uber-pass?nodeId=8b9c4858-8edf-49c5-a5ef-72924d14088a
- ↑ https://www.uber.com/us/en/u/uber-one/
- ↑ https://help.uber.com/en-AU/riders/article/how-do-i-cancel-my-uber-one-membership?nodeId=98db3ed6-74d0-41df-8c0b-e74775f4e358
