Want to see what work looks like when teams shift conversations and files into Slack channels? Watch the video to find out, then use our guide to move your next project into a dedicated channel and learn how to keep your team’s information organized in one central spot.
[youtube url="https://www.youtube.com/watch?v=yE58WPcNOe8" image="https://d34u8crftukxnk.cloudfront.net/slackpress/prod/sites/6/Project-in-a-channel-thumbnail.png?w=128&h=96&crop=1" alt="Move your next project into a channel video thumbnail" loc_type="some_hidden" locales="en-GB|de-DE|es-ES|es-LA|fr-FR|ja-JP|pt-BR" loc_urls="https://www.youtube.com/watch?v=yE58WPcNOe8|https://www.youtube.com/watch?v=Y9_jyx0_3PA|https://www.youtube.com/watch?v=OakXi2Zpicc|https://www.youtube.com/watch?v=_5C31jqeJKE|https://www.youtube.com/watch?v=gvxg_uxJfwo|https://www.youtube.com/watch?v=WP4NLW3Kn7c|https://www.youtube.com/watch?v=BpL3mGg_dYs" /]
Step 1: Create a channel and add key info
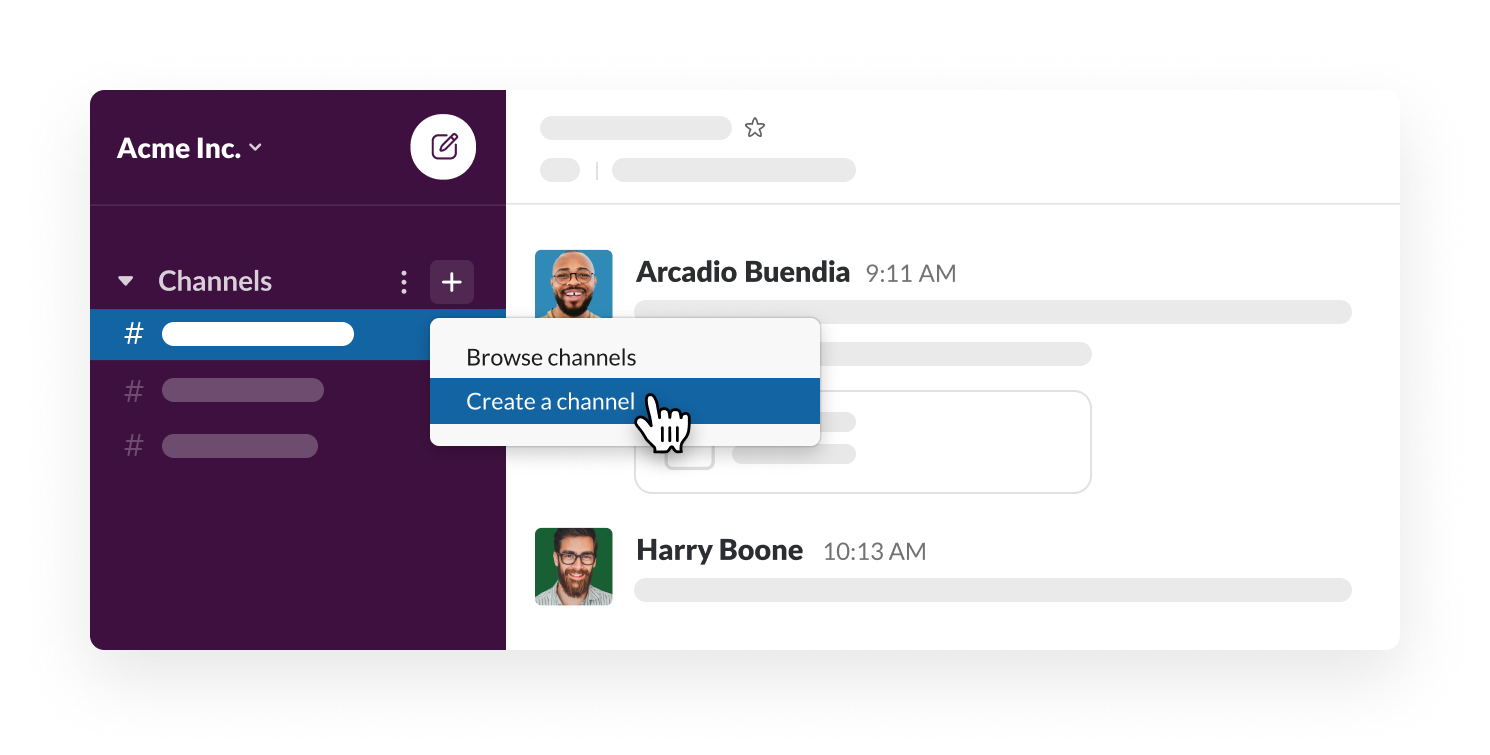
Every project should have a dedicated channel in Slack. Let’s say you’re working on a project that involves a number of people inside the organization. You’d start by creating a new channel using the prefix #project-.
Before you invite the rest of your team, you’ll want to equip the channel with key information.
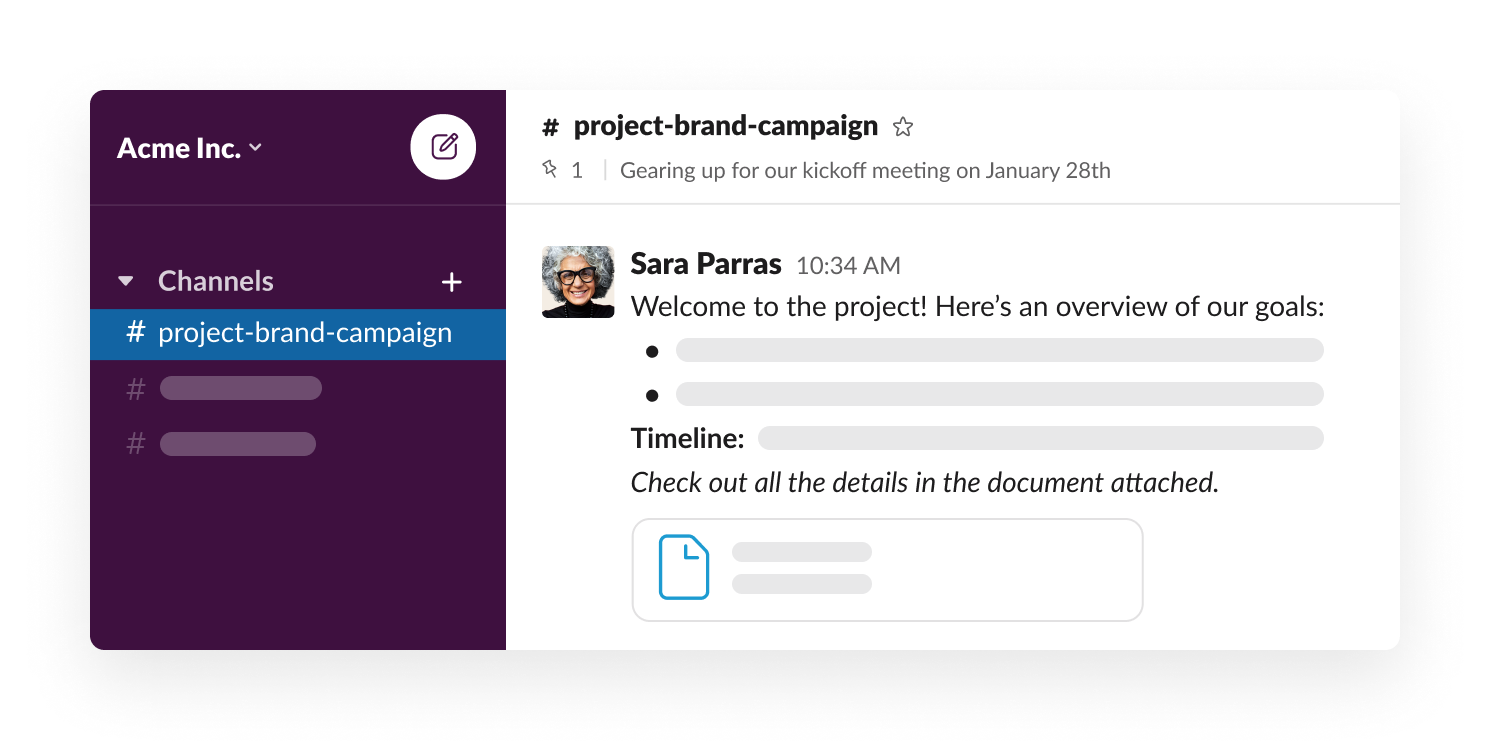
- Post a welcome message to the channel. Describe the goals of the project and include a rough timeline of how long you expect it to take.
- Upload key files, like project briefs or design guidelines, to help everyone see the scope of the work ahead.
- Update the channel topic at the top to reflect the current status of the project. For example, “Gearing up for our kickoff meeting on January 28th”.
Step 2: Add teammates and set expectations
Now that your channel is properly outfitted with important information, it’s time to add your teammates. When the whole team is brought into the project channel, everything is in one convenient place, rather than locked away in the inboxes of a select few.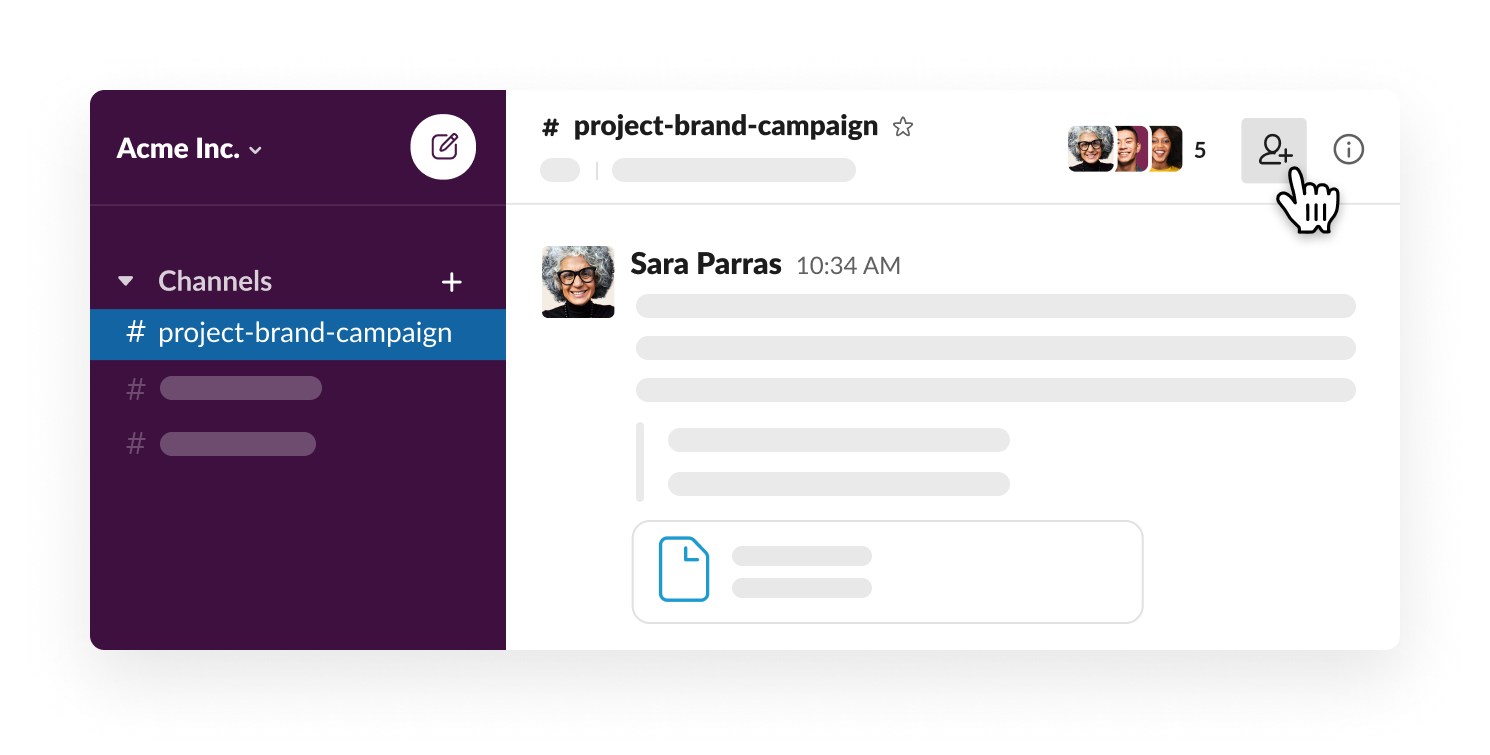
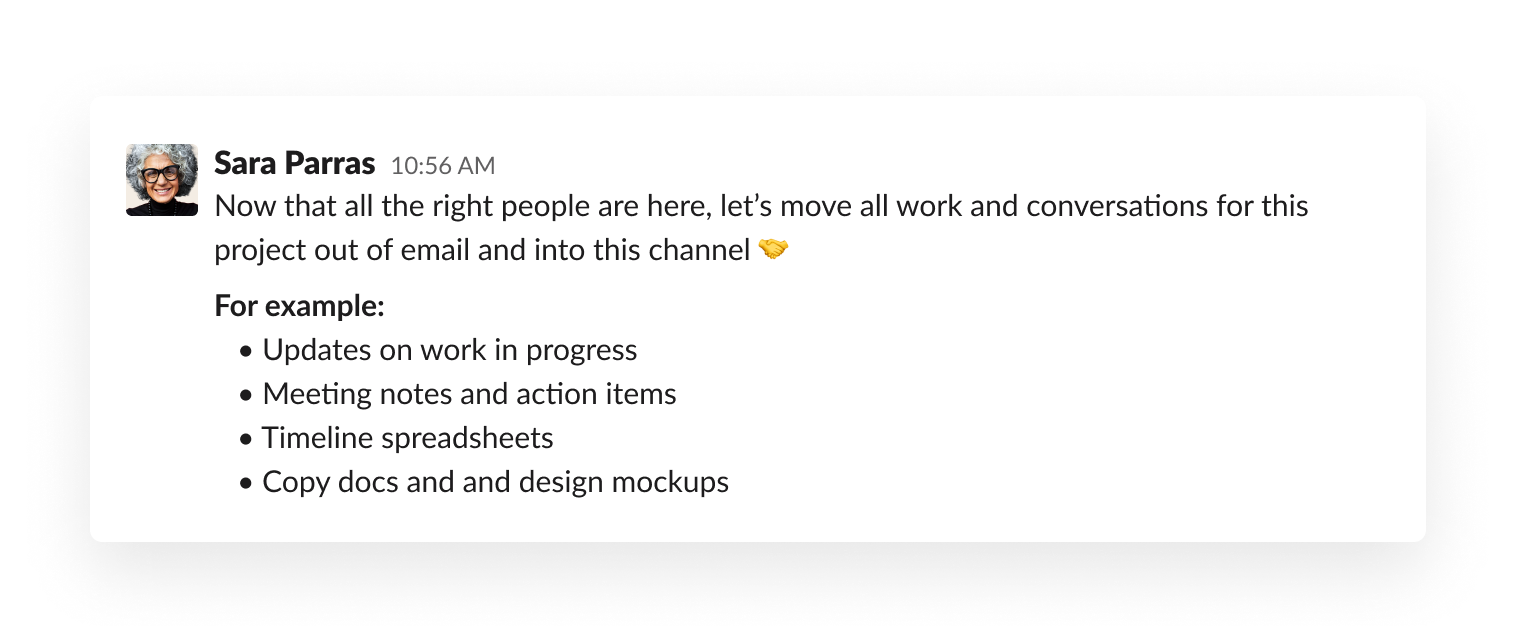
You’ll want to ask everyone working on the project to stick to Slack for communication. The example below calls out a few items that can move from email to your new project channel instead.
Step 3: Coordinate and execute tasks
Once your team is set up in the new channel, here are some ways you can use it to keep your project organized and moving forward.
- Use the @ symbol to mention someone if you have a question or need something approved.

- Gather votes using emoji reactions to get the team’s input before making a decision.
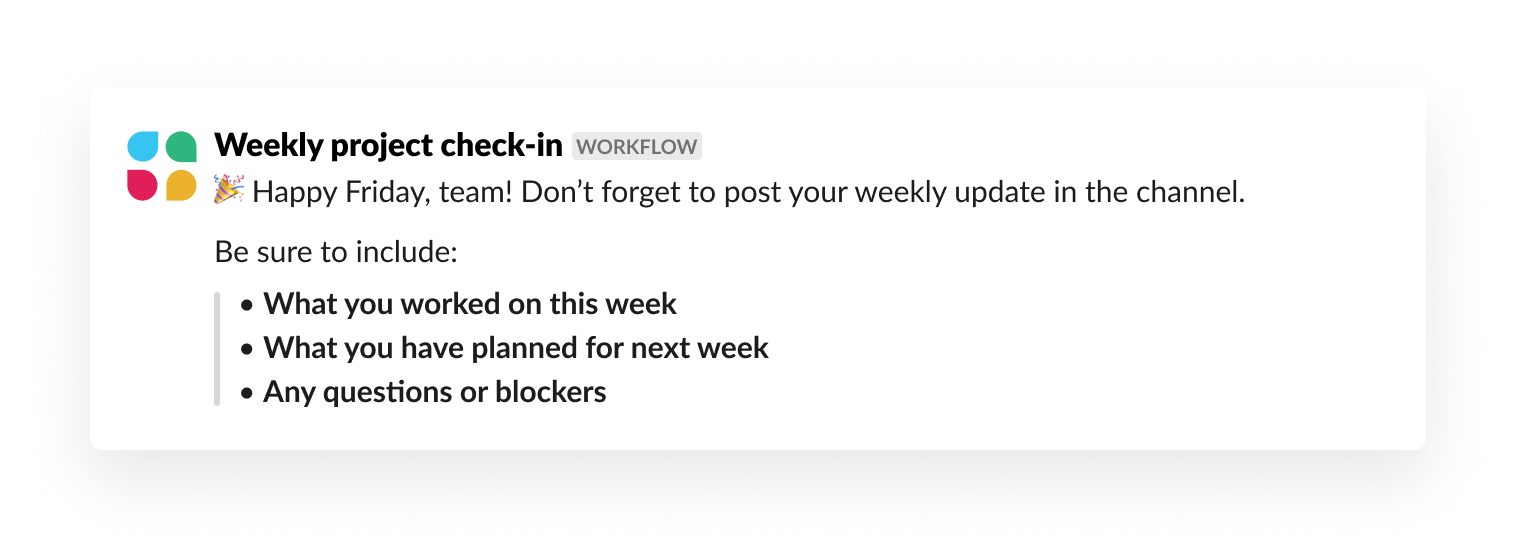
- Use Workflow Builder to schedule regular check-ins for the team to share what they’re working on.
Want to go further?
Use a project management template to get your project started. These bundles of pre-configured canvases, lists, and workflows are all set up to help you start work faster in Slack and are available on all paid plans. With a variety of templates available, you can bypass the initial set-up phase of a project and dive right into adding information and updating team members.
[image_full src="https://d34u8crftukxnk.cloudfront.net/slackpress/prod/sites/6/project_solution.jpg?w=128&h=96&crop=1" alt="" caption="" loc_type="auto" locales="" countries="" /]
Learn more
When project work happens in Slack, teams can work together more transparently: everyone in a project channel sees the same messages and information, helping people stay on the same page.
And projects are just one way to work in channels — they can also be dedicated homes for other team communication, social topics, or even collaboration with outside organizations.
To learn more about getting started and using Slack, or for more tips and tools, visit the Help Center.
 Awesome!
Thanks so much for your feedback!
Got it!
Thanks for your feedback.
Oops! We're having trouble. Please try again later!


