Ready to level up your computing knowledge? Building your own PC will help you understand how every component works and gives you the ability to customize your system for a perfect fit.
While it’s certainly more complicated than experienced builders might tell you, if you plan carefully, read the manuals, and take your time, the reward isn’t just a new computer, it’s a new set of useful skills.
Without knowing the specifics of your build, we can’t tell you exactly how to build your new machine. What we can do is help set you up for success with planning resources, component buying tips, and valuable info about each step of the process.
Once you’ve built your shiny, new PC, it might be time to check out some other stuff to further accessorize your new partner in crime. Be sure to have a look at our guides for the Best Gaming Keyboards, Best Gaming Mice, Best Gaming Headsets, and Best Gaming Controllers.
Updated August 2024: We've expanded the details of some steps, added information on new advancements, and updated some of our recommendations.
Special offer for Gear readers: Get WIRED for just $5 ($25 off). This includes unlimited access to WIRED.com, full Gear coverage, and subscriber-only newsletters. Subscriptions help fund the work we do every day.
Start With a Plan
The worldwide chip shortage hit PC builders hard over the past few years, but component prices have begun to fall back to normal thanks to a variety of economic and technological factors. Still, we recommend shopping around a bit before buying anything, as prices fluctuate regularly.
When you're shopping for components, make sure you're buying from a reputable vendor, like Amazon, Best Buy, or NewEgg, and make sure to check their return policies before you do. When parts arrive, make sure to physically inspect them for any damage or missing pieces, and check the labels on the parts themselves to make sure they match up with the packaging, as well as what you ordered.
Before you start, make sure you have a clear idea of your budget in mind. Building a PC can be expensive, and it’s easy to miss some costs if you don’t track everything carefully. No matter what your experience level is, you should start with PCPartPicker. Using this unique tool, you can easily plan out your build, select compatible parts, and check pricing and availability across retailers.
Also consider the goals for your new computer. Is it just for checking email and printing out occasional documents? Do you plan on playing any video games? Will the computer sit on or under a desk? Asking these questions early can help guide your planning and keep your budget on track.
If you’re feeling confident, the website Logical Increments lists example builds at different price and performance points. These common parts can act as a starting point for your build or help offer options to upgrade or downgrade to meet your budget and needs.
What Do You Need?
Whether you’re building for home office or gaming, the components you need are going to be generally the same. For the purposes of this guide you're going to see a lot of abbreviations, so let this section act as your glossary.
Almost every computer needs, at the very least, the following components:
- Case
- Motherboard
- Central Processing Unit (CPU)
- Memory (RAM)
- Storage (Typically a Solid State Drive or SSD)
- Power Supply (PSU)
If you plan on gaming, you’ll also want to invest in a dedicated graphics card, or GPU. This extra component adds a substantial cost to your build but allows you to play video games, as well as supporting video editing, photo editing, and machine learning workloads.
You should consider a monitor in your budget, if you don’t have one already. These can range from basic options for everyday productivity to massive, ultrawide monitors with gaming-focused features and prices to match. Our monitor buying guide should give you a better idea of the best options for you.
You’ll also want a keyboard and mouse to control the system, which, like monitors, have a surprising range of functionality and aesthetics. Leave room in your budget for these, anywhere from $50 for a basic set to $200 or more at the high end.
Choosing a Case
First, consider the physical size of the case and where the computer will live. If it has to fit on a shelf, or you have limited space on your desk, those constraints should come first. You’ll want to leave some room both in front of and behind your PC for proper airflow, and make sure it’s sitting on a hard, flat surface.
Manufacturers tend to label cases by the largest size of motherboard that they support. ATX is the most common size for home desktops, with “mid towers” describing the typical desktop box you’re used to seeing out in the world and “full tower” indicating a taller case with a more spacious interior.
There are a variety of aesthetic features on cases that generally come down to personal preference, so don’t be afraid to pick something just because you like how it looks. Case makers often offer color and panel variations for their most popular models, and it’s worth shopping around to find one that fits your taste.
Finally, you’ll want to keep an eye out for any special requirements you might have. Users with a virtual-reality headset, for example, may want to make sure their case has a USB Type-C port on the front.
Suggested Hardware
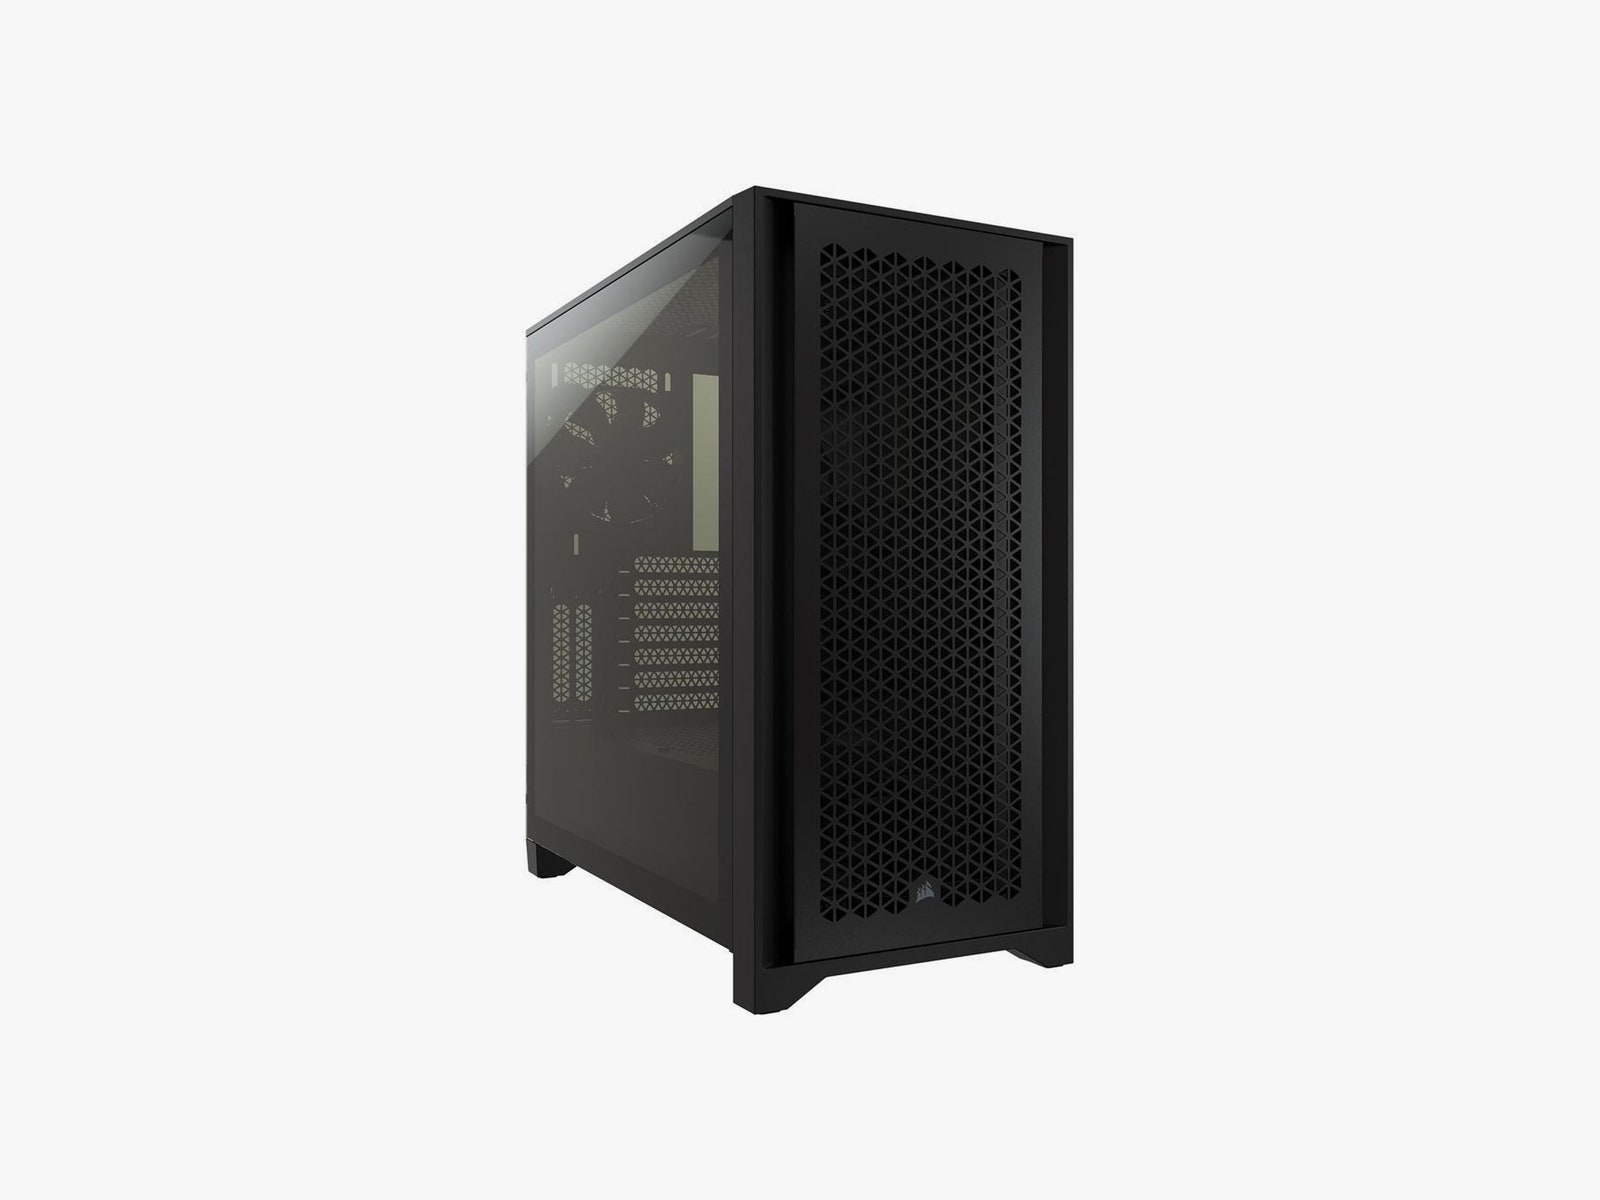
- Corsair 4000D Airflow: One of Corsair’s most popular mid-tower cases, the 4000D is a great choice in a variety of colors and finishes. With a dedicated channel for cables and a big mesh front panel for fans, this case will make even first-time builders feel like pros.
- Fractal Design Meshify C: Featuring a unique textured front panel and open interior, the Meshify C could be your next home desktop or a sleeper gaming build. Like on the Corsair, the front panel allows tons of air through to keep things cool and quiet and is available in a range of colors and sizes.
- NZXT H510 Elite ATX Mid-Tower: This is one of our favorite cases. It has that NZXT minimalist charm, but because of the glass enclosure you have plenty of room to show off with extra lighting. I've had an older version of this case for years, and despite being a white case it stays very clean and hasn't discolored at all.
Motherboard

Every other component communicates through the motherboard. They come in different sizes and configurations, but they all have the same general function. Companies tend to make motherboards for both Intel and AMD processors, but the two aren’t compatible with each other, so you’ll want to make sure you buy a CPU and motherboard that match.
Motherboards come in a couple of flavors, but the most important thing to know is what kind of socket it has. There are basically two: LGA and AM. You'll always see them listed with a number after them, like “LGA1150” or “AM5.” The exact numbers after the LGA and AM portions of these socket names will change over time, to indicate which generation of Intel or AMD chips they support, but the standards as of 2024 (which will work with the latest chips from either maker) are LGA1700 for Intel and AM5 for AMD.
Motherboards also come in a couple of sizes, the most common being ATX. That’s what I generally recommend, especially if this is your first build. More room inside the case means more room for your hands, which will make setup, upgrading, and maintenance easier. Your PC case will list which size motherboard it supports, so make sure they match up.
Buying advice: What separates a fancy motherboard from a cheap motherboard? It tends to be a combination of three elements: advanced feature set, connectivity, and performance. These are generally indicated by the motherboard’s chipset, a code which can quickly tell advanced users basic information about the maximum memory, connectivity, and overclocking potential.
The question, though, is whether you need those extra features. Your chipset can limit the number of memory slots you have access to, which may prevent upgrades down the line. When it comes to storage drives, two M.2 slots are plenty; any more than that is kind of a luxury. The final thought is overclocking, which is available to users on the highest-end boards and requires specialized knowledge and careful stability testing to prevent damage.
This list has motherboards of varying prices, but there are way more than we can ever test and cover for you. If you see one you like, write down its specs and compare it to others to find a good fit for your budget and your vibe. We try to keep this list updated regularly with prices that aren't too much higher than MSRP, but if any of the prices here skyrocket between updates, shop around.
- Gigabyte B650 Gaming X AX (AM5 Socket): This motherboard has a few extra ports (including Thunderbolt 3) you'll appreciate if you're building a mid to high-end gaming PC on an AMD processor.
- Gigabyte A620M Gaming X (AM5 Socket) Micro-ATX: This one is a Micro-ATX-sized motherboard, so it's for smaller builds, but it's a great pick if you're working on an adorable little mini gaming rig.
- Asus Prime B760-Plus D4 (LGA 1700 Socket): This Asus board is great for a midrange gaming PC, and for the price it has quite a few (four) M.2 Ports.
- Gigabyte Z790 Gaming X AX (LGA 1700 Socket): This is a high-performance motherboard for gaming machines. If you're picking up a 12th- or 13th-generation Intel processor, this is our recommendation.
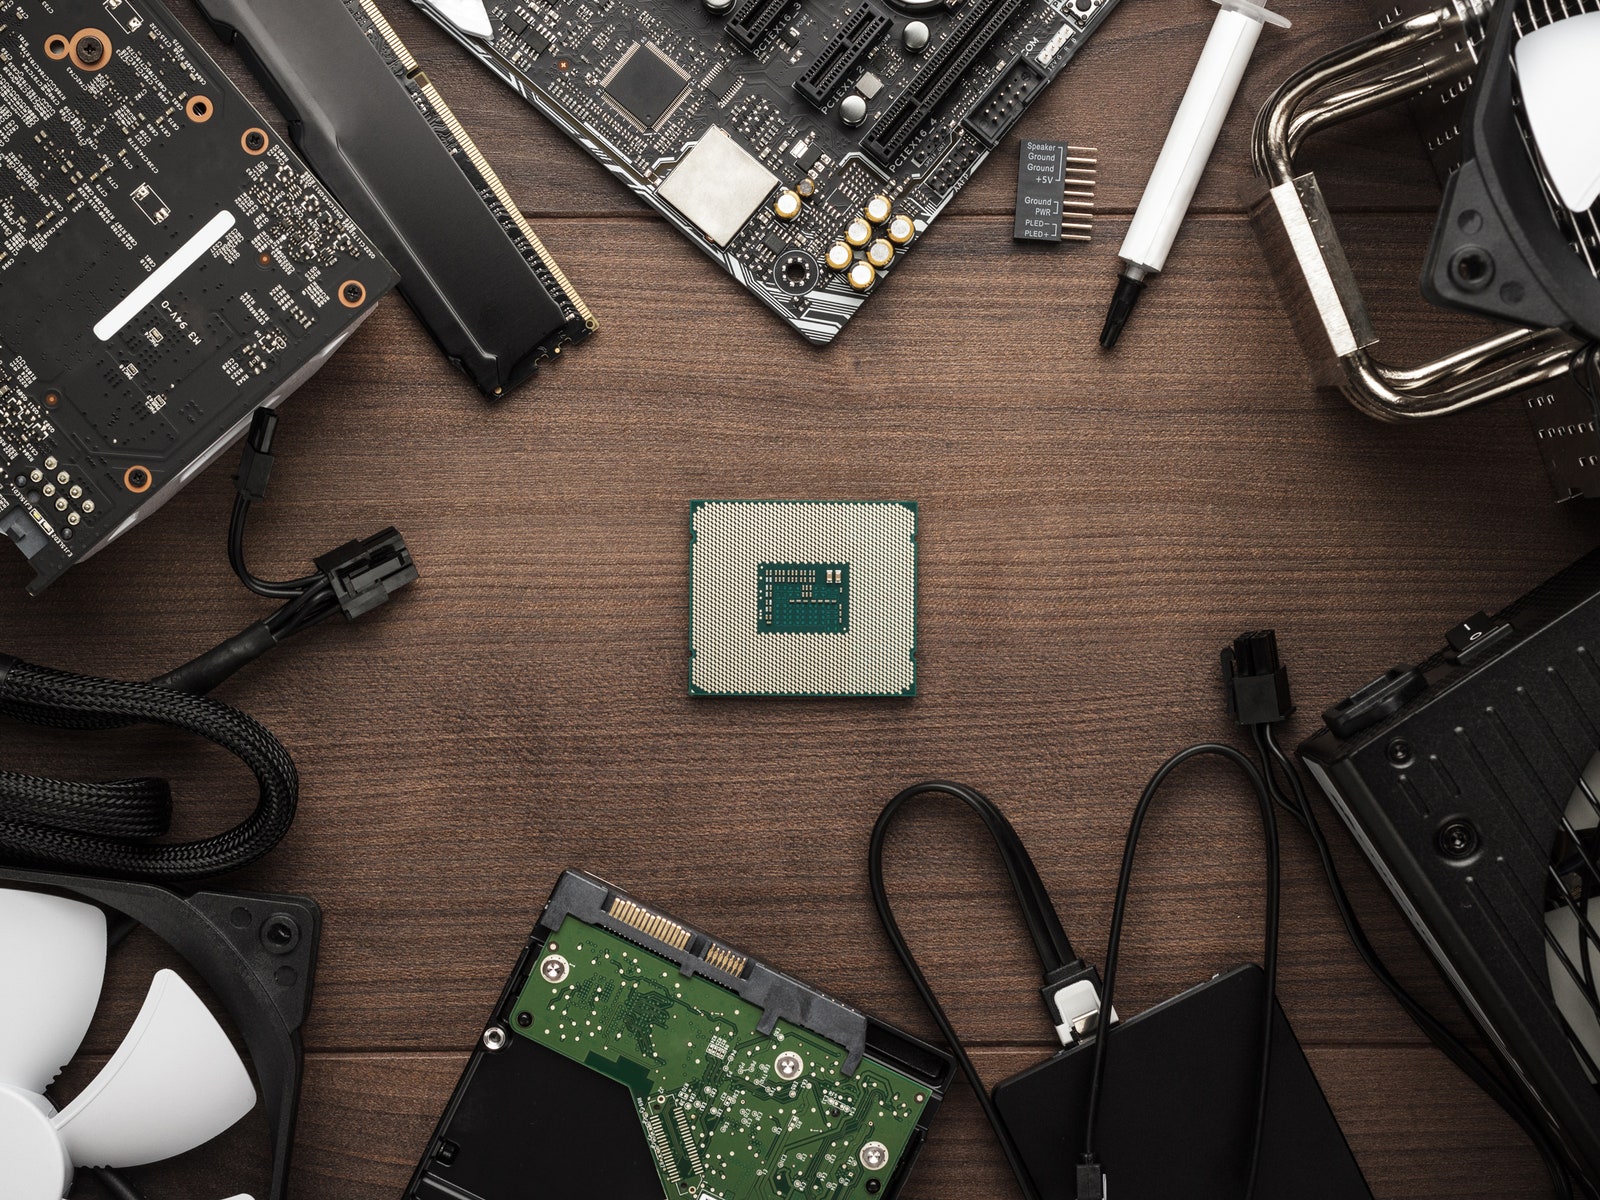
Processor (CPU)
The brain of your computer, the processor sockets directly into the motherboard and manages basically everything your computer does. This will be the most important component for determining non-gaming performance, and likely the first or second most expensive individual item in your budget. You’ll want to make sure the socket on your CPU matches the socket on your motherboard.
Every system needs a graphics chip, even if it’s just a basic one that renders the desktop and YouTube videos. While many entry-level and midrange processors have integrated graphics that can run basic operations, chipmakers may assume higher-end systems will run dedicated graphics and leave this out.
Chill out: Because your CPU works so hard, it needs a dedicated cooling solution. This is another area where entry-level chips will come with a basic fan and heat sink that will work for most users, but more expensive chips won’t have one in the box.
For a simple air cooler, we recommend the tried-and-true Cooler Master Hyper 212, which comes in a variety of colors and fan options. For an upgraded pick, check out Cooler Master’s ML240L, a liquid cooler with a closed loop so you don’t have to stress about spills.
- Intel Core i5-12600K 6-Core 3.7 GHz (LGA 1700 Socket): Intel's 12th-generation i5 offerings are a great choice for everyday workloads and won't get bogged down by your games, as long as you have the GPU horsepower to pull most of that weight.
- Intel Core i7-12700K 8-Core 3.6 GHz (LGA 1700 Socket): An Intel i7 will see you through most heavy workday tasks and 4K gaming.
- Intel Core i9-13900K 8-Core 5.8 GHz (LGA 1700 Socket): Intel's high-end gaming option, the 13th-gen Core i9, is an incredibly versatile performer. This thing pushes games to their absolute limit and shreds content-creation workloads. It is pricey, but it's one of the more powerful processors on the market and is an absolute beast.
- AMD Ryzen 5 7600X 6-Core 5.3 GHz (AM5 Socket): The Ryzen 5 7600X is an excellent choice for a gaming or video editing PC. It's not as quick or nimble as AMD's top-end offerings, but it keeps pace with the more expensive processors surprisingly well.
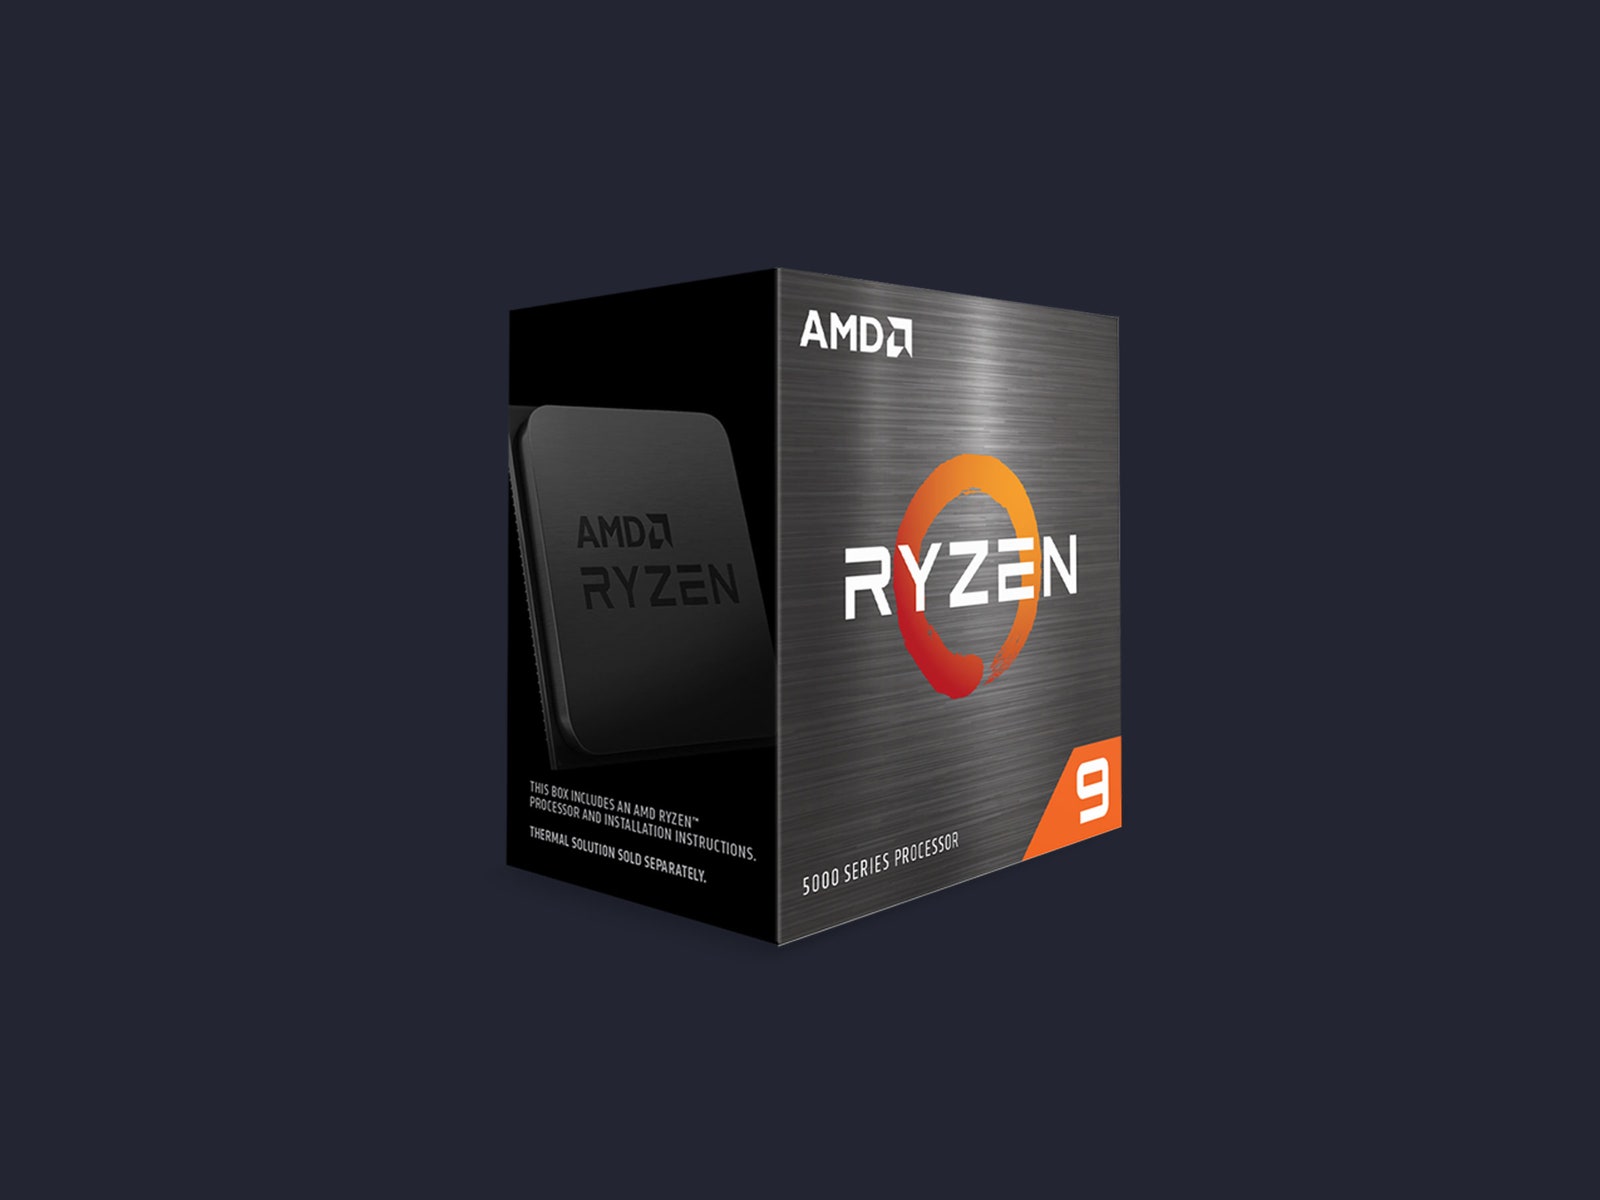
- AMD Ryzen 9 7950X 16-core 5.7 GHz (AM5 Socket): AMD's 16-core behemoth is a killer CPU for high-end 4K or 144-Hz gaming, but it has some special requirements. It gets so hot there's no way you should put it into a PC without a liquid cooler like the Asus ROG Strix LC Liquid Cooler.
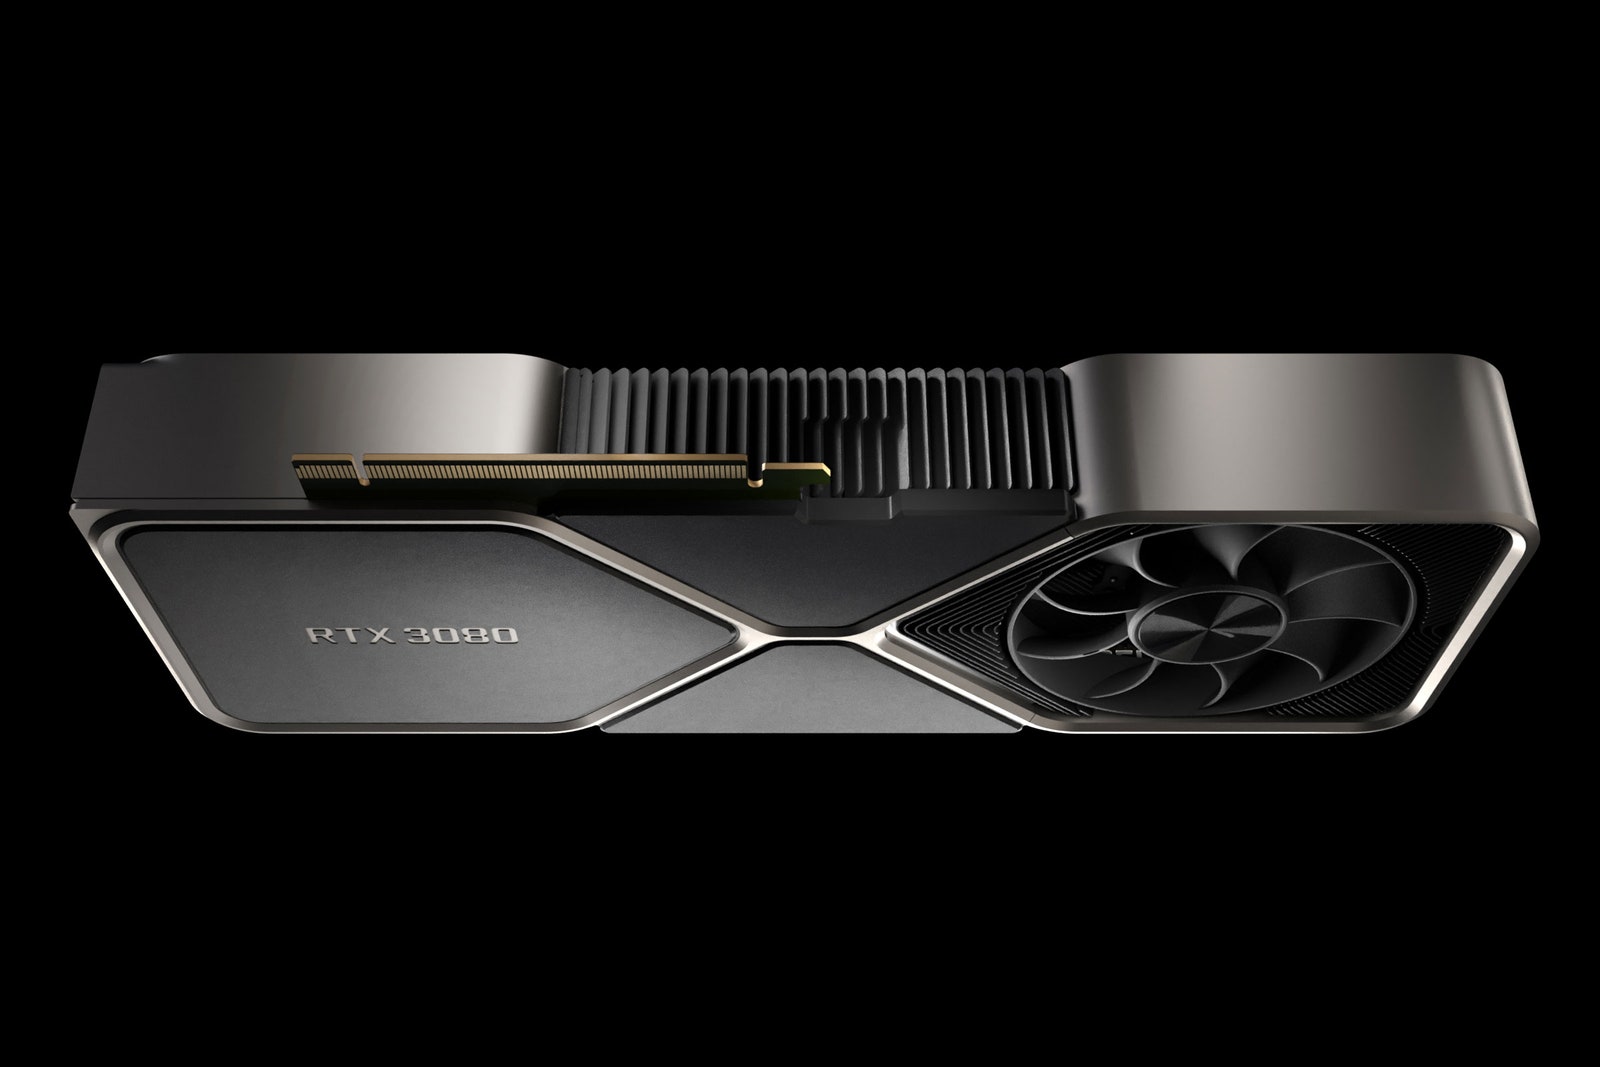
Graphics Card (GPU)
If you plan on gaming, you’ll need a graphics processing unit (also called a graphics card). This is a specialized processor that’s designed and optimized for handling visual data like the graphics in video games. It may also contribute during other intense workloads, like video or photo editing, 3D modeling, or machine learning.
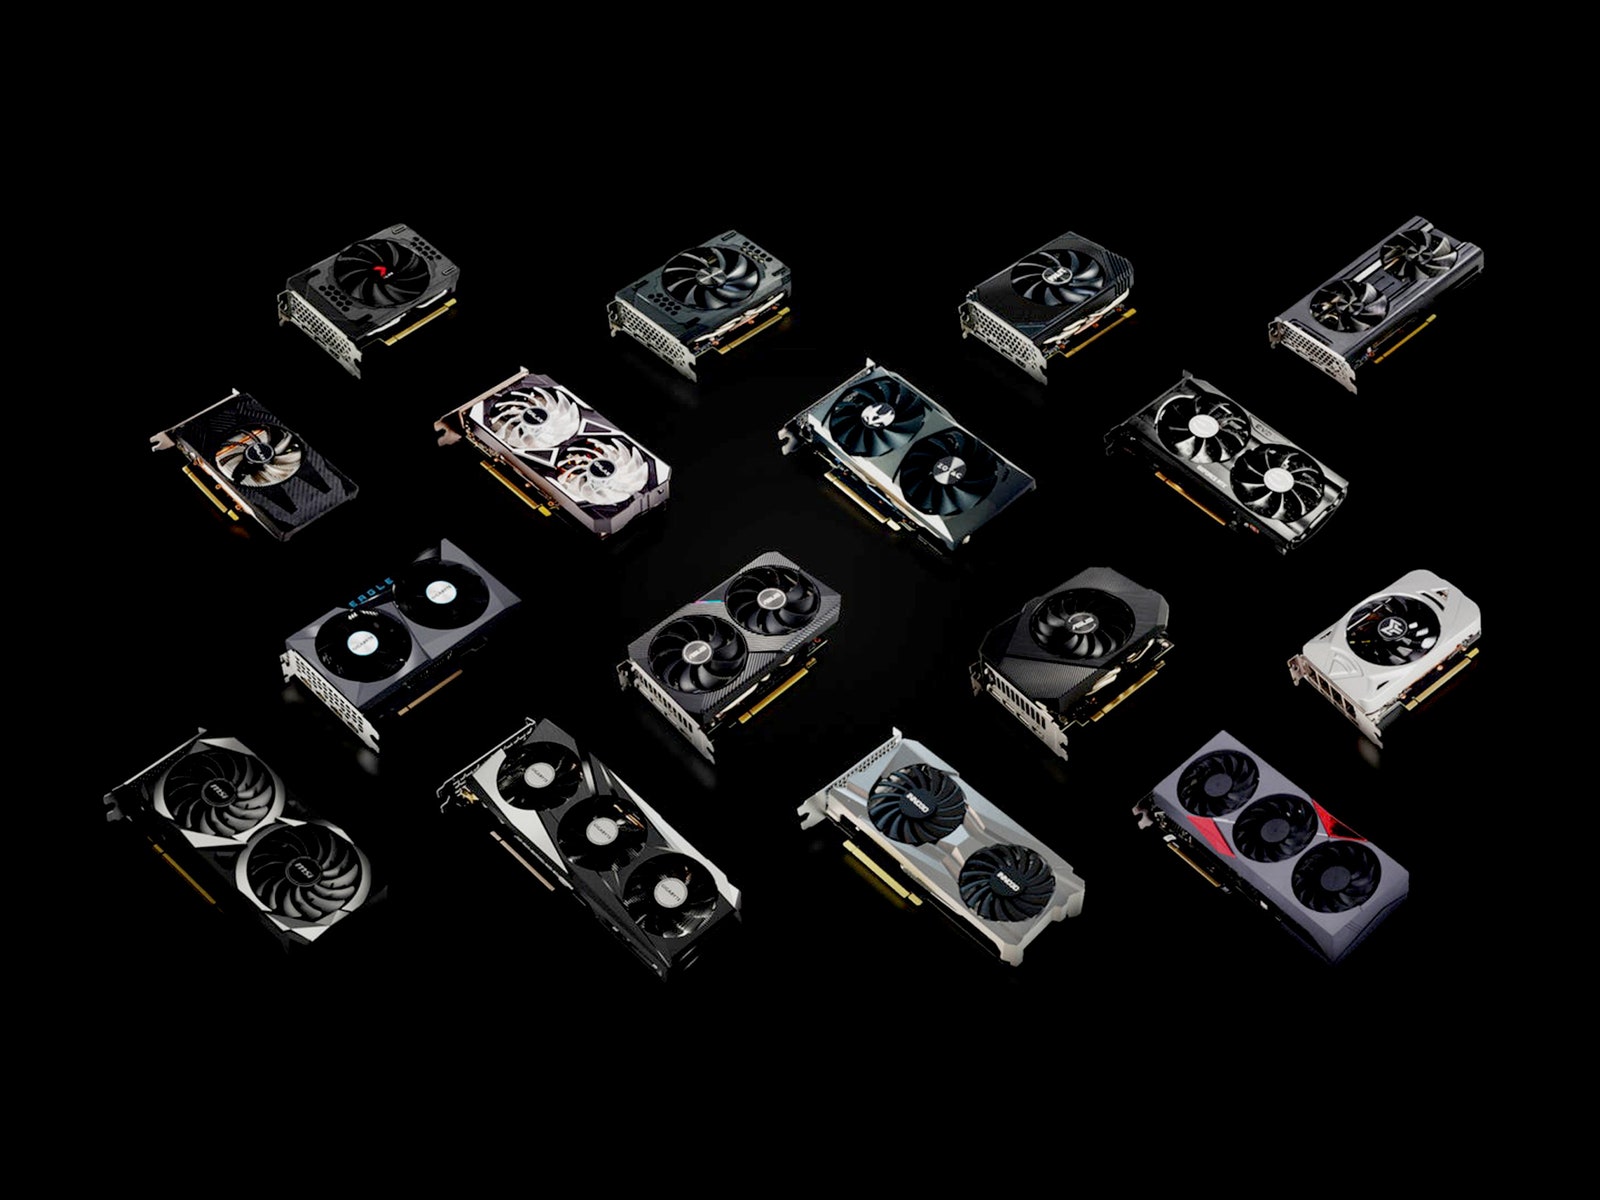
The two major manufacturers right now are AMD and Nvidia. But rather than buy a GPU directly from them, they sell the processors to board partners like EVGA, Asus, and MSI, who then turn them into graphics cards. Whether you choose AMD or Nvidia will likely depend on where you can get a better deal, so make sure to keep an eye out for deals, rebates, and even free games with GPUs.
Buying advice: Even though they're more available than they have been in years, graphics cards are among the most in-demand PC components, and their prices still swing a bit higher than MSRP at times. The picks on this list are generally mid- to high-end. In my opinion, it's better to put the bulk of your budget toward a graphics card. The more you spend now, the longer it's going to last—like buying a $100 pair of shoes that lasts you years instead of a $20 pair that falls apart after a few months. Cheap graphics cards are penny-wise but dollar-foolish for gaming PCs. For a regular old home-office PC, you can probably get away with your CPU’s built-in graphics.
Nvidia's latest generation of graphics cards is the GeForce RTX 40-series, but there aren't any on this list. As of this writing, they are still extremely expensive, and the 30-series is a better value for performance.
- MSI GeForce RTX 2060: If you're looking to get into medium-end gaming, this card strikes a good balance between power and price. Also a great pick for an office computer that will do some video editing or some light gaming.
- Asus ROG Strix RTX 3060: Nvidia’s RTX 3060 is a killer 1080p and 1440p gaming graphics card.
- Zotac GeForce RTX 3080: This is still one of the top-performing graphics cards, even if you're running games at 4K with ray-tracing on. Add that it's under $1,000, and it's very appealing.
The latest generation of Radeon graphics cards is the 7000-series, and that's great news for anyone looking to buy a top-end graphics card but even better news for anyone looking to buy a previous-generation model and get a little discount.
- PowerColor Red Devil AMD Radeon RX 7900 XTX: If you're looking for an absolute monster of a graphics card, this is the way to go. This thing is unbelievably powerful and lightning quick, and it makes short work of even the latest games at their tippy-top, ultra-max settings at 4K. You know it's good because of all the X’s.
- Sapphire Pulse AMD Radeon RX 6600: The RX 6600 is a really solid pick for 1080p gaming on an AMD chip.
- PowerColor Red Dragon AMD Radeon RX 6800 XT: If you want to snag a powerful GPU at a discount, the previous generation’s RX 6800 XT is my top choice right now. It's a beast of a GPU that can handle anything you throw at it, even Cyberpunk 2077 at full 4K resolution.
Storage

Every system needs storage, and how much will depend once again on what you plan to use the system for. We recommend at least 256 GB of storage for any system, even for light home use. If you’re gaming, you may find it beneficial to install your OS to a 256-GB main drive, then add a second 1-TB or larger drive for your games and media.
You can skip the bulky HDDs. Basically all consumer systems now use SSDs in the M.2 format, which look like a digital stick of gum and screw directly into your motherboard. They’re much faster, easier to install, and keep the cable clutter down.
- Samsung 980 Pro M.2 SSD: Samsung's M.2 drives are always a good choice. They're quick, durable, and itty-bitty (about the size of a stick of gum), so they can pair with just about any other internal SSD. Most motherboards have an M.2 slot either on the front of the board or around the back, and you don't have to mess with any cables. This one clocks in at around 6,980 MB/s read speed and 4,876 MB/s write speed.
- Samsung 970 Evo M.2 SSD: The Evo line is cheaper though a bit slower, but it's an excellent buy for any build. This M.2 drive tops out at around 3,500 MB/s read speed and 3,300 MB/s write speed. Slower than others on this list but still pretty quick—quick enough for gaming for sure. If you're on a budget, go with the Evo.
- Corsair MP600 M.2 SSD: Corsair's MP600 drive comes with a built-in heat sink to keep temperatures down while it transfers your data at blazing speeds. It features a 4,950 MB/s read speed and 4,250 MB/s write speed.
- WD Blue 1-TB Internal SSD: It's reasonably quick, with plenty of storage space, but this Western Digital model is better for a secondary storage drive—not the one you run games or your operating system off of.
Memory (RAM)

You’ll see a lot of the same terms when you’re looking at memory and storage, but they’re very different. Memory is more like that one table you toss things on to deal with later. It’s scratch paper; it’s short-term. It’s very important, though, because software uses memory to cache (temporarily store) data in a place where it can be retrieved quickly.
Most systems opt to run either two or four DIMMs (the physical memory sticks) in identical sets to improve speed and reliability. If you plan to add 16 GB for example, our recommended minimum, it’s likely you’ll buy a “2 x 8GB kit” and install both. Make sure to check your motherboard specifications for details on supported memory and configurations.
Dimm Dimm Revolution: The industry recently moved from an older memory standard, DDR4, to the aptly named DDR5. Most motherboards from the latest generation have made the jump, so make sure you buy the right version for your system, which will be listed in big letters on the motherboard box.
- Corsair Vengeance LPX 16-GB 288-Pin RAM: High-end gaming rigs always go for 32 or 64 GB of RAM, but a good old pair of 8-GB sticks will see you through most 1080p games and everyday tasks.
- G.Skill Ripjaws V Series 32-GB 288-Pin RAM: With this much RAM, you should be pretty well set for everyday tasks and gaming.
- Corsair Dominator Platinum 64-GB 288-Pin RAM: If you need extra heft for content creation or high-end gaming, consider stepping up to 64 GB of RAM.
Power Supply (PSU)
While it sounds simple, your power supply’s job has an extremely important role in the life of your system. If something goes wrong with your power supply, it’s also likely to permanently damage other components in the process. Unfortunately, the markers for quality, reliability, and safety aren’t easily identified by looking at specs or user reviews.
With that in mind, we recommend sticking with one of a few major manufacturers for your power supply needs. Those include Cooler Master, Corsair, EVGA, and NZXT, all of which have produced excellent power supplies and responded quickly to issues.
If you’re using PCPartPicker, it will recommend a wattage based on your selected parts. If your wattage is too low, the system will shut off randomly or not start at all. At the other end, the PSU won’t be as efficient if the wattage is too high, which is what the gold and silver ratings refer to.
Finally, a modular power supply refers to the cables, which can be completely disconnected from the unit to keep down clutter and simplify installation.
- Corsair RM750e (2023): The updated model of Corsair’s classic PSU is a great option for basic builds. It’s frequently on sale, well-equipped, and fully modular. It also supports the new ATX 3.0 standard.
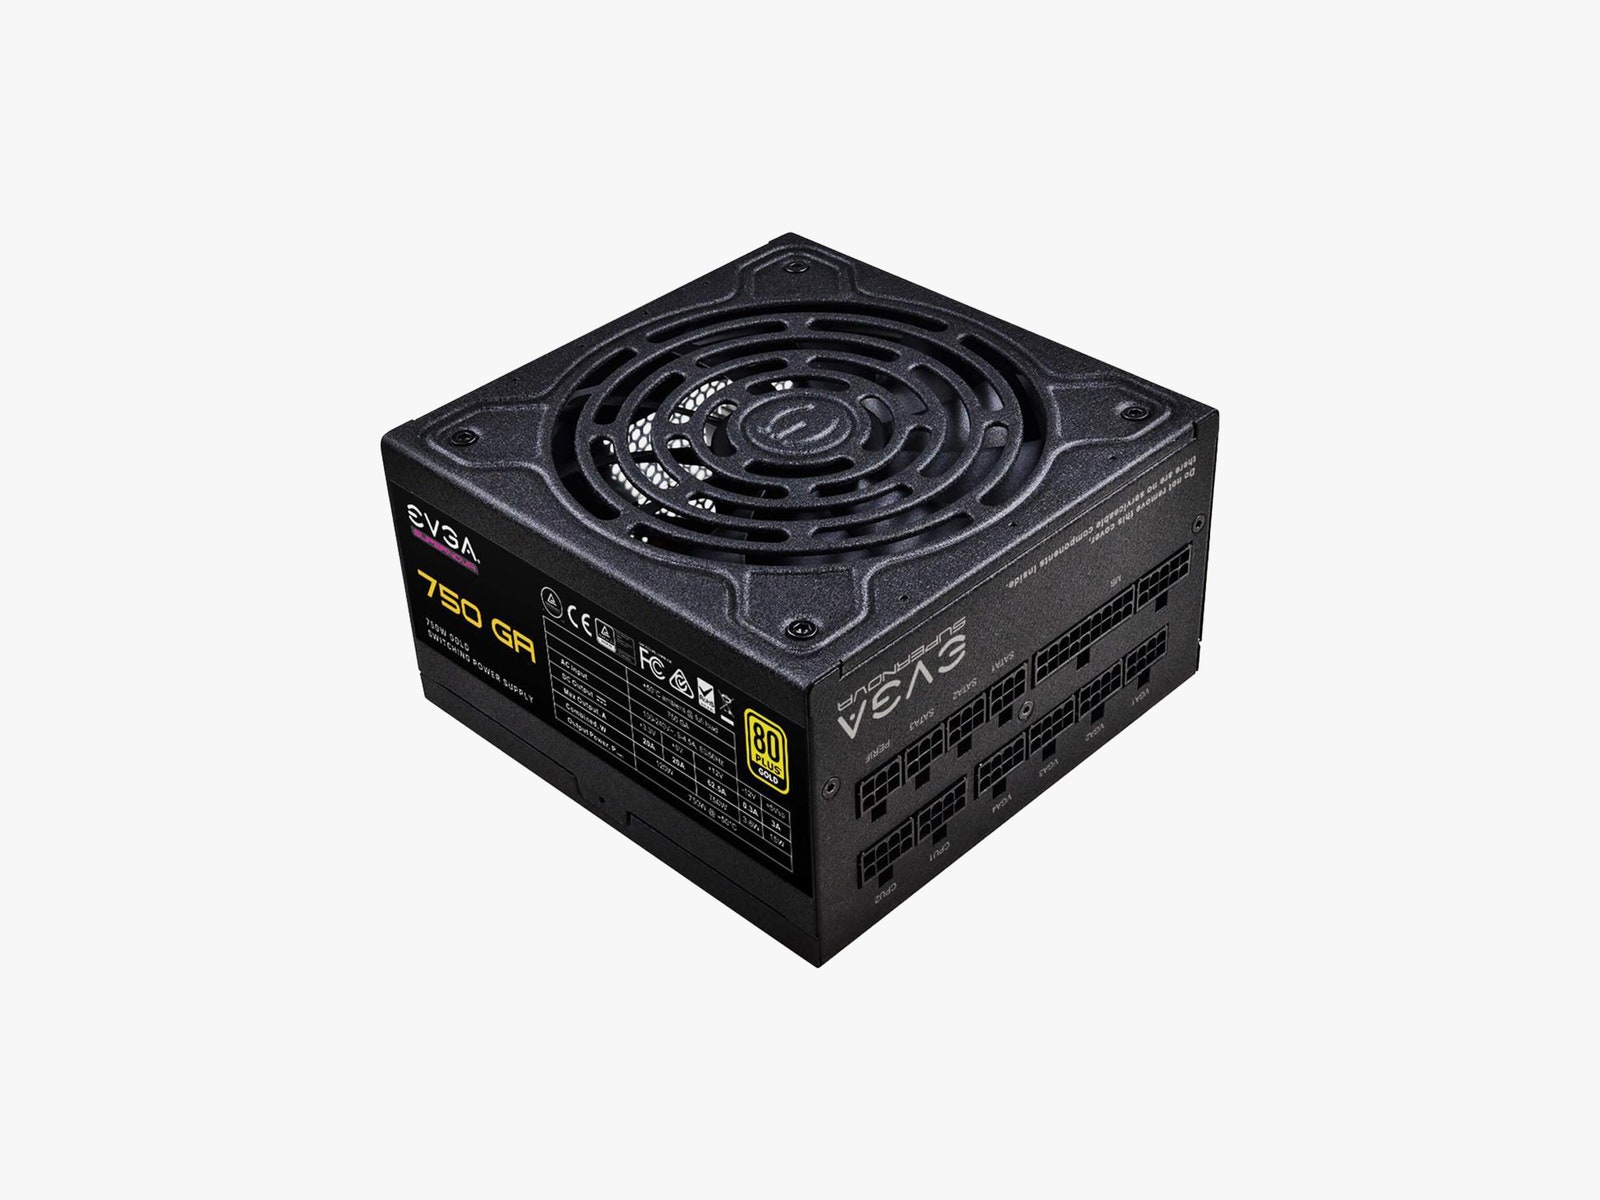
- EVGA 1000GT: An upgrade pick looks something like the EVGA 1000T. Still fully modular, this power supply offers a slightly higher wattage.
- Corsair RM1000X 1000-Watt Power Supply: For PCs with multiple graphics cards or a whole lot of storage, Corsair's 1,000-watt PSU is a good pick.
Operating System
When you build a PC, you don't automatically have Windows included. You'll have to buy a license from Microsoft or another vendor and make a USB key to install it. Here’s a little more information about what you get out of the newest version of Windows.
Putting It All Together
The internal layout of every gaming PC is a little different, so we're not going to get too far into the details here. Your best bet for specific instructions for your hardware will be referencing your manuals and searching for your components on YouTube. It can be super helpful to actually see a person handle and install your exact hardware, especially when you're stuck and can't quite figure out what the hell your manual is talking about. But here are some general tips for putting all these components together.
First, prepare a clean workspace. This can be a dining room table, a cleared-off desk—just any surface big enough for your case to lay flat on its side, with ample room around it for the rest of your components. You’ll also need a Phillips-head screwdriver, which will fit most of your case screws. As a general rule, screws in cases only need to be snugly fastened; there’s no need to really tighten anything down. When you put these parts together, be sure to discharge any static buildup and work on a nonmetallic surface like a wooden table.
Most of the components you bought are going to come with instruction manuals; keep them handy. You’ll mostly reference the case manual, which will walk you through setting everything up for your specific parts, and then switch to the motherboard manual when it’s time. When your manual and our guide contradict each other, go with the manual. It can be pretty intimidating—there’s a lot to look at—but think of all this as a big Lego set. Each piece fits into another. For the motherboard, your first job is going to be seating your CPU.
This part of the process can be a little delicate, so make sure to read all the instructions and identify each piece before you start. Depending on what kind of CPU you purchased (Intel or AMD), the chip will have either little pins on one side (don’t touch them) or little golden contacts on one side (don’t touch these either). Seriously, don’t touch that side of your chip. Oils from your fingertips can damage the contacts, or you might bend a pin. Do either one and your processor becomes nothing more than an expensive hunk of silicon.
Seating your processor is pretty easy. Open your motherboard box and remove any plastic wrapping, but keep the motherboard inside; we’ll be using the box as a workspace. Double-check your motherboard’s instructions and make sure you’ve unlocked the processor socket. It’ll be a big square with a bunch of little holes (or contacts), with a lever or button beside it. Your motherboard’s instructions will say explicitly how to unlock the socket so you can put your processor in without any issues.
Once you’ve confirmed that it’s unlocked and ready, find which corner of your processor has a little golden triangle and line it up with the same symbol on your motherboard’s processor socket. Gently lower the processor into the socket, then gently flip the latch or locking mechanism. You shouldn’t have to fight it. If you have to press really hard, check that the processor is socketed correctly.
A note on thermal paste: Many CPU coolers ship with thermal paste pre-applied. If you see a circle or pattern of silver goo, typically covered by a plastic housing, that means you can skip the next step and go straight to installing your cooler. If your cooler doesn’t have that, it likely came with a little plastic syringe of paste, which you’ll need to apply yourself. Your CPU cooler instructions will cover this in detail as well.
Go ahead and carefully squeeze a tiny ball (no bigger than a pea) of thermal paste onto the silicon square on your processor. You’ll want it as close to the center as you can get.
Now line up your heat sink with the screws surrounding your processor and gently lower it into place. Gently squish the thermal paste, and the goal here is to create a thin layer covering the back of your processor. It’s OK if it oozes a little bit, but if it oozes out and over the edge of the processor, you've used too much. Get some isopropyl alcohol, dab it on a lint-free wipe, and clean the processor and heat sink. Wait till they’re thoroughly dry and try again.
Now that your processor is seated, take a look at the shiny square of silicon in the center of it. That’s where your heat sink is going to sit. Your processor came with a heat sink, and on one side of it you’ll see a copper circle. You’re going to be putting the heat sink directly on top of the processor, with the silicone square and the copper circle lining up perfectly.
If it looks all right, screw your heat sink into place, making sure not to overtighten. Flip back to your motherboard instruction book and find the right place near the processor socket to plug in your heat sink’s cooling fan. It should be close to your processor socket. Once you’ve found it, plug it in—congratulations, you just installed a CPU. This was the hardest part, and it’s over. Good job!
Installing your memory will feel like a breeze after the CPU. There will either be two or four slots right next to the processor, and your motherboard manual will let you know which to use based on your kit.
At the end of each slot you’ll find little plastic levers, either on one end or both. Press them down gently until they click open away from the slot. Line up your memory, making sure the off-center notch in the slot matches the notch on the sticks. With the stick vertical, gently apply even pressure across the top until the levers on the ends click fully into place.
If you have an M.2 drive (a tiny SSD about the size of a stick of gum), there should be a place on the motherboard where you slot it directly. Check your motherboard’s manual to see where the M.2 slot is, which may be under a heat sink. Insert the end of the drive with the contacts into the slot, then gently push down the other end and use the tiny screw to secure it in place.
Next you’ll install the motherboard into your case, making sure to reference the manual for any specific details. Start by gently lowering it into the case, placing the ports at the back into the wide slot, and be careful not to slide the motherboard around too much as you find the right spot. When the screw holes underneath line up, go around turning them slightly to set them in place, then go around and finish each. They don’t need to be super tight, just hand tighten them until they’re snug to hold everything in place.
Next, you’ll want to install your power supply. There should be a spot for it near the top or bottom of the case, a big square spot that will fit your supply perfectly. If you’re having trouble finding it, look at the back of your case for a rectangular hole with three or four screw holes around it. That’s where the power supply goes and where you’ll plug in your PC when you’re all done. Once you've found its home, slot it in and screw it into place, making sure the fan is facing either an open area or a vent. Don’t plug in anything yet; we’re going to come back to the power supply in a bit.
Your GPU is going to be pretty big, so installing it last makes sense. That means how it fits into your case is important. Once you put your GPU in there, space is going to start getting tight.
Flip open your motherboard’s instruction book again and look for a PCIe slot. It’s going to be a horizontal slot with a little plastic latch beside it, near the middle or bottom of your motherboard. Hold the GPU up to the slot on the motherboard, and note which plates in the case need to be removed to make room. Unscrew them and set them aside.
Line up the HDMI and DisplayPorts with the back of your case, and push the GPU into the horizontal slot. It should lock into place easily enough with a click; if it doesn’t, make sure you’re inserting it correctly.
Use the screw or screws from the plates you removed and use them to fasten the GPU to the case. There’s a little spot for that on the same piece of metal with the HDMI ports. It should be easy to find. If you’re having trouble, take a look at this video from hardware manufacturer Asus. Some of the specifics will be different, but it’s a great look at how to install a GPU.
Now that you’ve installed the other components, it’s time to hook up the power. Making sure the PSU is unplugged and turned off using the switch on the back, connect each component that requires power one by one, making sure the plugs are facing the right direction and fully seated. If the cables are permanently attached, they’ll have labels on their plug ends. For modular power supplies with detachable cables, make sure to match the label on the cable, PSU port, and component.
How you route these power cables will depend on the specifics of your setup. Some cases have dedicated areas behind the motherboard, with gaskets at the front to minimize clutter. Searching PCPartPicker or Youtube for your case will show you how other people have managed their cables.
A New PSU: The instructions below refer to the power supply cable configuration that home systems have used for years. A new standard, ATX 3.0, is in the process of rolling out. If you have a particularly cutting-edge system, make sure to check your manual for the details on the setup process.
Start with the motherboard, which will have a much wider dedicated plug than the other cables. Make sure the tab on the outside edge clicks fully into place. Your motherboard may also have an extra 4- or 8-pin power port on the opposite corner, near the CPU, and a dedicated power cable for this purpose.
GPUs generally require dedicated power as well, and these cables will often be labeled as PCIe or VGA. There may be multiple of these, and they come in a variety of configurations, so check your GPU manual and make sure you’ve got power plugged into any available ports on the outside corner of the card.
Finally, connect your motherboard to the buttons and ports on the front of the case. There’s a tiny set of pins, typically near the bottom of the board, and they correspond to a set of cables hardwired into the case. Your motherboard may include a little adapter to make this process easier. Match the labels on the board or adapter to the ends of the cables, and carefully slide them on.
If this is your first build, we recommend just sticking with the fan configuration that shipped with the case. Each fan will have its own cable that provides both power and data, which may be hanging loose with each fan or plugged into a shared fan controller somewhere in the case. Either connect each fan to a port on the motherboard found in your manual, or connect the fan controller’s end to the motherboard and power supply.
This part of your build really depends on the hardware you purchased, so consult the manuals for each component to ensure you've correctly plugged them into your motherboard and the power supply. It can help to run down a mental checklist of each part you purchased and ask whether it has both a power connection and data connection, which may be shared.
The final stage of your build is a simple one: Hit your Power button. If the PC whirs to life, you probably put it together perfectly! If it doesn't, don't despair. There are a lot of potential problems that could cause a PC to fail to boot up for the first time. This video from Kingston goes over some pitfalls that might cause you some headaches, so if you're not able to boot your PC, give it a watch and retrace your steps.
There's also a chance you could have received faulty components. This video goes over some tips on how to check your parts. In general, if you’re having trouble with a specific component, YouTube is your friend. There are tons of helpful PC-building tutorials.
If it started up just fine, the next step is super easy: Turn it off. Remember that Windows flash drive you made earlier? Plug it into the PC and boot it up again. If you set it up right, your computer should just do its thing and get started installing Windows. If not, you might need to open your BIOS (check your motherboard's manual for how to do that) and set the USB drive to be a “boot device” first. Here's a brief rundown of that process (start at step 3).
Congratulations on building your first PC. It's a bit of a pain, but it's a great way to spend an afternoon. Or a couple of days, depending on how many unforeseen headaches you run into.