this is a basic tips & tricks post for how I make my gifs. I am sure there are probably easier and better ways to do things, but this is how I have been doing it and I am lazy so I’ve basically got it down to a few clicks by setting up actions to do most of the work so if that sounds like something you might like - read on!
I use windows and photoshop cc 2022 for making my gifs. I also use caps (captured using potplayer and in jpg format) so once you have your caps ready, just import them into photoshop as normal.
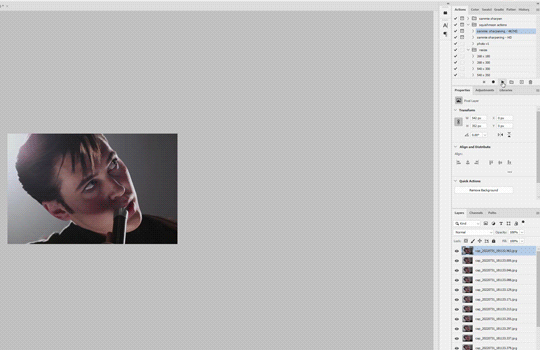
RESIZING YOUR GIFS
the first thing I do when I import my caps is crop it down - and as I said, i’m lazy so I have all of my regular sizes saved so I can just select them. as you can see - they are all +2px larger than the tumblr dimensions and that is because if you ever see that weird little white border you sometimes get when making gifs? if you remove pixels off you won’t get that so when cropping it’s essential to add some pixels so that you have some to crop off (I hope that makes sense!)
these are my settings for scaling my images down.
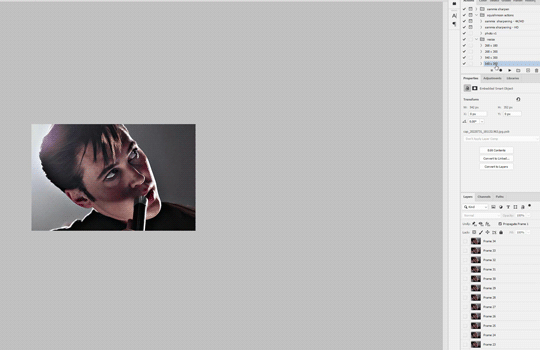
MAKING YOUR GIF
as i said, i’m lazy - so once I have cropped my caps to whatever size I want, all I do is click on my action and let it do it’s thing. I have it set where it sharpens and converts back to timeline with the 0.05 time delay so you don’t have to reopen your gifs in photoshop again and save them.
the two windows that pop up are to allow you to adjust the settings if you wish - if you like it just click ok and it will continue on.
you can download the action pack here (you can just add more actions for resizing to suit your dimensions or do it manually by going to canvas and -2px when you are done making your gif before saving) there are two settings - one for 4k/HD and the other for HD where the sharpening is a little softer.
obviously, the higher quality the source footage, the better your gif looks. i tend to work with 1080p downloads and I rip my own blurays and save them at around 4GB per 40 minute episodes and 12-15GB for films. sometimes more depending on the length of the film.
external hard drives are your friends. if you are going to be giffing stuff often, keep them saved there. I have a ton of externals (which are in dire need of organisation) but it’s so much quicker to have stuff at hand than needing to download each time you want to gif.
as for trailers - you get far higher quality using the trailers posted to the apple trailer site than youtube. so check there if you can get it. i use this site to download them and it does make a difference.
SAVING YOUR GIF
it’s all down to personal preference what you like - but I use these settings when saving my gifs. you can play around with diffusion, pattern and noise etc to find what you think looks best for you. just remember that your gif must be under 10MB or else it won’t upload to tumblr.
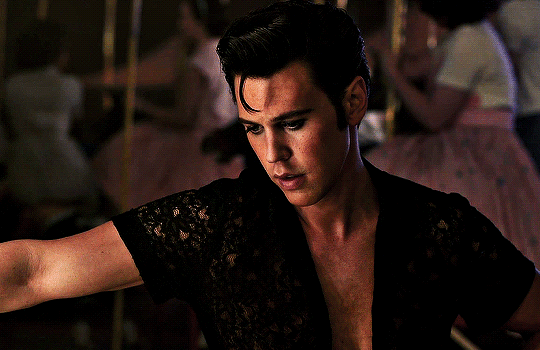
EXAMPLES
here are some examples of more gifs made using the sharpen action.
and this is the above moon knight gif, but using the slightly less sharper setting. sometimes it’s best to test out both on footage you haven’t used before to see which you prefer.
i hope this helped and if you have any questions my askbox is open! a like if you download the action would also be very appreciated.


alexmajior liked this
spinaweb liked this
squrehammer liked this
 imprfctfy liked this
 nyphacide liked this
theceruleanskye liked this
 thestarsareineffable reblogged this from pscs5
 archerri-archived reblogged this from lildohnut
 woodhousey liked this
  animecv liked this
 ebogosian liked this
hclygifs liked this
 jedim3rc liked this
 vclvett liked this
 obiwancanneloni liked this
  illvixen liked this
 ourselvesnimortality liked this
timelovcd liked this
luhstories liked this
esterpacks liked this
thewebspinner liked this
astarfires reblogged this from graphictutorial
joydxrkwitness reblogged this from lildohnut
emilyjean-stone liked this
enfant-de-lune liked this
spacejams liked this
yeolyeah liked this
illygirl liked this
ladyverdance reblogged this from lildohnut
russalki liked this
 erysione liked this
 xreysa liked this
namsookhee reblogged this from lildohnut
drac0nequus reblogged this from ardenrosegarden
elieandrews liked this
 magnificentdelusionr liked this
 seungminhrs liked this
mauldarth reblogged this from vorgoths
fireplceashes liked this
finehs liked this
2stupidfeet liked this
lildohnut posted this