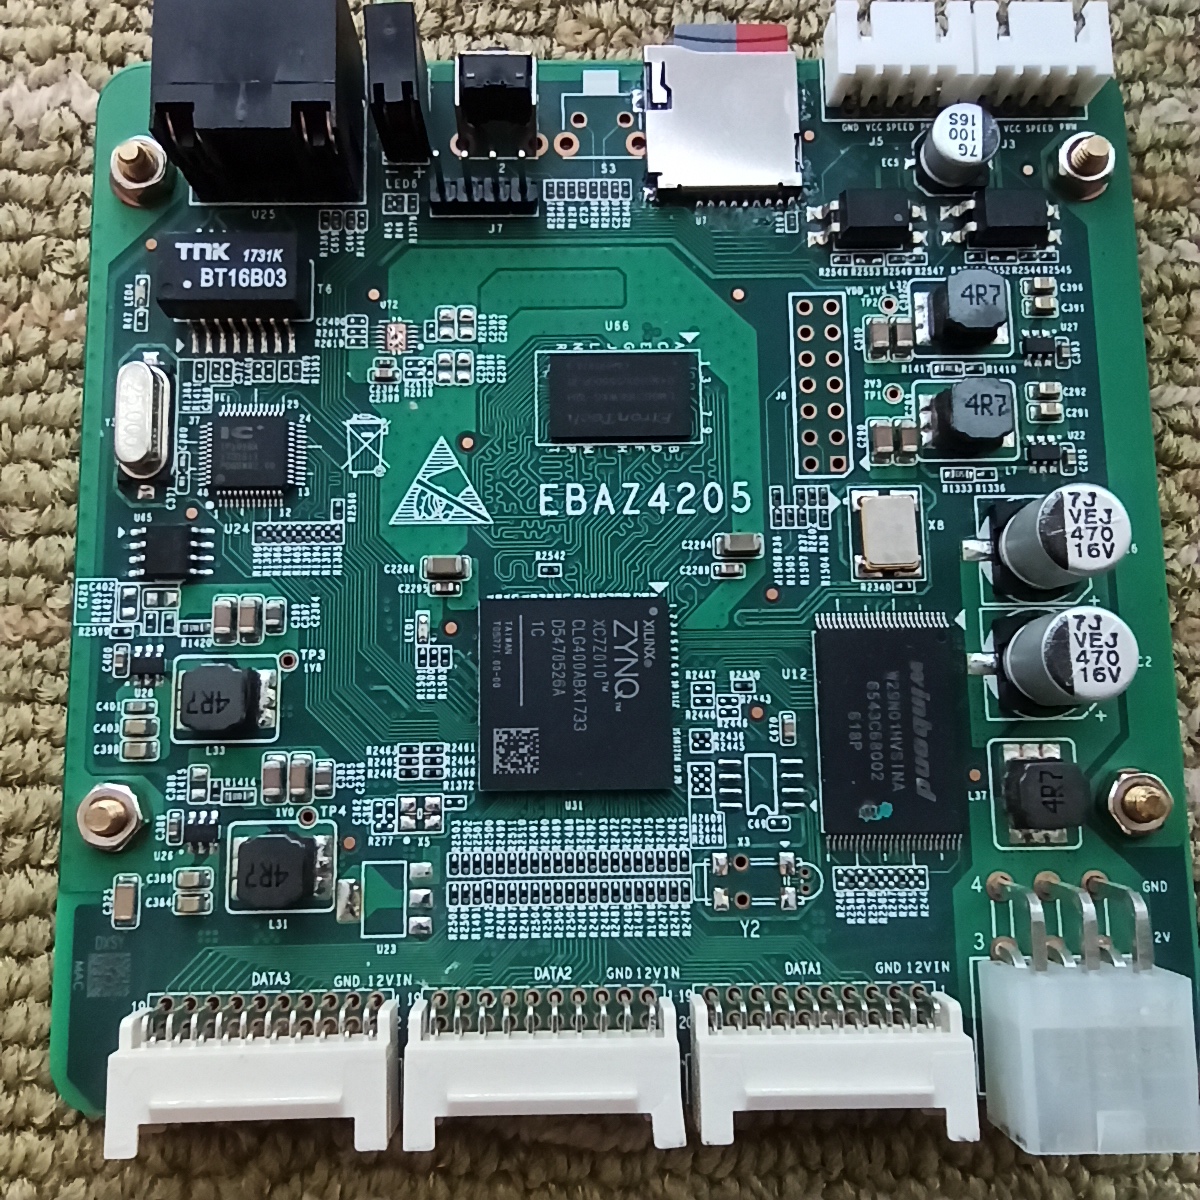
This development board was the control card of Ebit E9+ BTC miner. In mainland China, it cost about 5 dollars (<35 CNY) on the secondhand market.
- Telegram group general chat, quick Q&A
- Wiki FAQ, tutorials
- Github discussions troubleshooting help, projects, development
Hardware:
On-board linux
The TF card socket is absent by default, you can buy and solder it by yourself if necessary. So do the UART port J7and the JTAG port J8.

On the bottom layer of the board, diode D24 is absent by default, which you need if you want to power the board via J3 J4 J5. Solder a SMC schottky diode there.

XC7Z010CLG400, Dual Core Cortex A9 @ 666.66MHz and Artix-7 FPGA with 28k LEs.

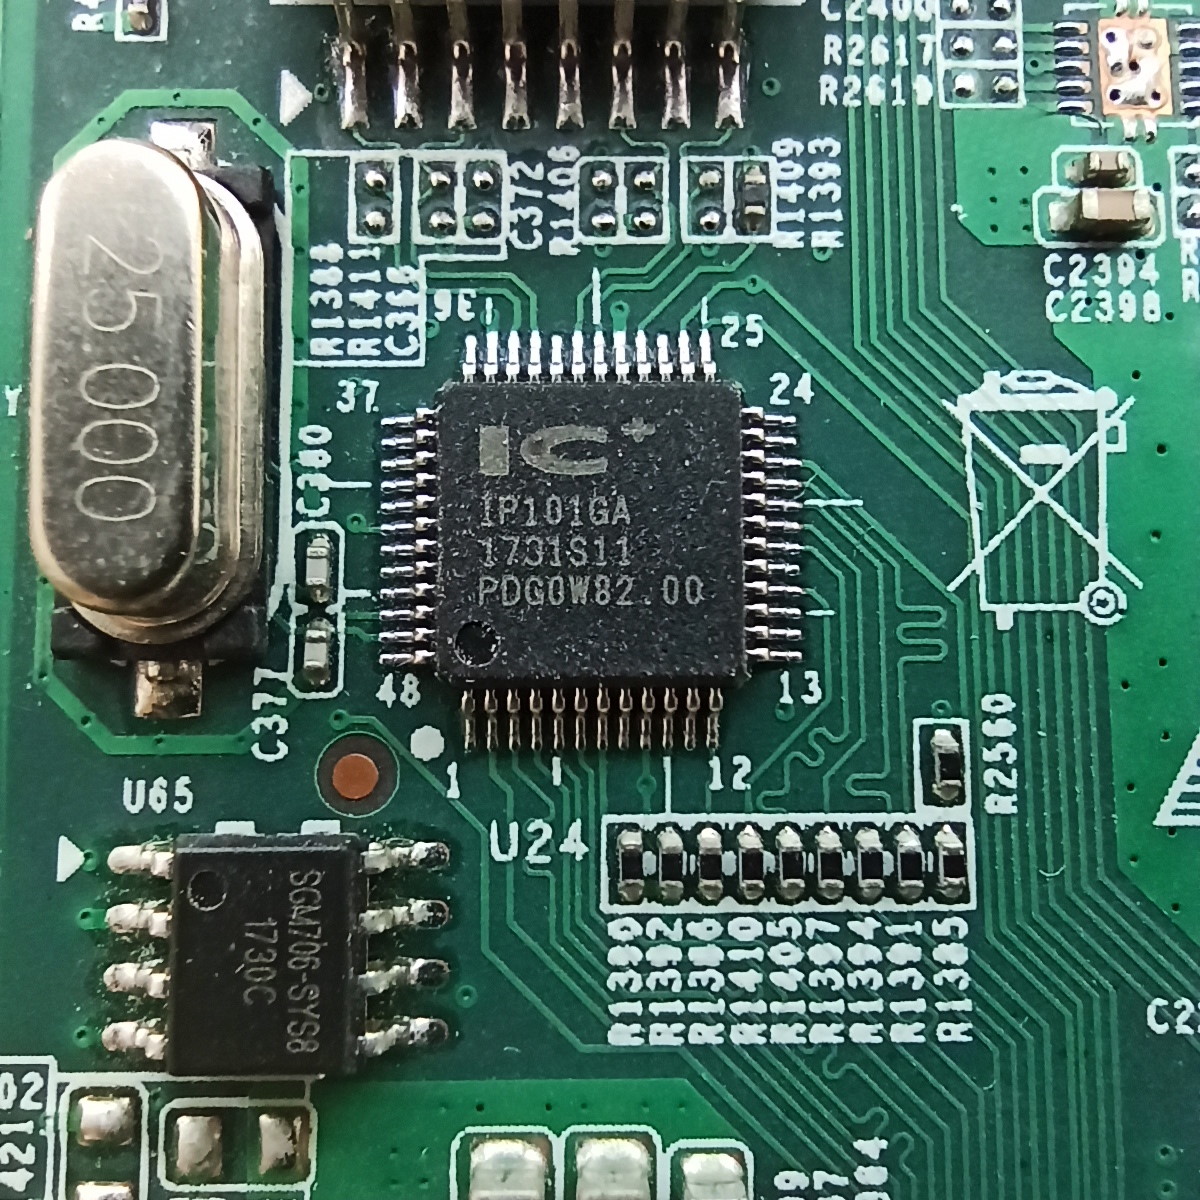
10/100Mbps Ethernet transceiver: IP101GA

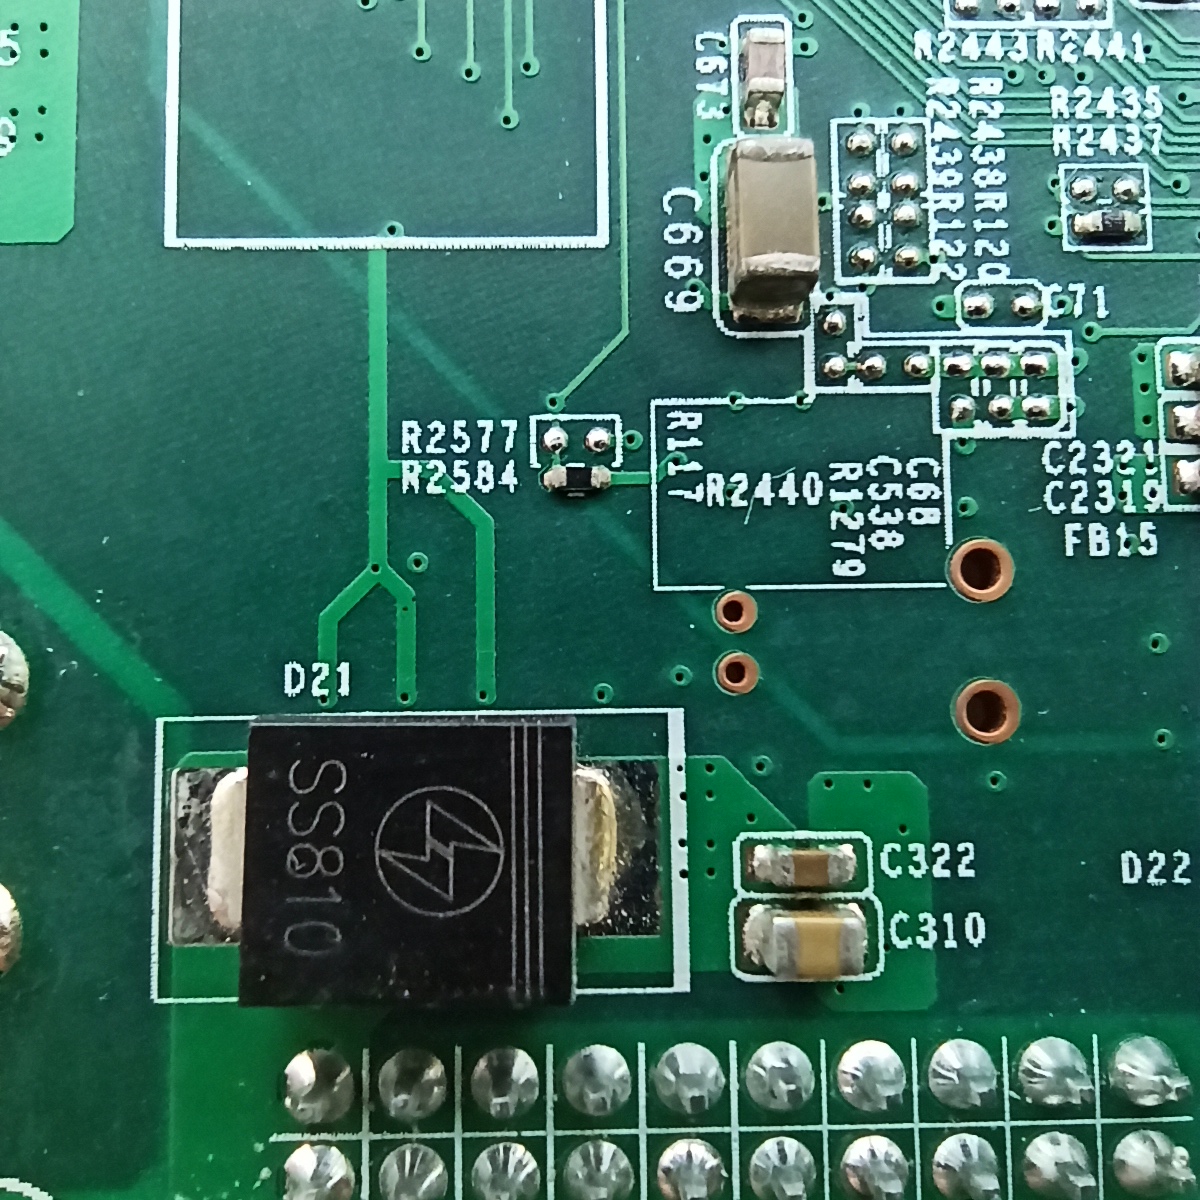
BOOT Select Resistor: R2577 and R2584. The resistor is on R2584 by default, which indicates boot from NAND. If you want to boot from TF card, move R2584 to R2577.

If the Schottky Diode D24 was not mounted, you can only power the board by DATA1 DATA2 and DATA3 port. Voltage 5V~12V is OK, 400mA and above is necessary. The pin distance of these three ports is 2.0mm, which is not common as 2.54mm.
After D24 was mounted, we can power the board by J3 J4 J5. For convenience, J3 or J5 is recommended, which was originally for FAN power.
Use HyperTerminal or Putty to connect the TTL port, TXD RXD and GND is enough, VCC is not necessary. Power the Board, Hit d to enter the u-boot shell.
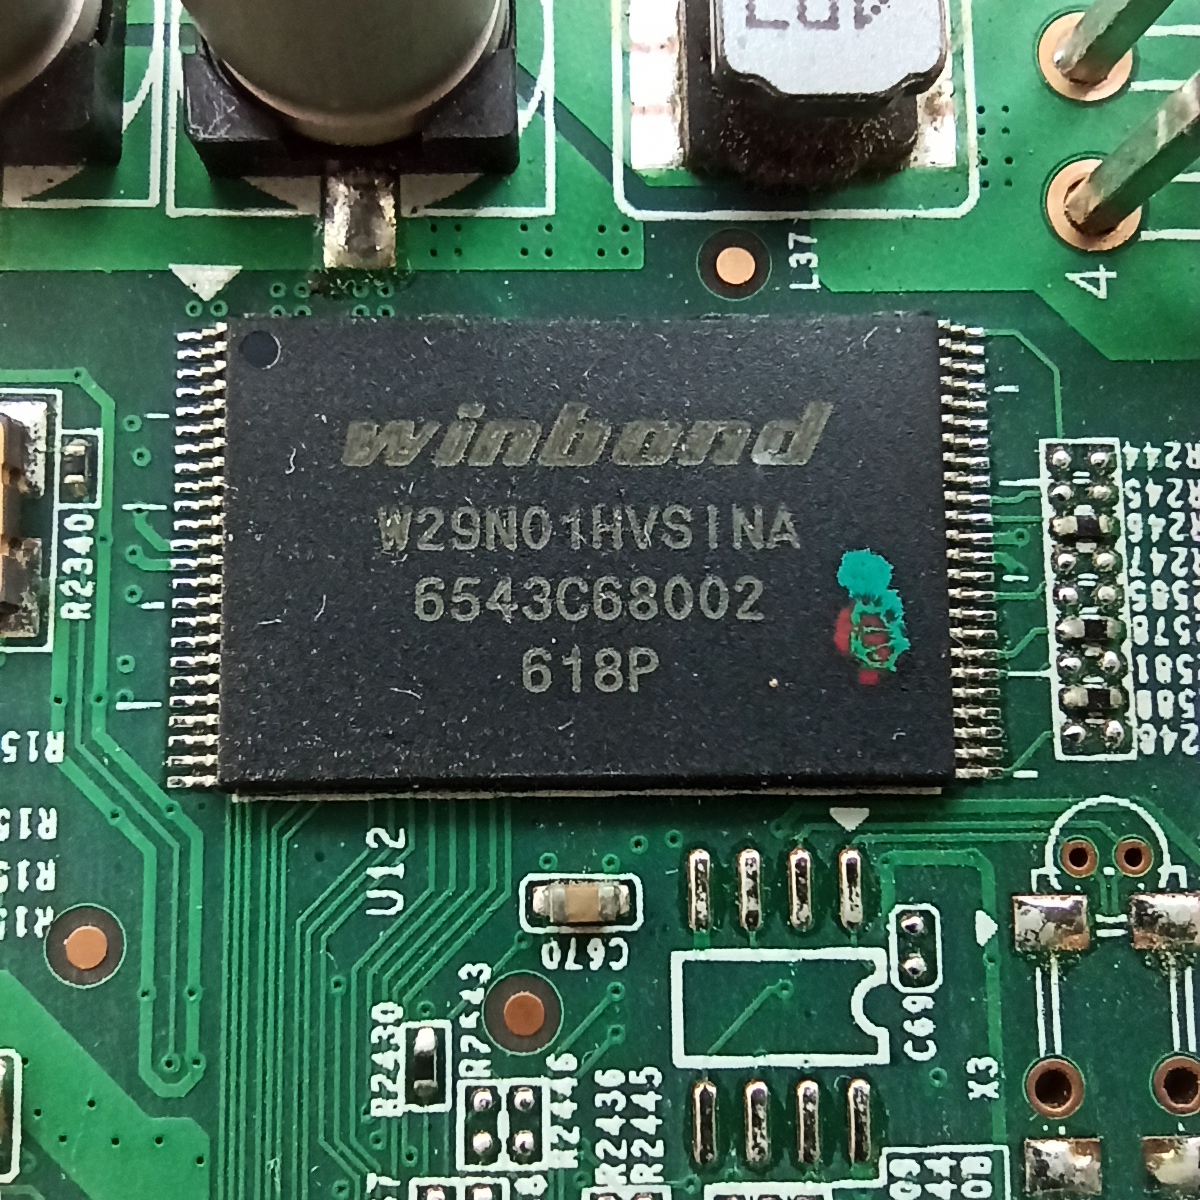
setenv nandboot "echo Copying Linux from NAND flash to RAM... && nand info && run nandroot;nand read 0x100000 0x2220000 0x300000 && fpga loadb 0 0x100000 0x300000 && nand read ${kernel_load_address} 0x300000 ${kernel_size} && nand read ${devicetree_load_address} 0x800000 ${devicetree_size}"
run nandboot
setenv bootargs 'console=ttyPS0,115200 root=/dev/mtdblock6 rootfstype=jffs2 noinitrd rw rootwait reboot=cold,hard emergency init=/bin/sh'
bootm ${kernel_load_address} - ${devicetree_load_address} init=/bin/sh
passwd
Use the commands above to reset the root password.
After logging on with root, execute commands below to disable the BTC miner program.
mv /etc/rcS.d/S95cgminer.sh /etc/rcS.d/K95cgminer.sh
reboot
Edit configuration file: /etc/network/interfaces, add contents below.
auto eth0
iface eth0 inet static
address 192.168.1.205
netmask 255.255.255.0
gateway 192.168.1.1
dns-nameservers 192.168.1.1
Enable ethernet: ifup eth0.
Check ethernet status: ethtool eth0
Now you can use ssh root@192.168.1.205 to connect the built-in linux.
Of course, you can use other IP address according to your network configuration.

