My musical band uses an IEM setup for rehearsals and live shows. This setup is based on a USB audio interface and software mixing in REAPER.
In REAPER we use named regions for songs and simple sends from input channels to personal channels with a hardware output for each band member.
To simplify mixing we use a web control feature of REAPER and each band member does mixing of their output from a phone. Fortunately, REAPER already includes an interface that allows doing just that - more_me.html. Unfortunately, though, this interface doesn't allow switching tracks or starting or stopping playback.
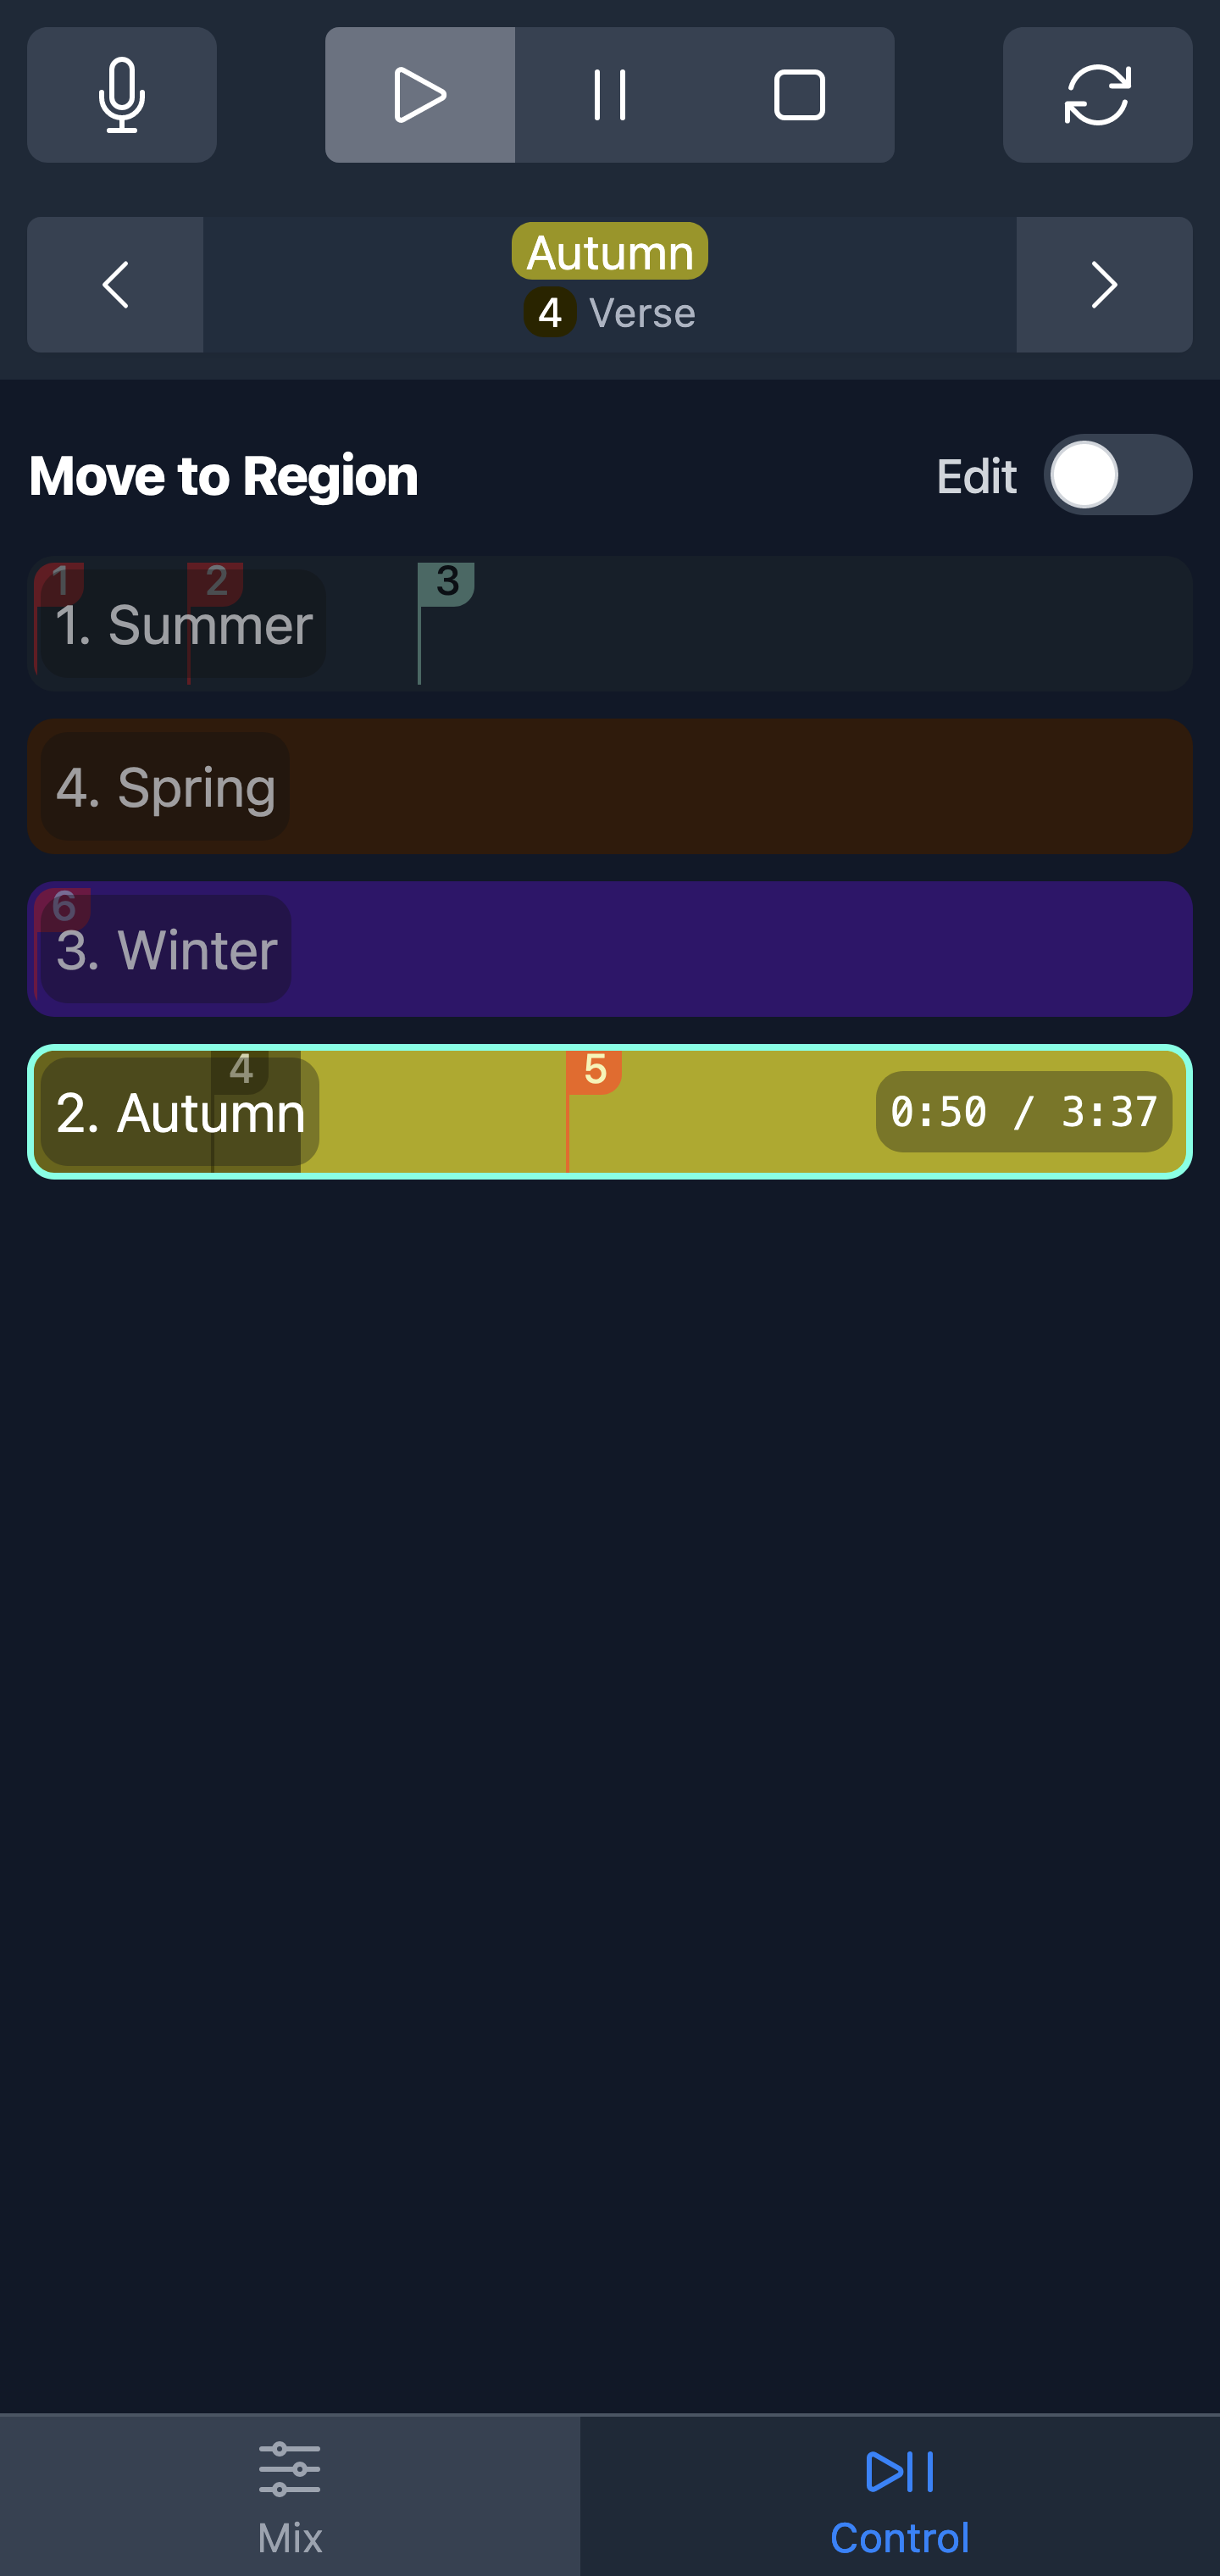
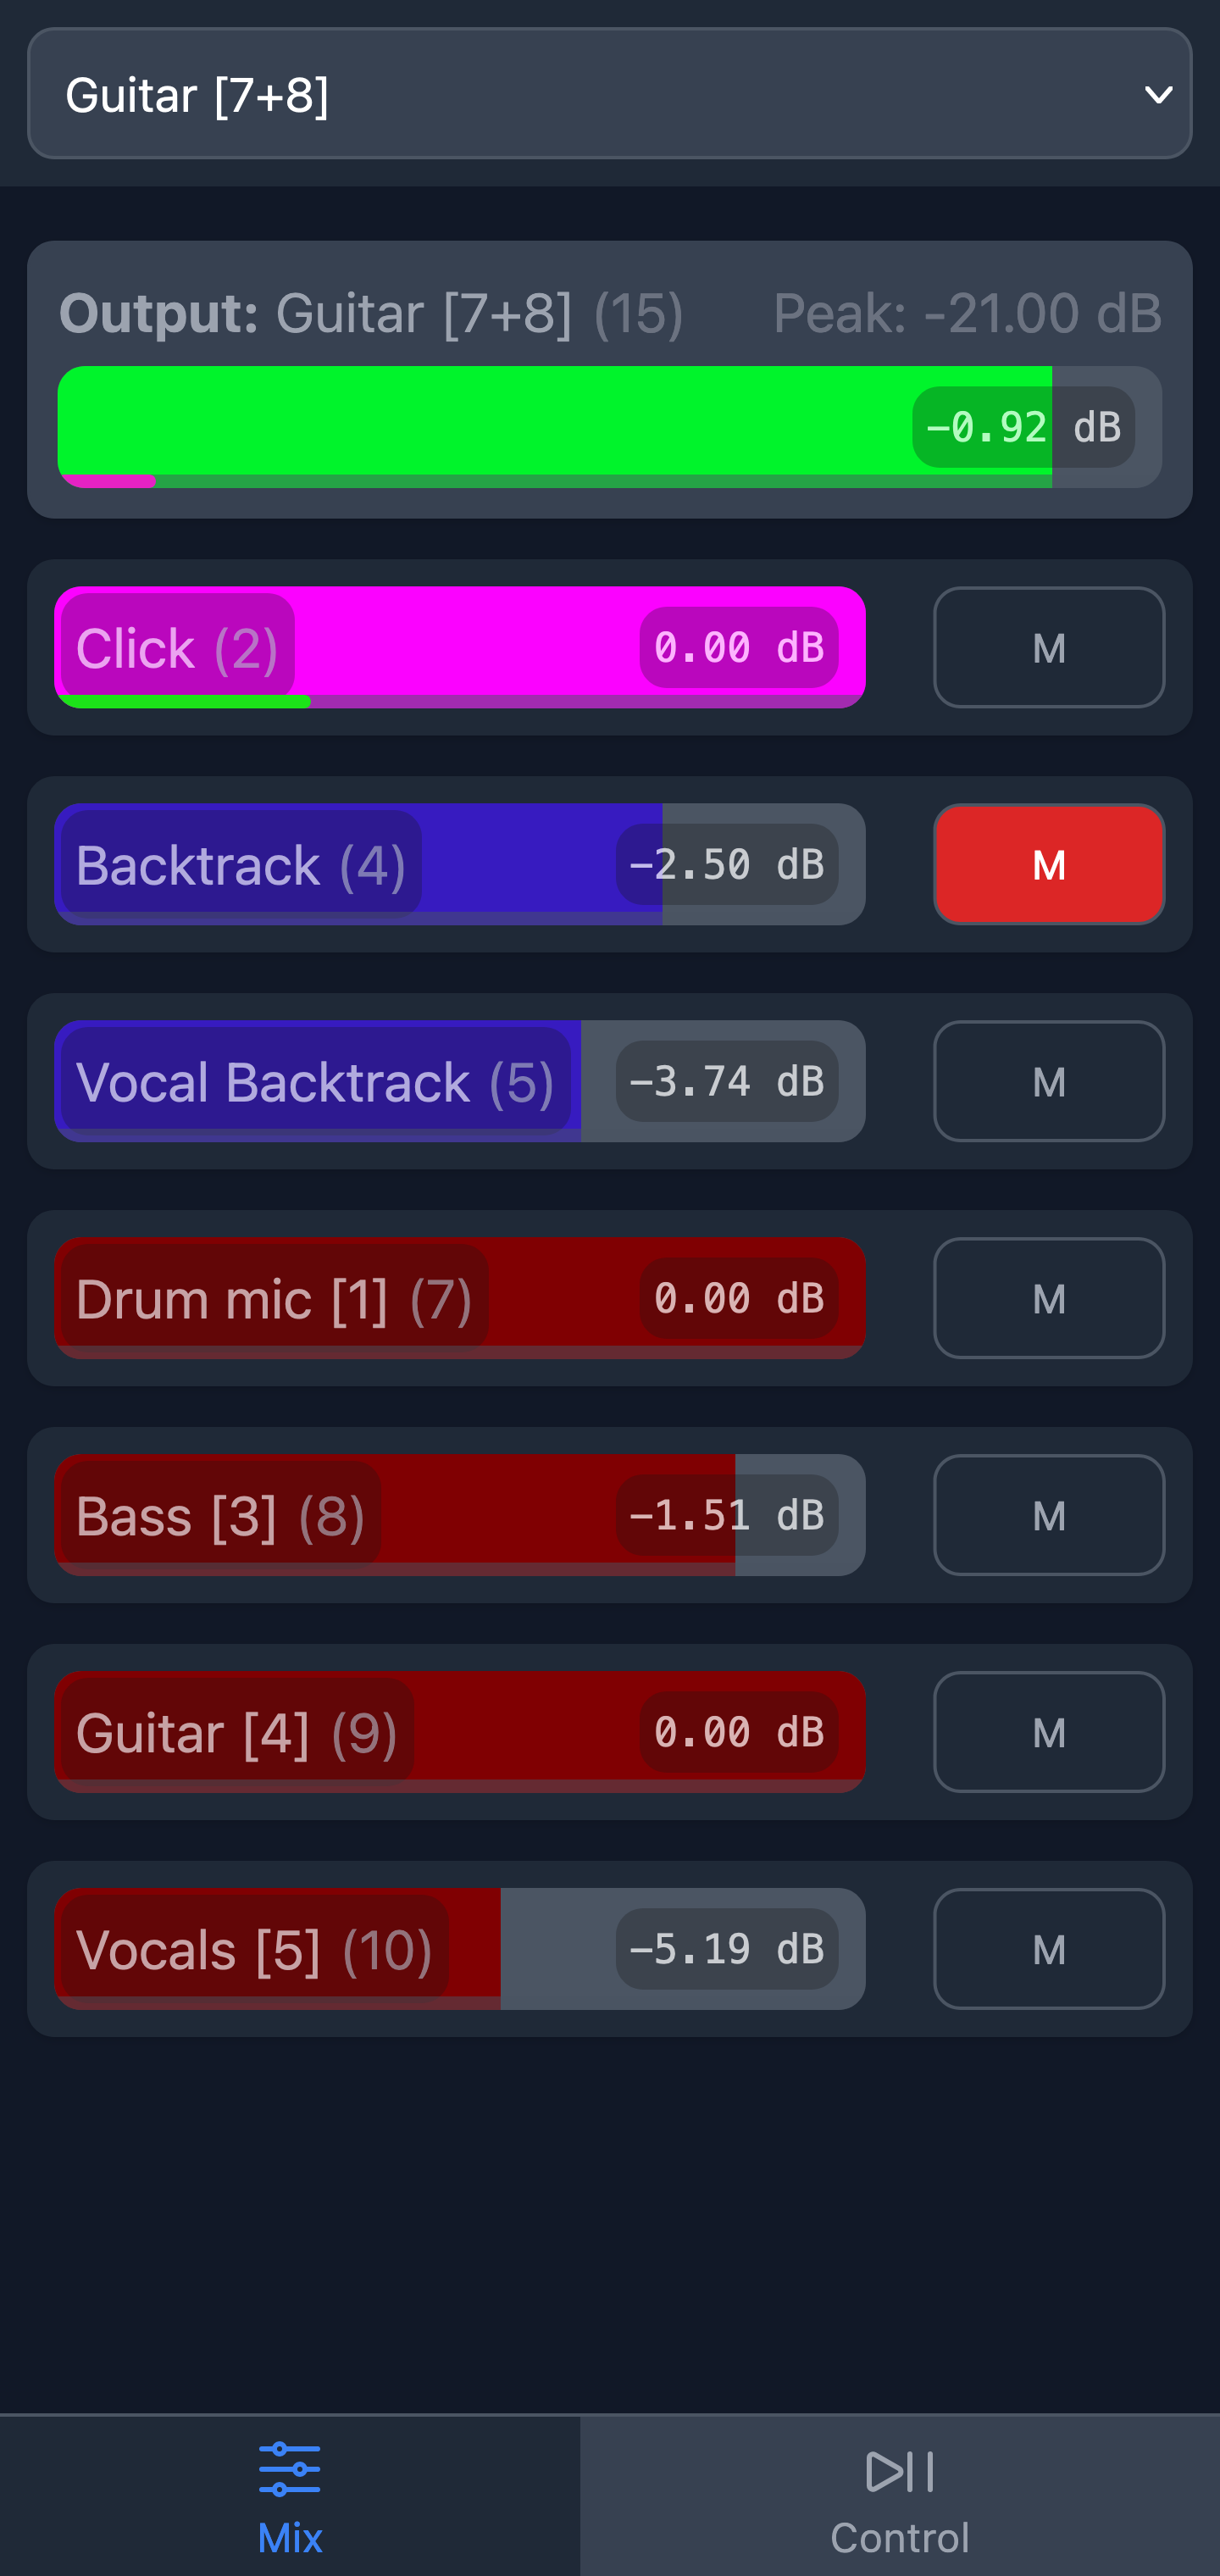
This project aims to fix that by providing a mobile-first web UI that provides a way to:
- Control playback
- Switch between songs (regions) and their parts (markers)
- Do an individual mix for each band member
This repository contains
-
Source code for REAPER remote control web UI
Control Mix 

-
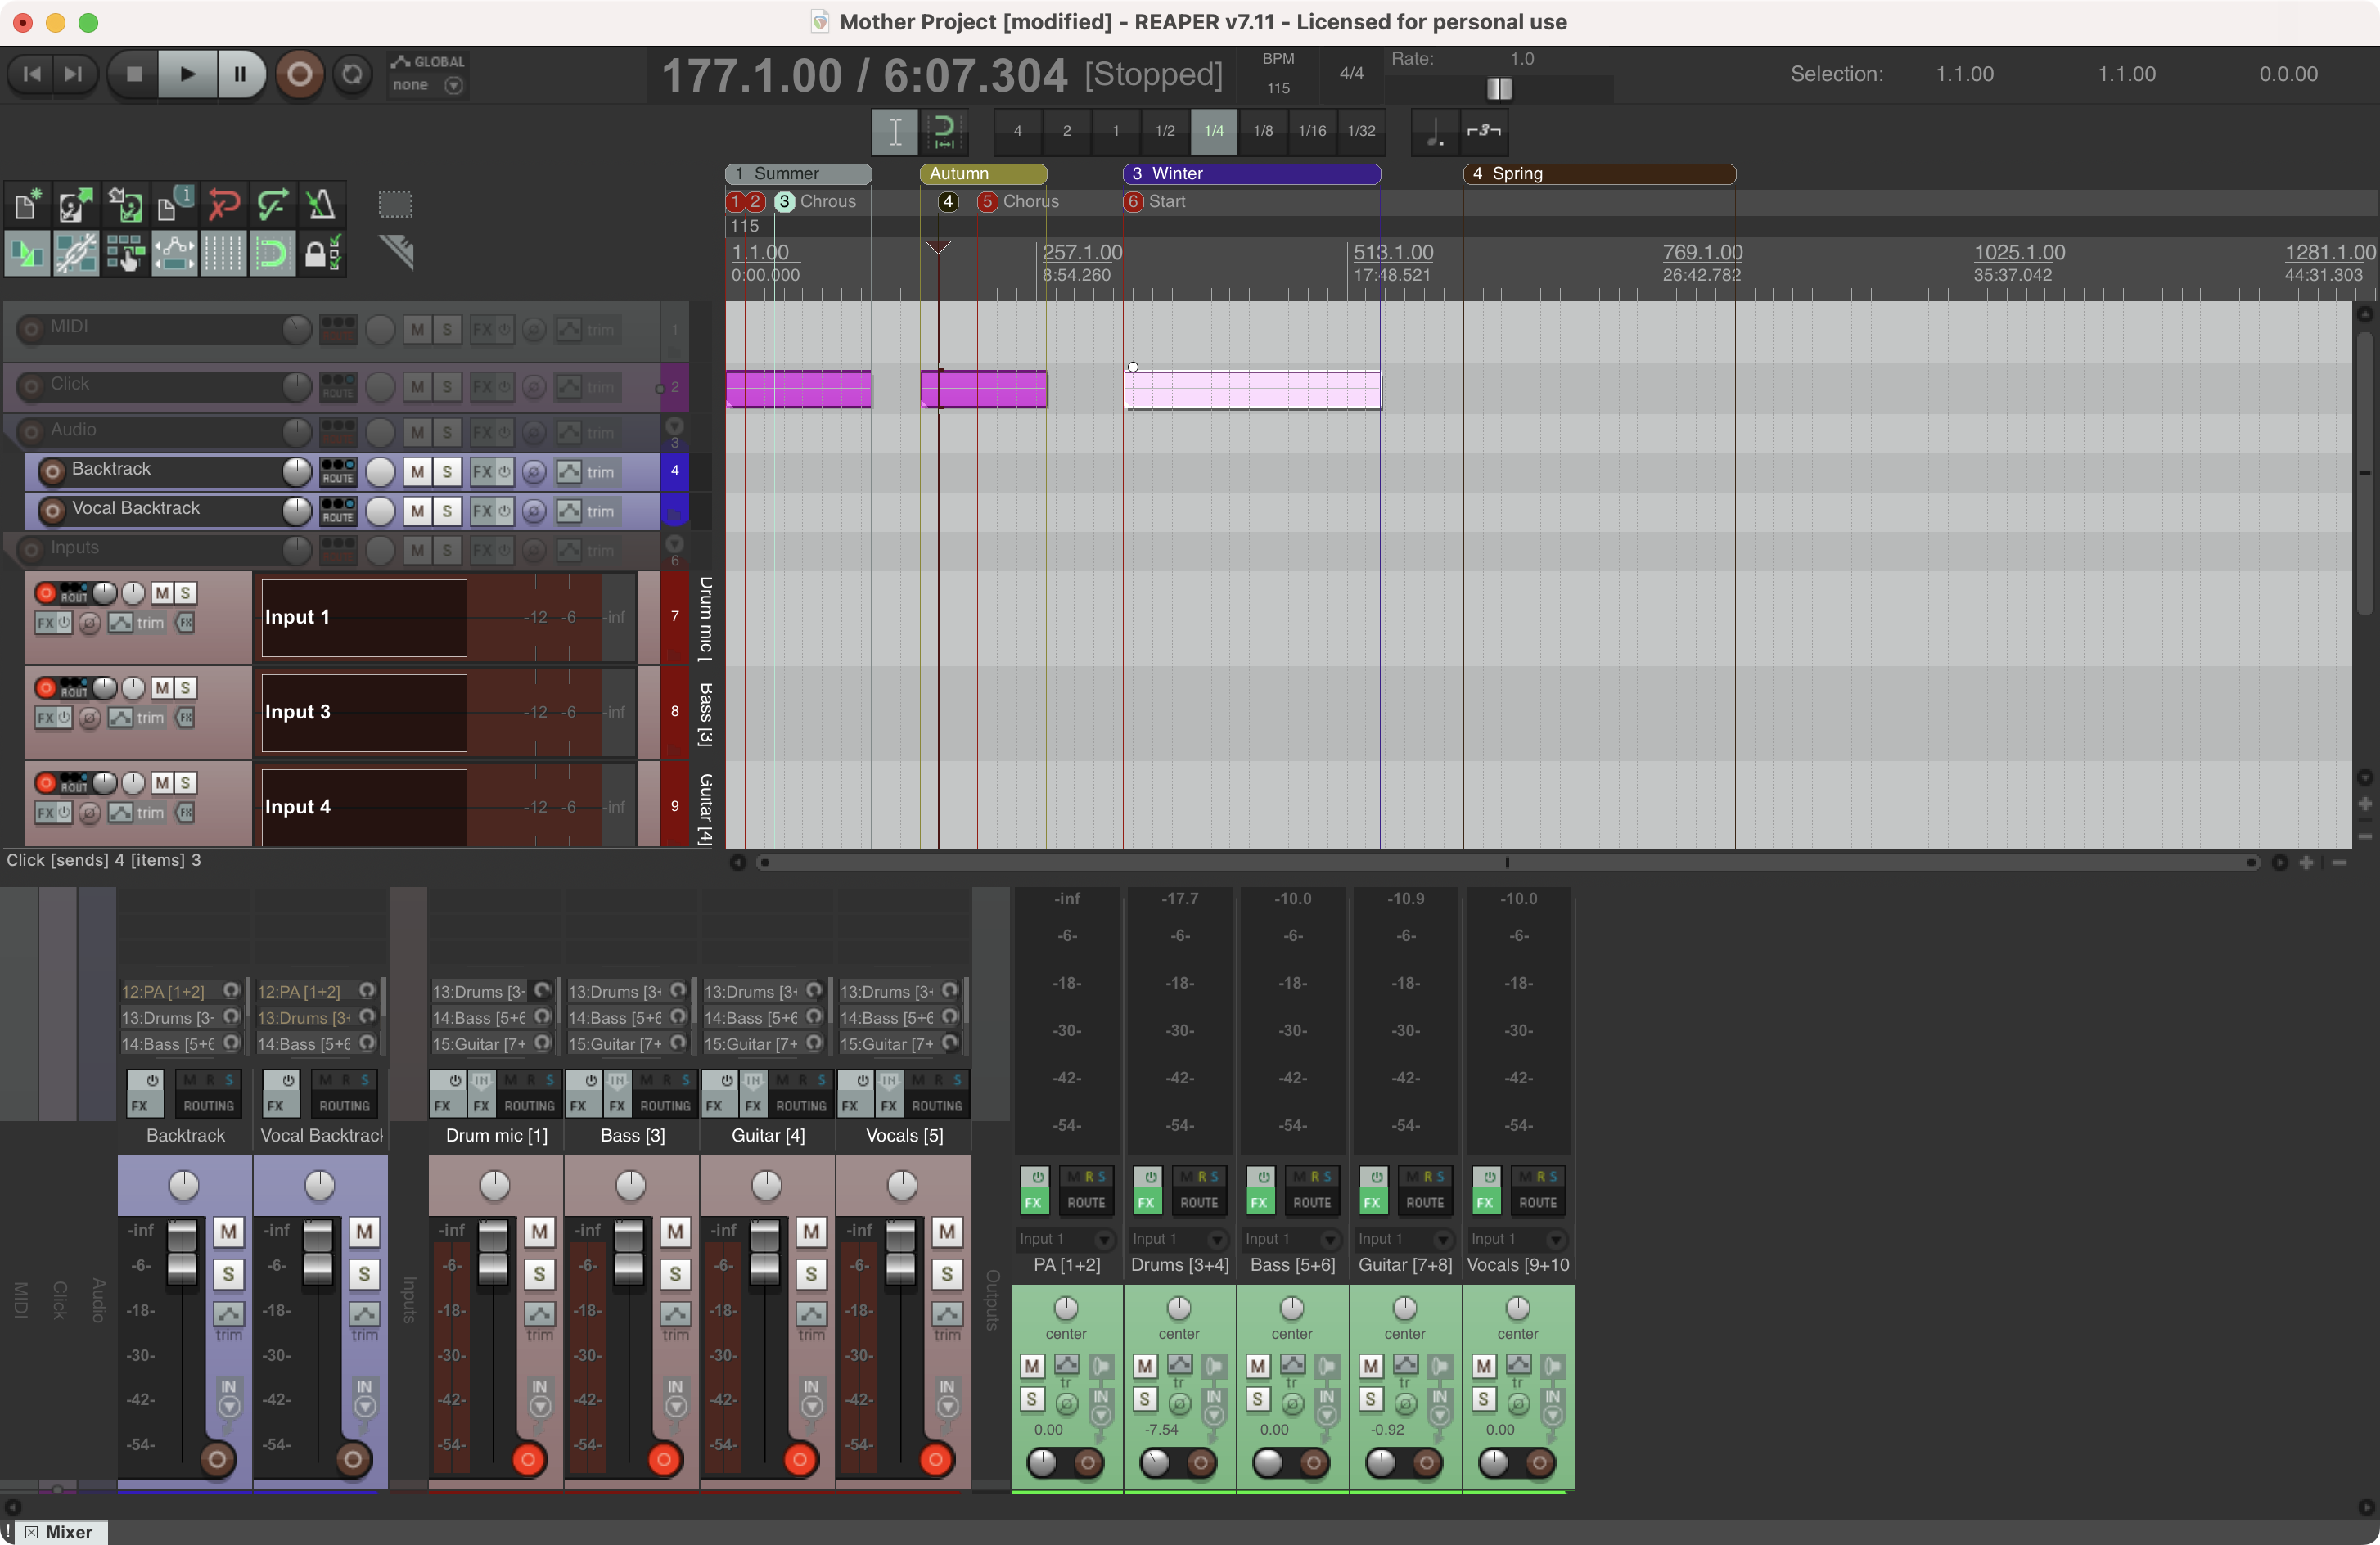
Mother Project.RPP- A sample reaper project that can be used with this UI
Clone the project, install the dependencies, and build it with an npm command.
git clone https://github.com/nikarh/reaper-remote-bandui.git
npm i
npm run build
The built HTML file will be in ./dist/index.html.
This project does not have a mock backend, so you actually need to run REAPER with the provided Mother Project, if you want to see anything sensible.
By default proxy server expects REAPER to be running on port 8080.
For this UI to work, your REAPER project must follow some rules.
-
All songs are marked as regions from the beginning to the end. The region must have a name (song name). Regions should not overlap.
-
Tracks for which mixing is possible must have both
- A hardware output
- At least one send
The mixing process is implemented by changing the gain of individual sends.
The example project has more tracks than just inputs and outputs so here is a brief explanation of their purpose.
- A MIDI track is used for song markers (like chorus and verse). In my experience using REAPER markers for that would cause too much of a mess (though markers are also supported by this UI).
- Click track is used for
Click sourceitems or simply put metronome. The global metronome usually doesn't cut it, because each band member usually prefers a different loudness for it (e.g. it's very important for a drummer but not so much for a vocalist). - The
Audiogroup is for tracks where you would put pre-recorded WAV files, like backtracks and vocal backtracks. - The
Inputsgroup is for tracks having a physical input source, like a guitar or a microphone. If any additional processing is needed (compression, eq, reverb), it should be put on these tracks. - The
Outputsgroup is for tracks with physical outputs. All of these tracks have plugins for basic hearing safety - a-10 dBgain and a brick-wall limiter at0 dB. These tracks have "Receives" from input group tracks and audio group tracks.
When a specific song (region) is selected from the UI, it selects the region and sets the cursor to the beginning of the region. Selecting the region allows stopping the playback automatically when the region ends. For REAPER to stop the playback automatically you need to check Preferences -> Audio -> Playback -> [x] Stop playback at end of loop if repeat is disabled. and disable repeat in your project.


