- Launchpad Part 1
- Launchpad Part 2
- Launchpad Part 3
- Launchpad Part 4
- Crash Avoidance Part 1
- Crash Avoidance Part 2
- Crash Avoidance Part 3
- Landing Area Part 1
- Landing Area Part 2
- Morse Code Part 1
- Morse Code Part 2
- FEA Part 1
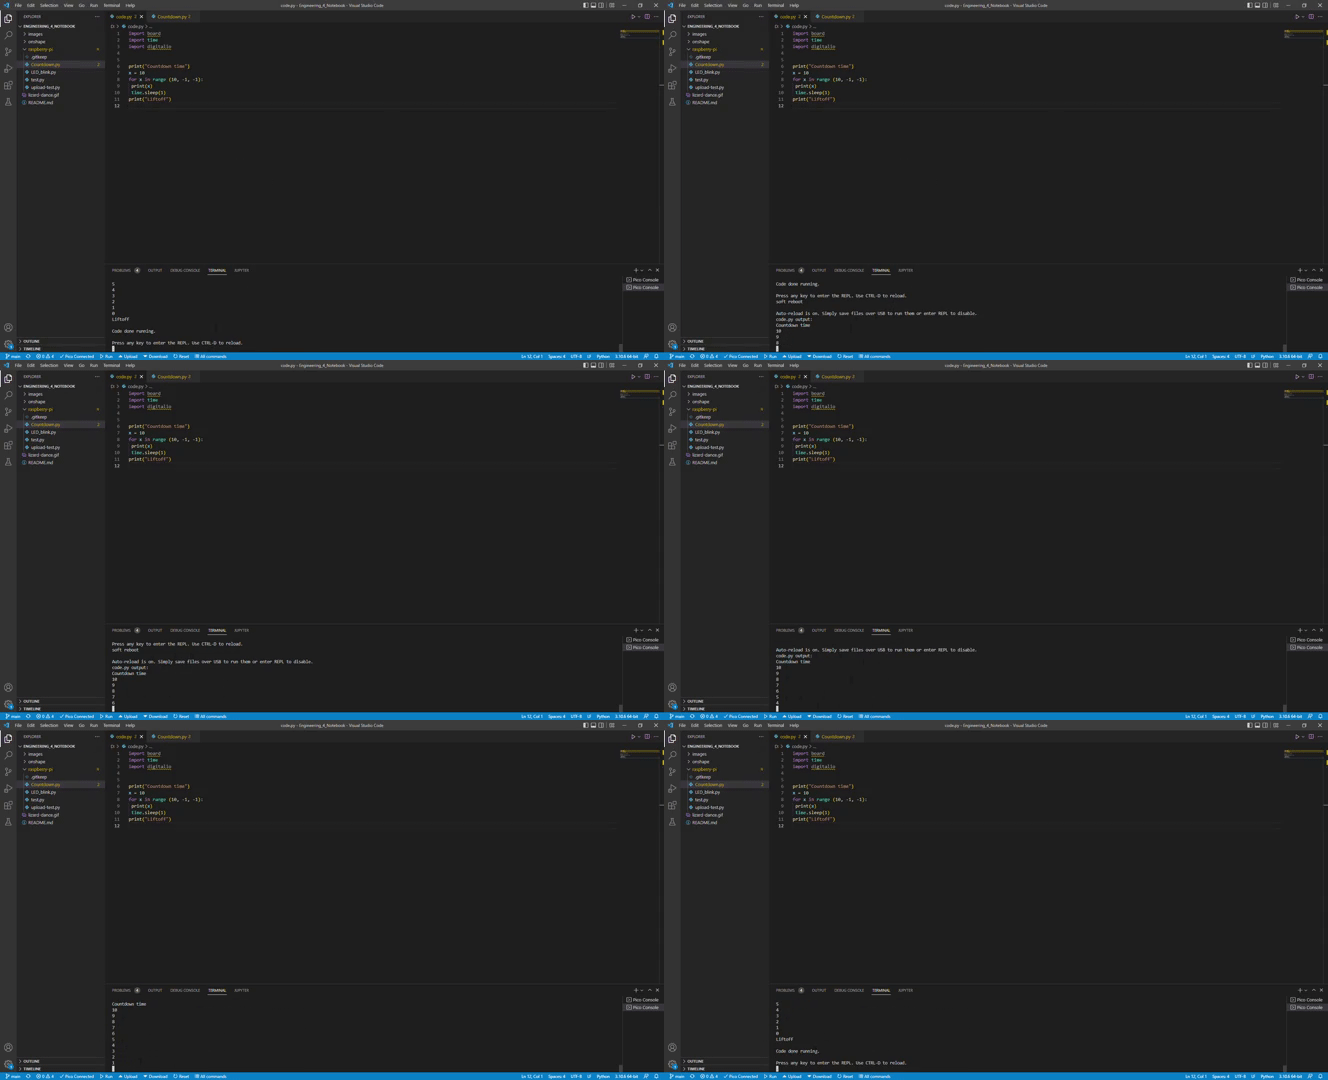
Countdown from 10 seconds to 0 (liftoff). Print that countdown to the serial monitor.
Using a for loop for this is the easiest way. To make it count down and not count up make sure you have all three parameters in your for loop and the third one is negative. Also if you want it starting at 10 you're gonna need it to be 11 so it actually prints 10, if that makes sense.
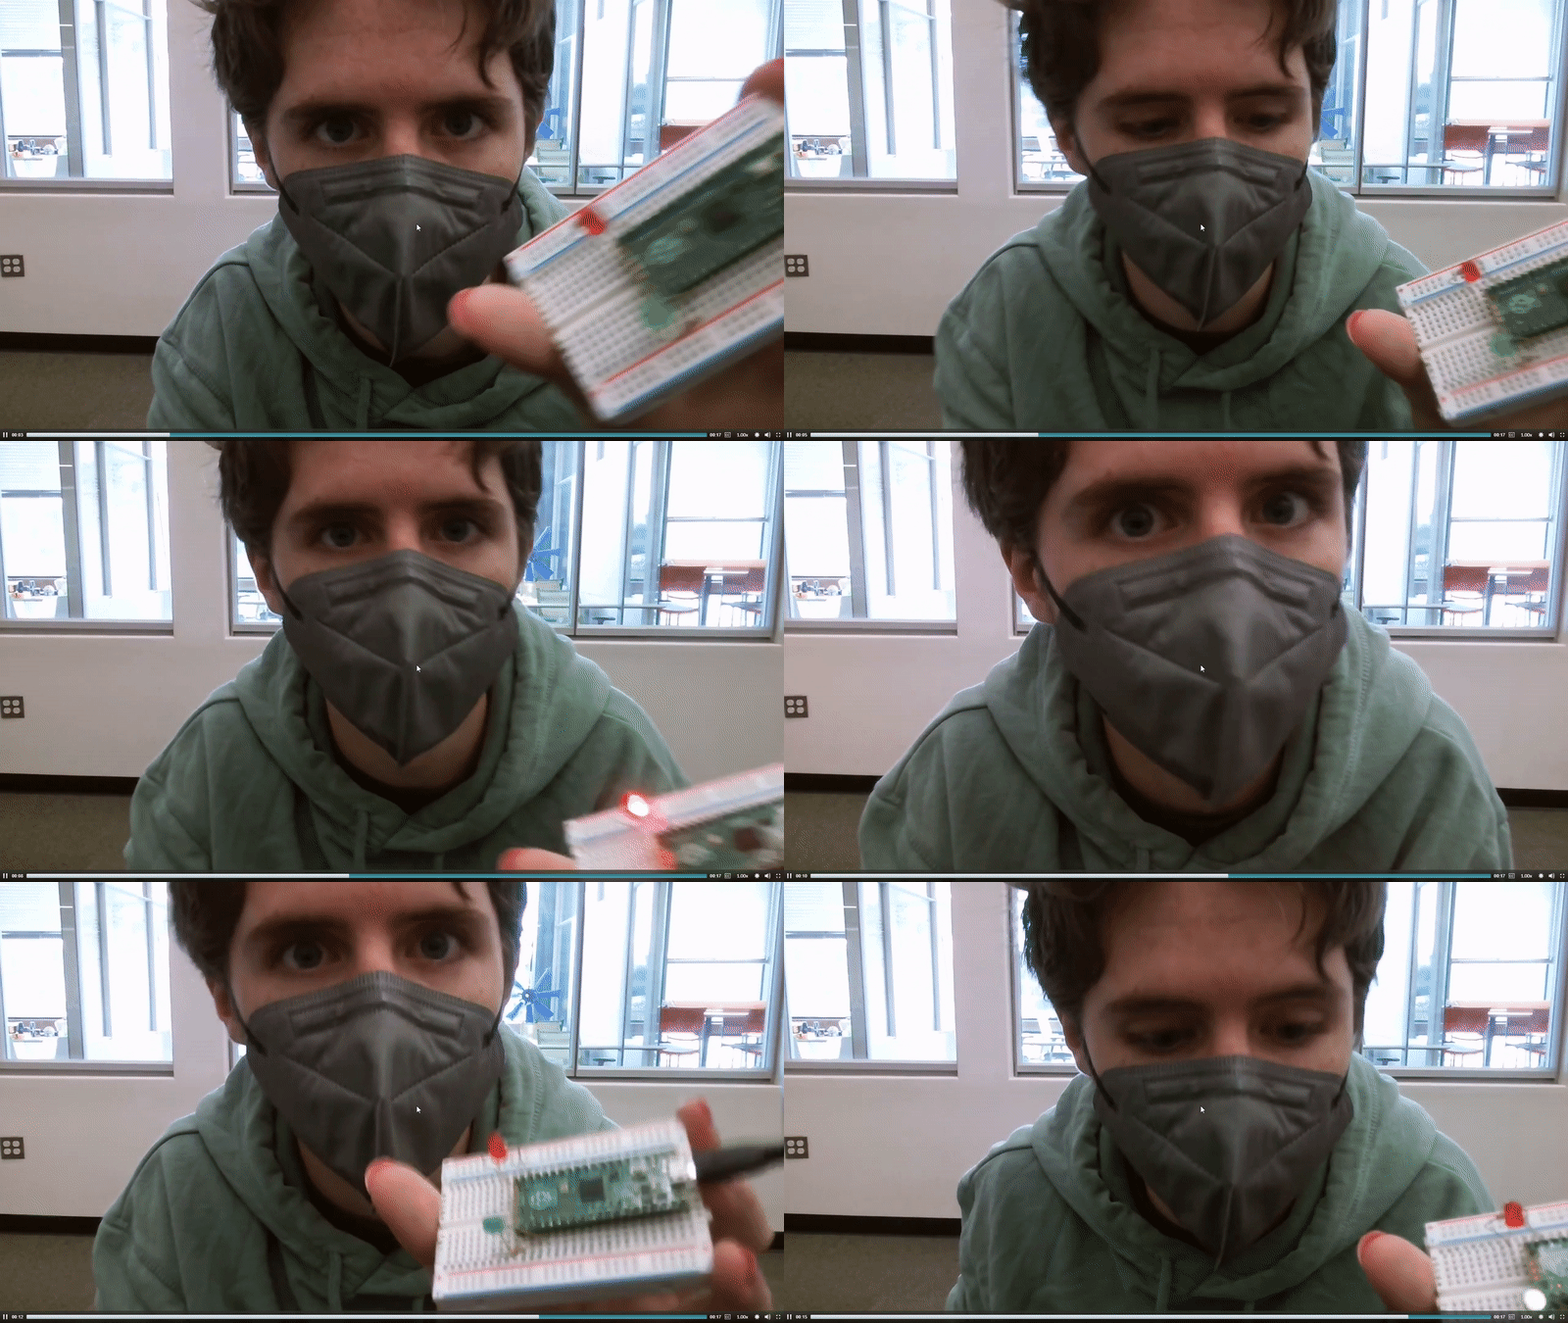
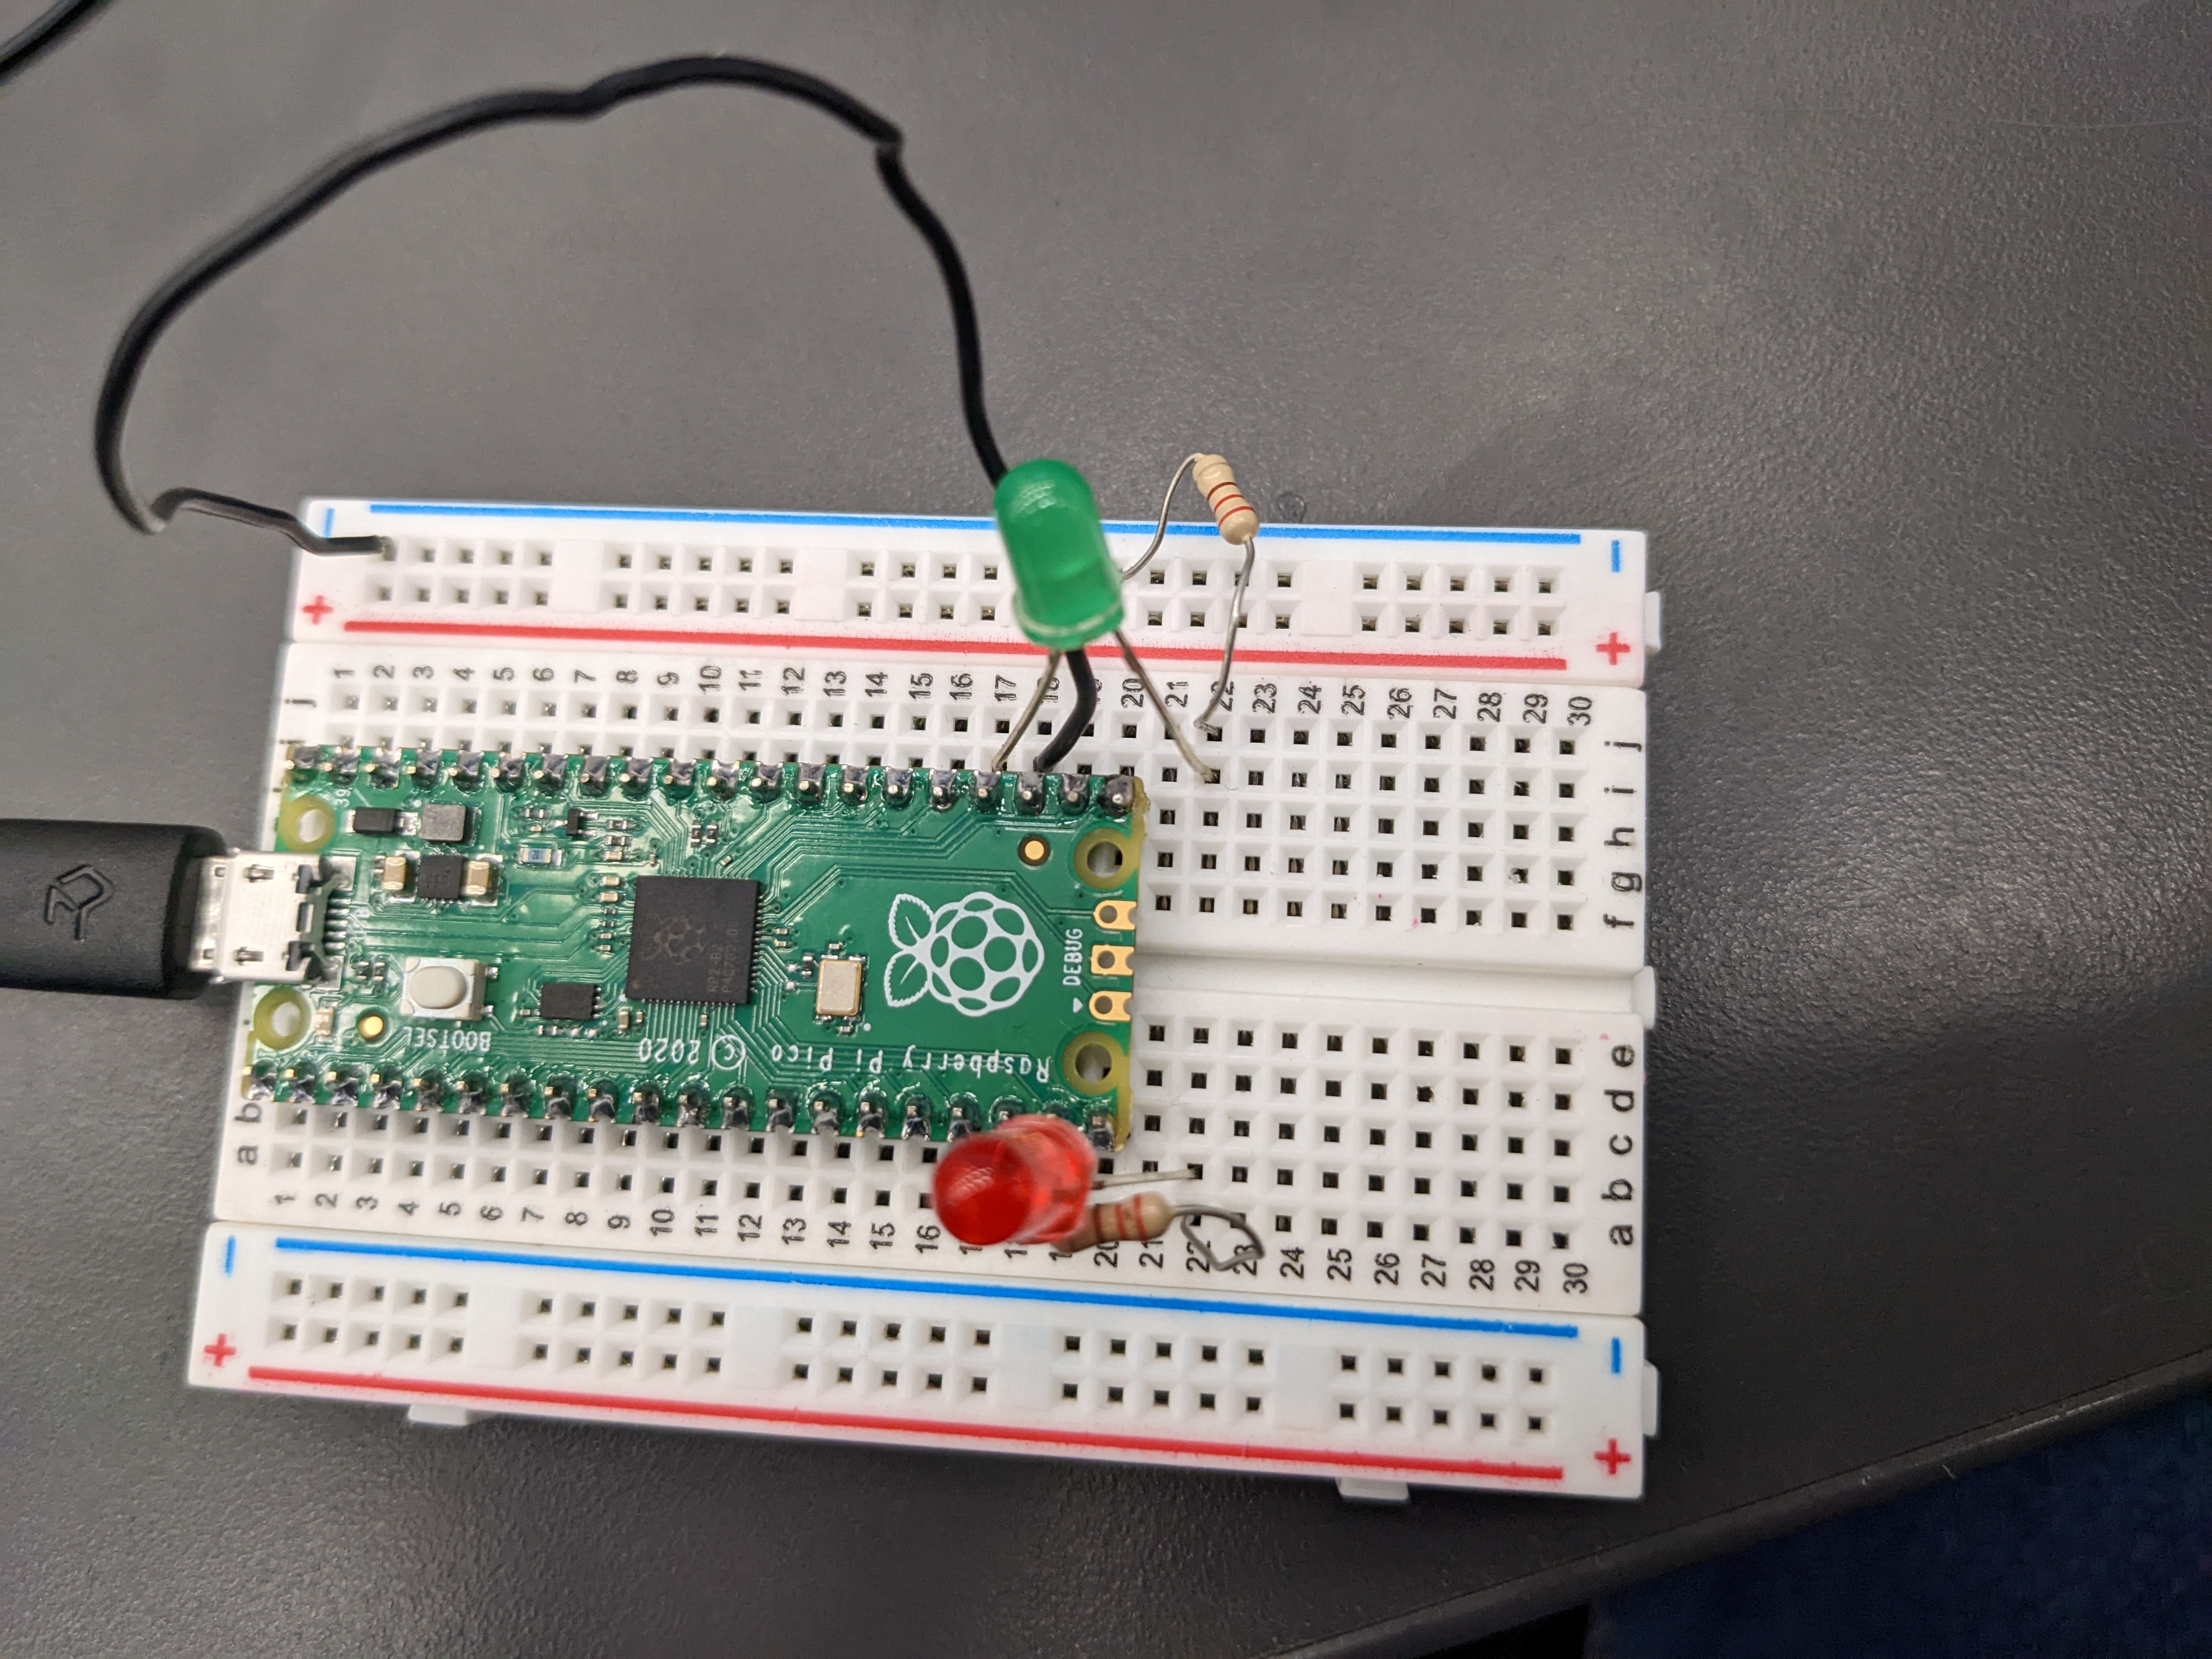
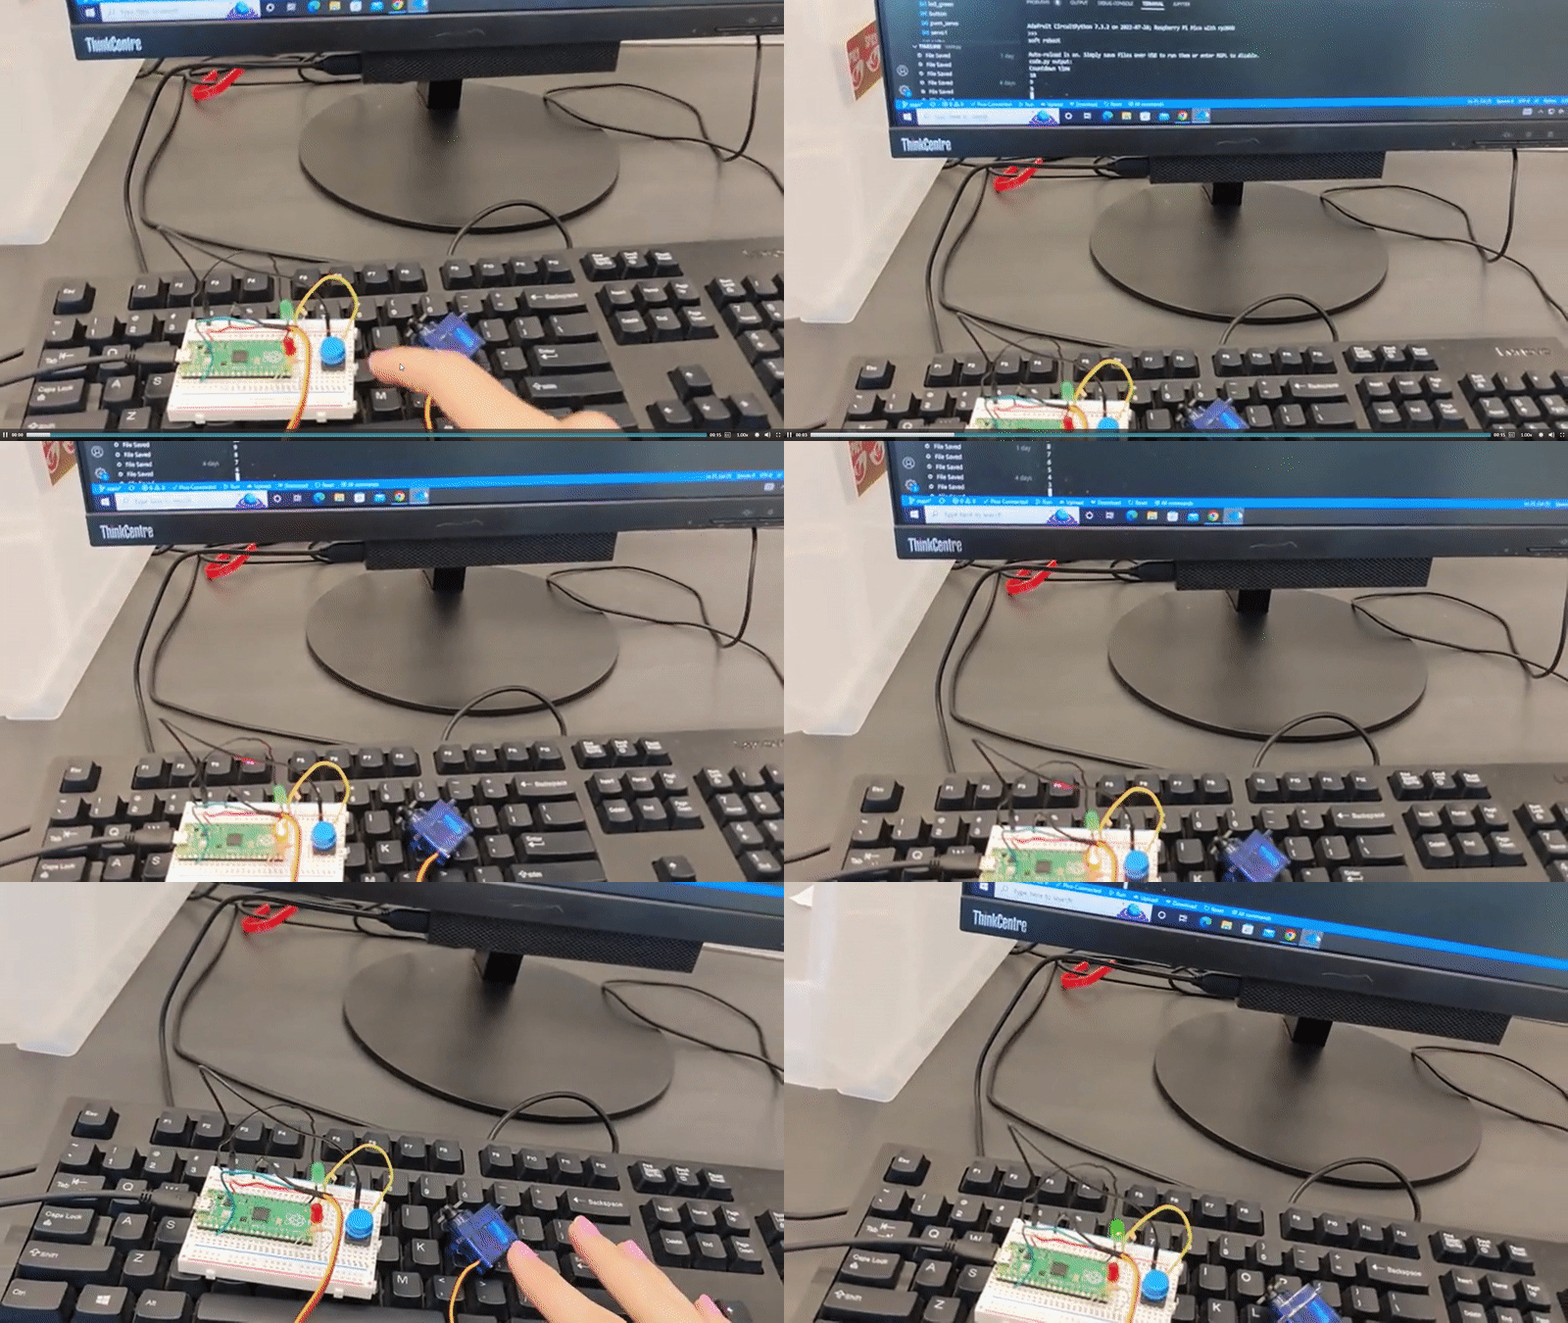
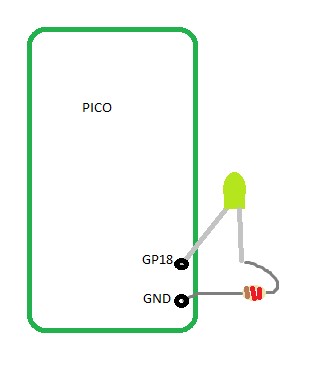
Countdown from 10 seconds to 0 (liftoff). Print that countdown to the serial monitor. Blink a red light each second of the countdown, and turn on a green LED to signify liftoff.
Long leg of LED goes to positive. Turn the LED on and off every half seconds so it does a full blink every second. Have a time.sleep at the end or put it in a while True loop so you can actually see the green LED turn on before the code finishes running.
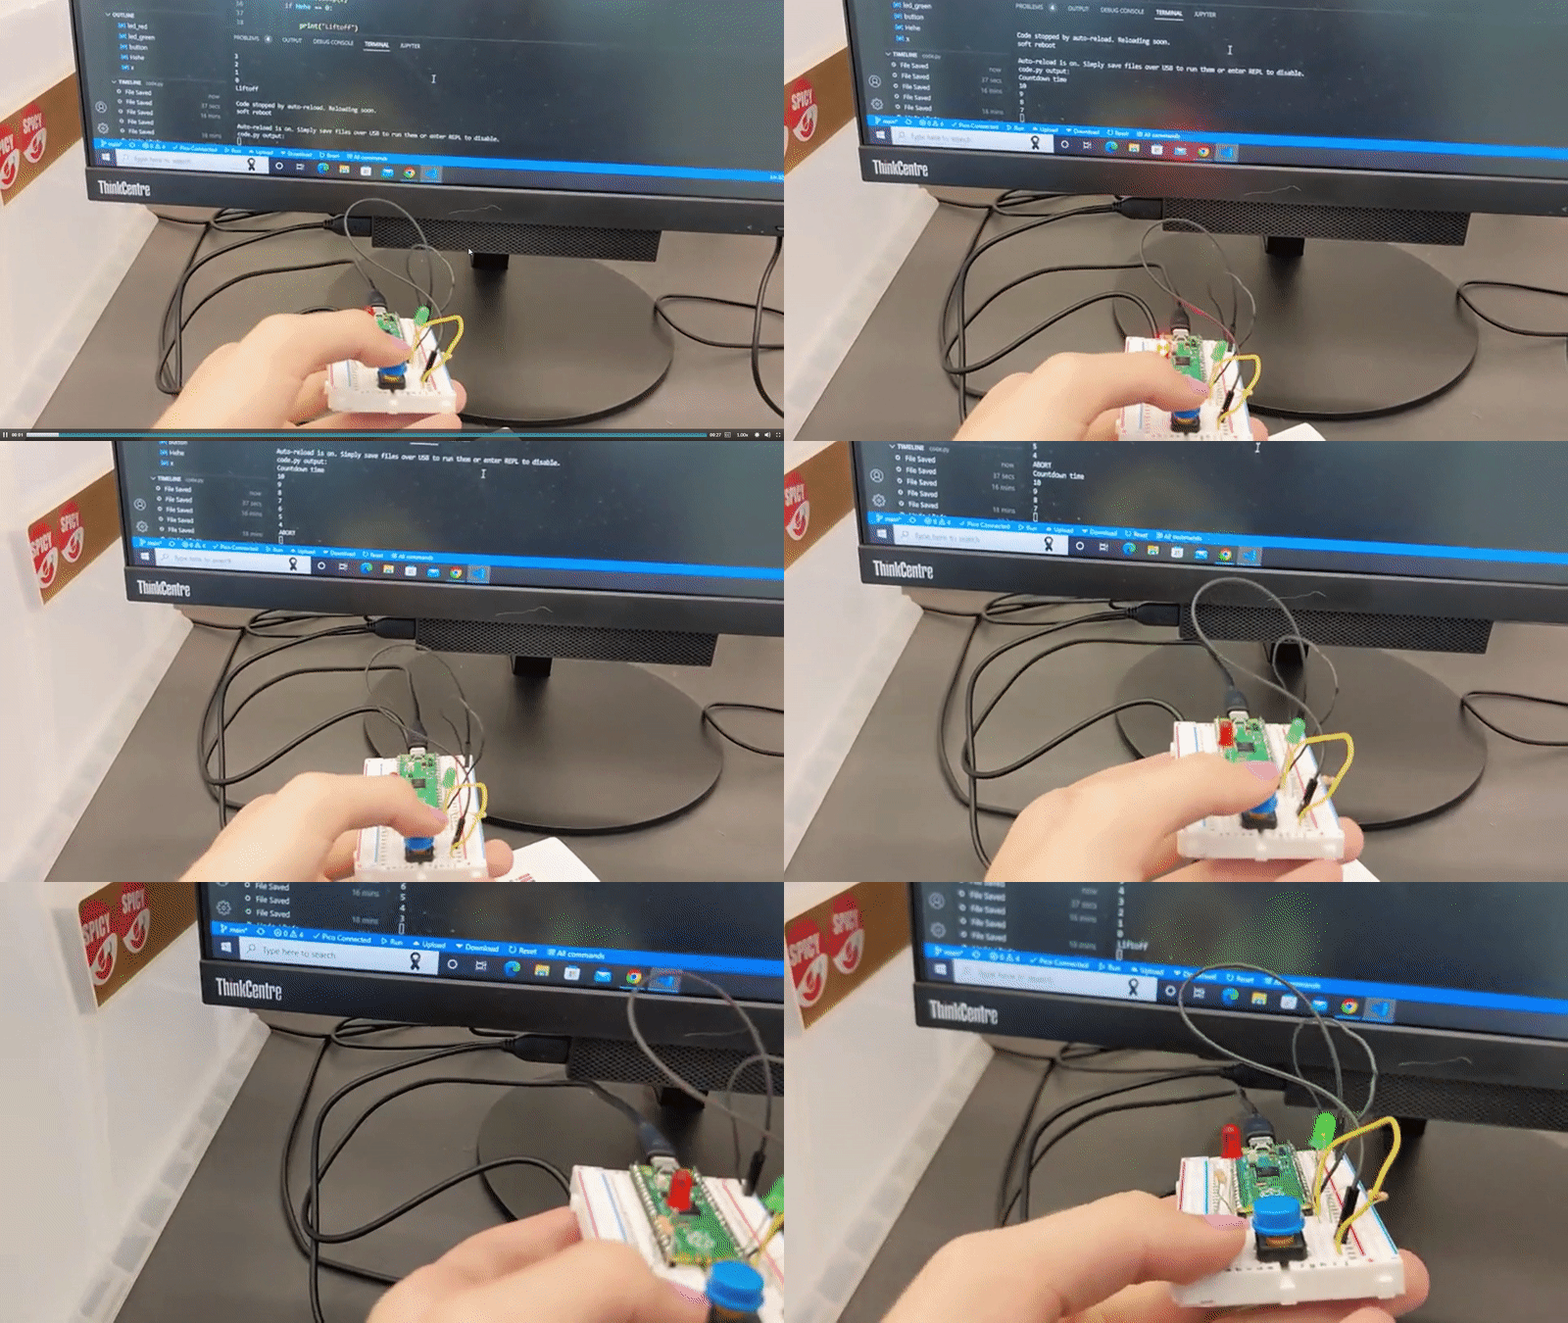
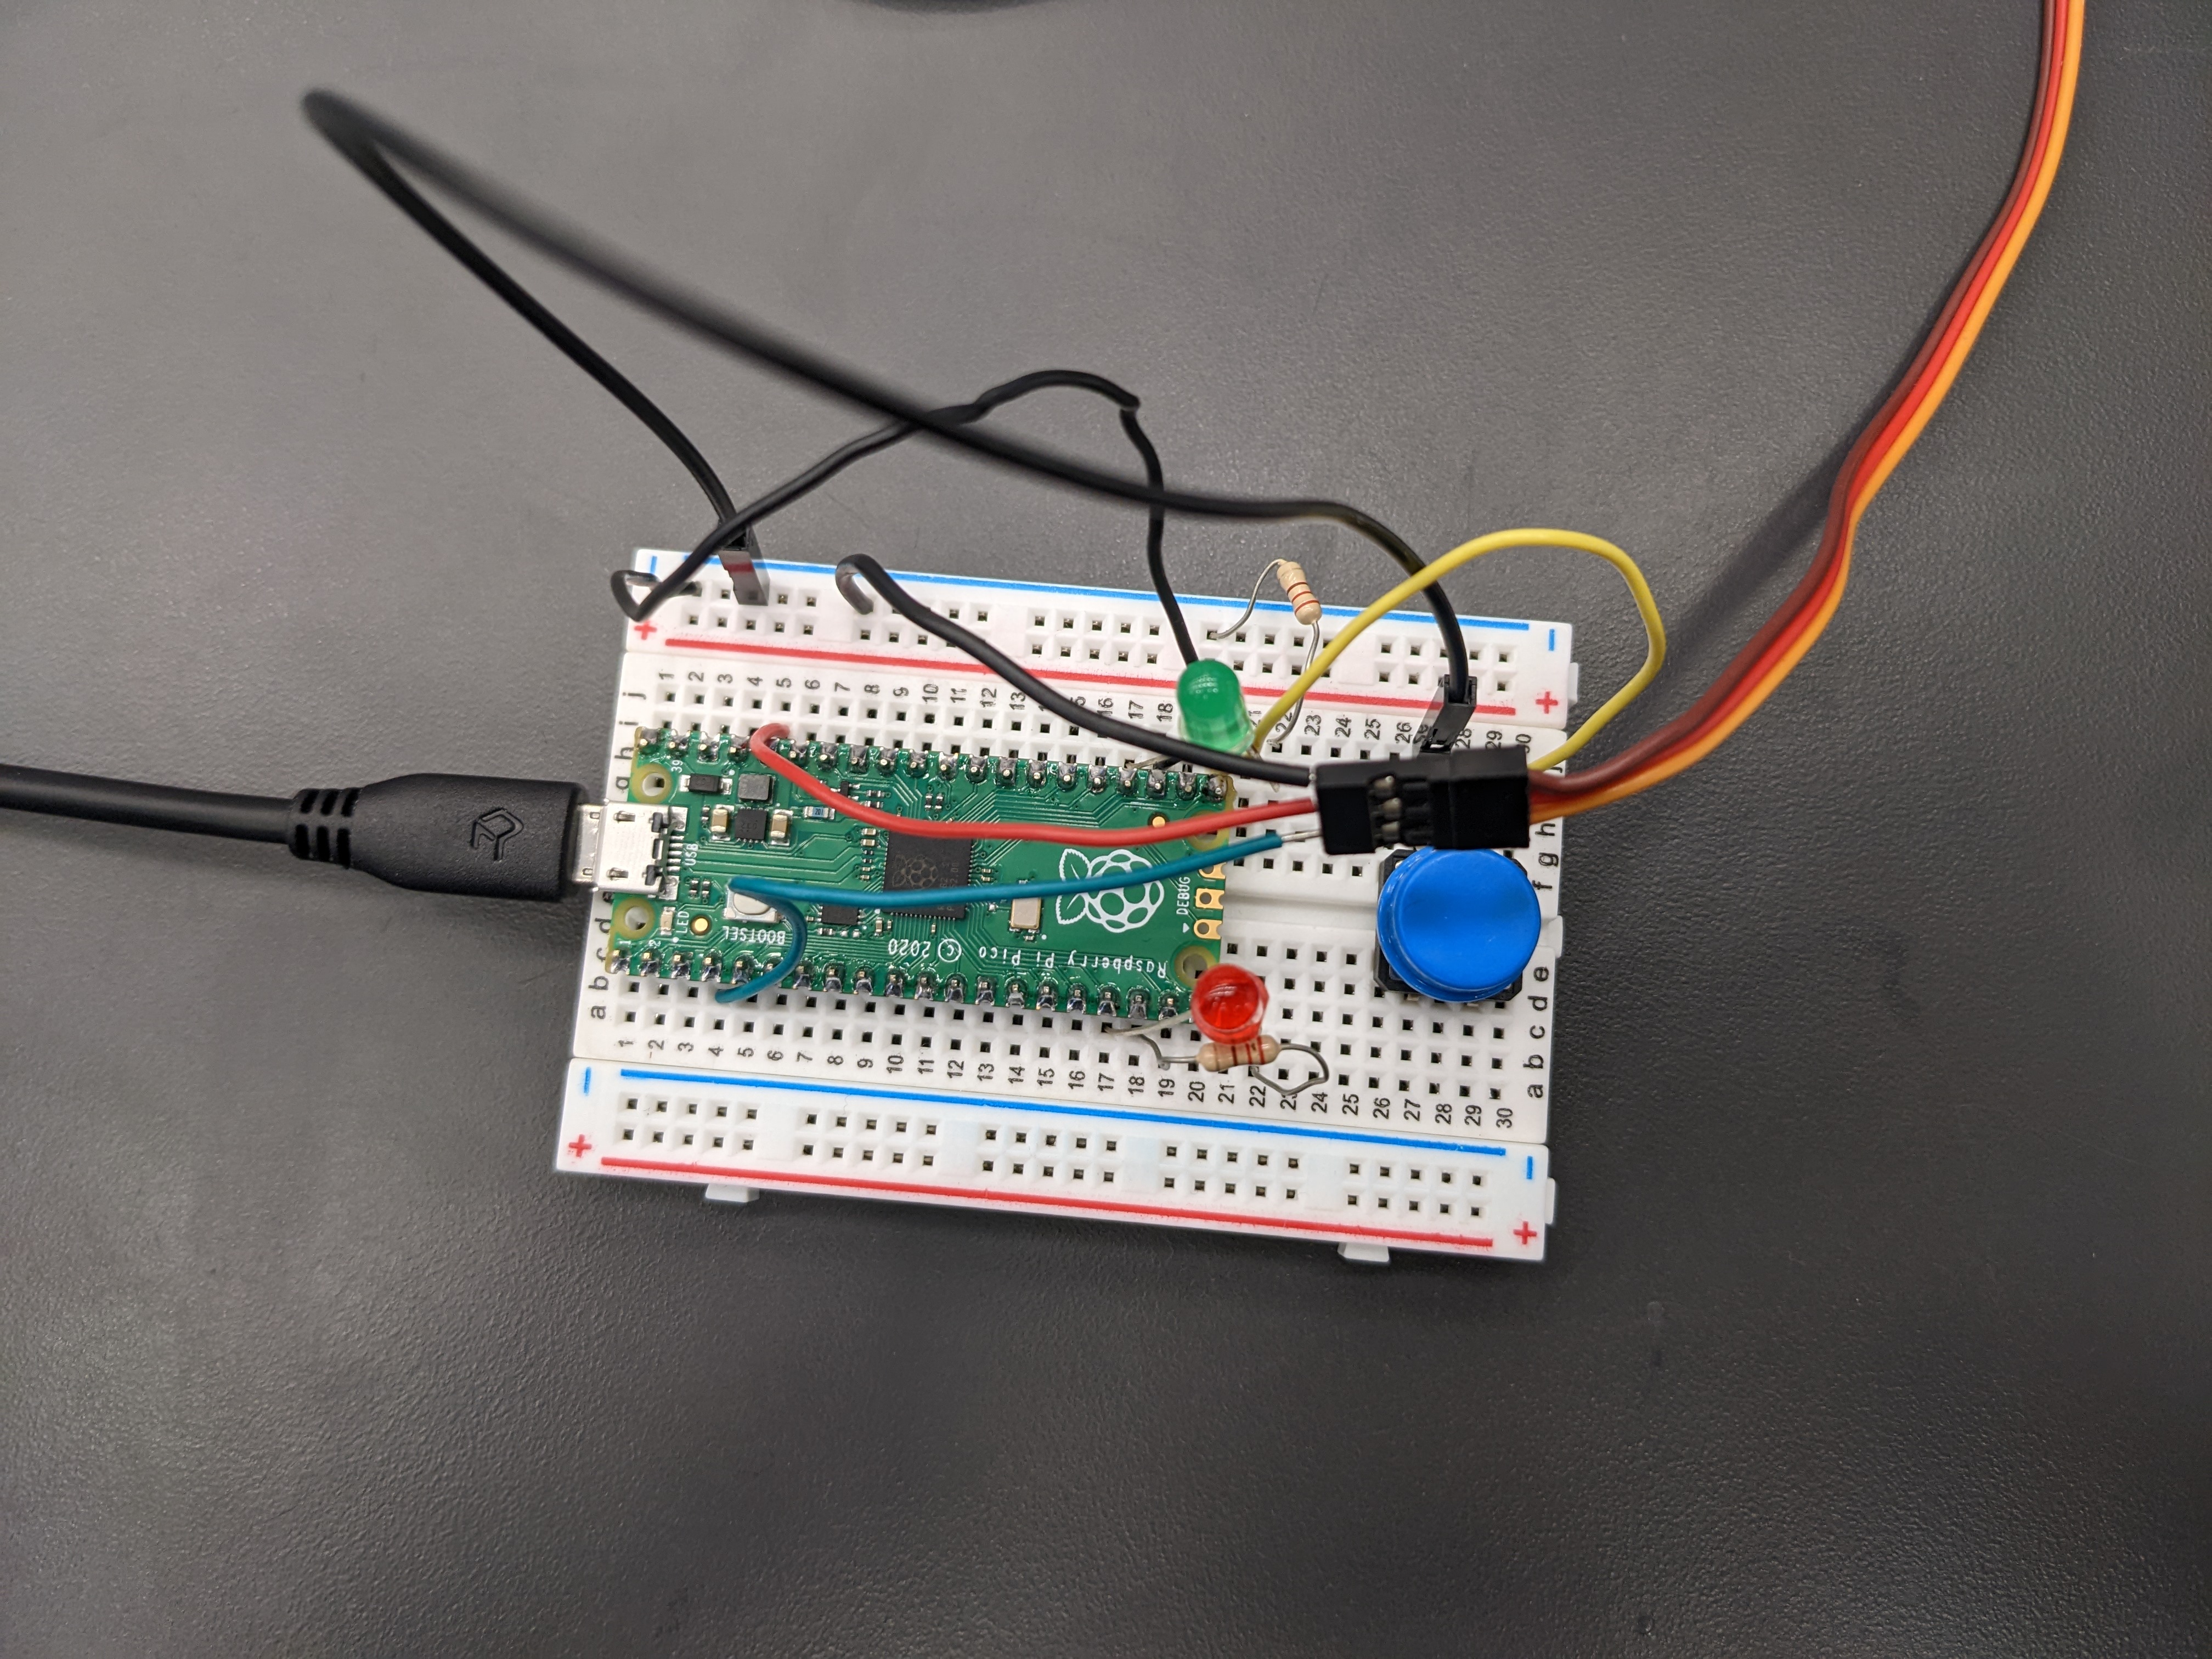
Countdown from 10 seconds to 0 (liftoff). Print that countdown to the serial monitor. Blink a red light each second of the countdown, and turn on a green LED to signify liftoff. Include a physical button that starts the countdown.
Hypothetically there is probably an easier way to do this asssignment, that being said what I did works. Keep in mind! the "if not button.value" should be changed to "if button.value" and vice versa if you are wiring the button differently, not to ground and to the power pin instead. Also in the future perhaps find a way to code it more cleanly so instead of it checking to see if the button has been pressed every half second, it is able to continuously check, if possible.
Countdown from 10 seconds to 0 (liftoff). Print that countdown to the serial monitor. Blink a red light each second of the countdown, and turn on a green LED to signify liftoff. Include a physical button that starts the countdown. Actuate a 180 degree servo on liftoff to simulate the launch tower disconnecting.
The servo was easy enough, just adding a few lines of code. Watch out for the wiring because I accidentally wired the ground wire to 3v3 and it temporarily shorted my pico, didn't fry it though. If you want to do the spicy version where it begins to sweep at 3 seconds the easiest way is to use time.monotonic, but you technically don't have to if you have some crazy if statements and for loops but frankly that's just above my pay grade (I'm not getting paid).
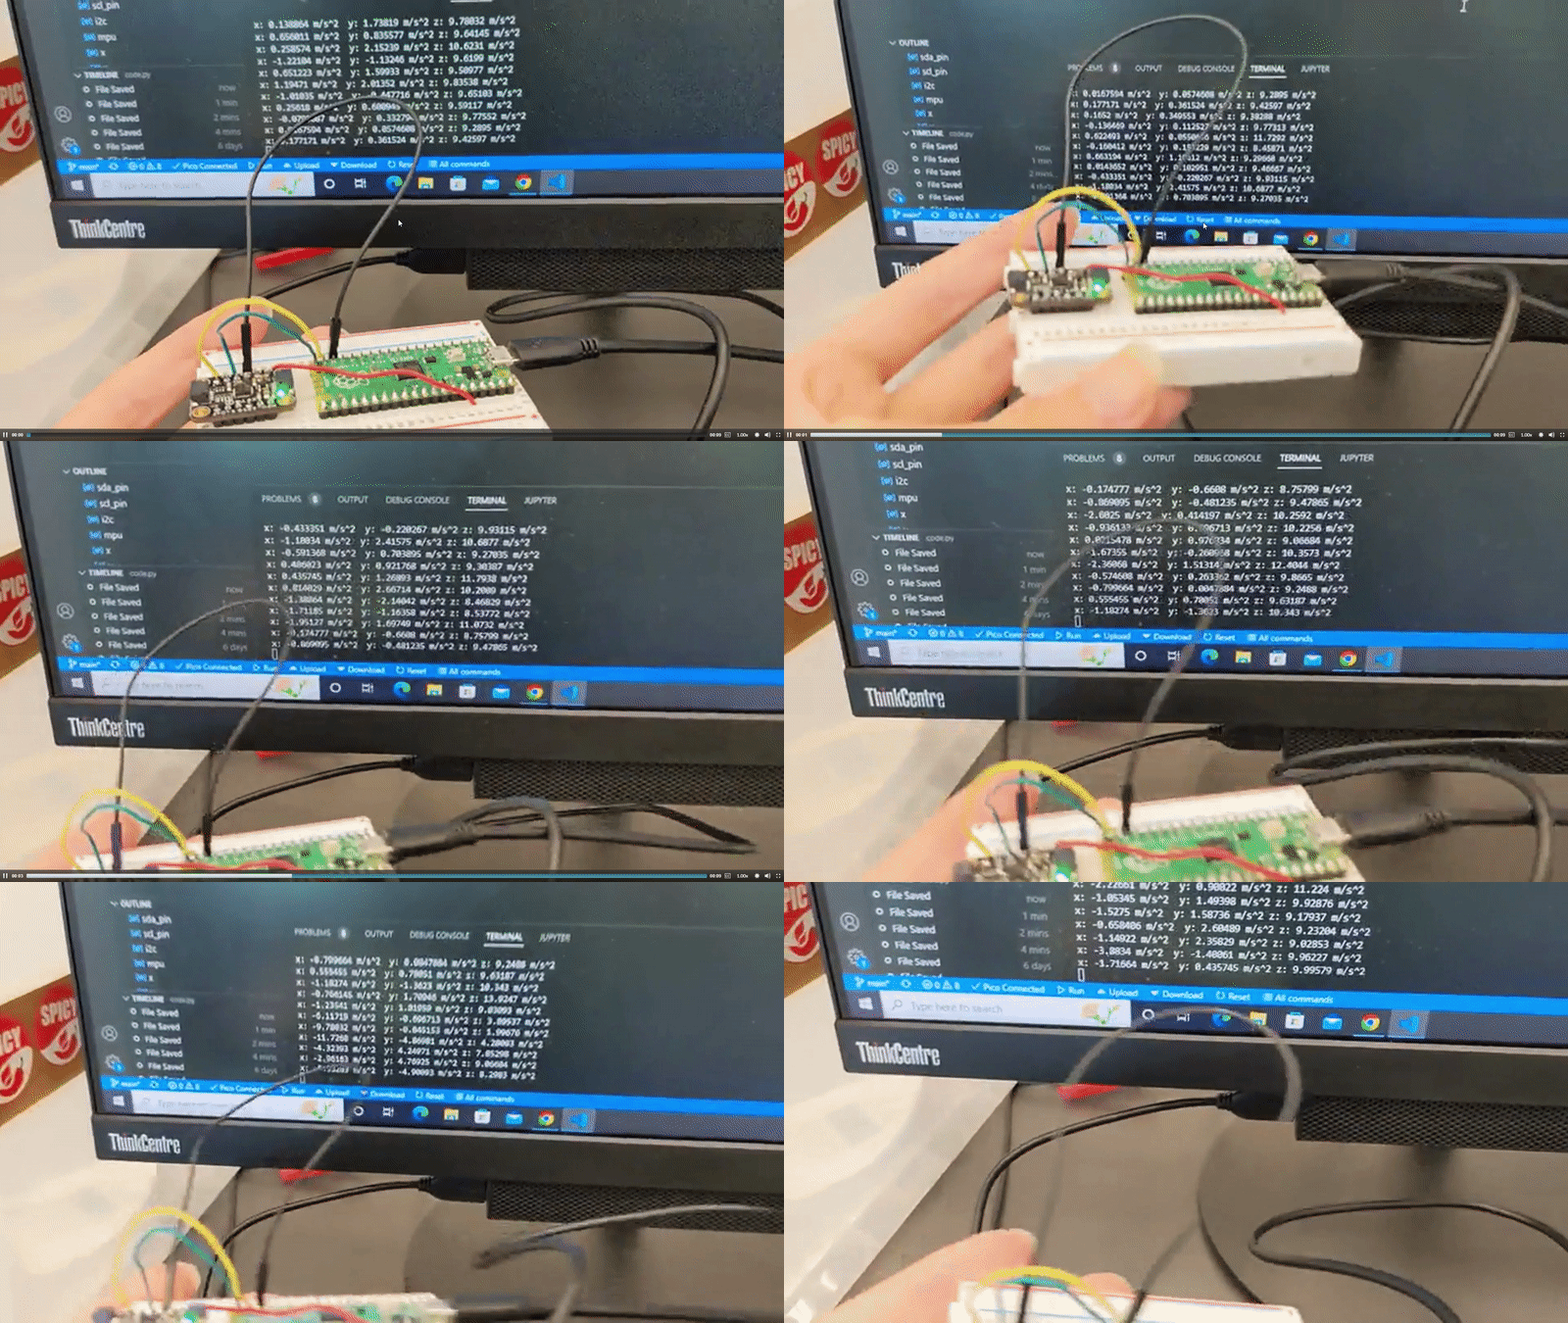
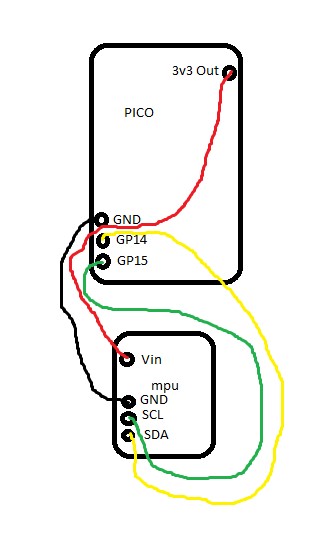
Create a module that has an accelerometer that continuously reports x, y, and z acceleration values on the serial monitor.
Wiring was super easy it's weird that you only wire one side of the accelerometer though. As far as the code goes I think the f string is easiest for printing. You may not have to slap the mpu inputs into variables and you could directly pull into the print string but I haven't tried it and frankly I am too scared to, but it could save you a couple lines of code. Don't be alarmed by your z variable printing ~9.8 that's just gravity.
Create a module that has an accelerometer that continuously reports x, y, and z acceleration values on the serial monitor. The module must have an LED that turns on if the helicopter is tilted to 90 degrees. The module must be powered by a mobile power source.
This assignment was actually dead easy. Everything worked perfectly the first time. I think I could maybe give you advice in terms of find the right value for the if statement to check whether it's 90 degrees, personally mine was pretty jumpy so I set it to 1 for the z variable.
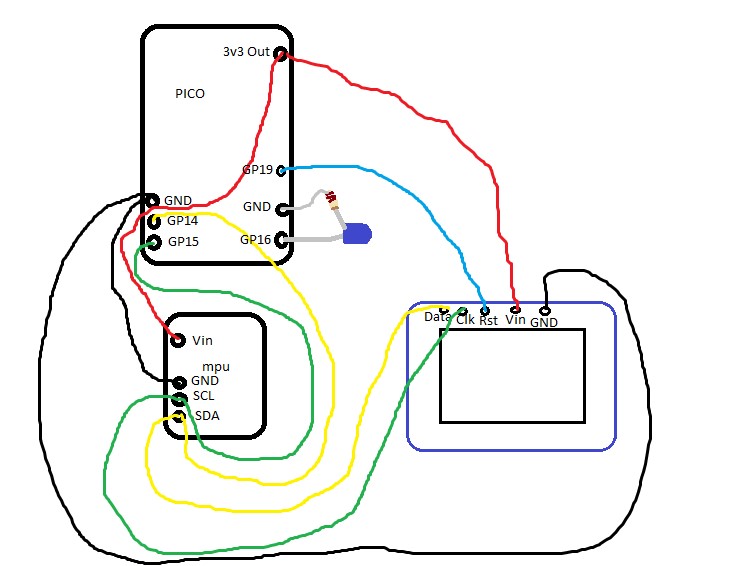
Create a module that has an accelerometer that continuously reports x, y, and z acceleration values on the serial monitor. The module must have an LED that turns on if the helicopter is tilted to 90 degrees. The module must be powered by a mobile power source. The module must have an onboard screen that prints x, y, and z angular velocity values (rad/s) rounded to 3 decimal places.
This was pretty challenging, in terms of getting the wiring to work and working with the pretty finicky code. Main thing to remember is that i2c wiring is always off of two pins, this does however mean the coding is a bit harder because you have to put in the address in a long initialization statement for each device. Also make sure to use the code to find the addresses of the devices, and if you're not finding them try reconnecting and checking wiring.
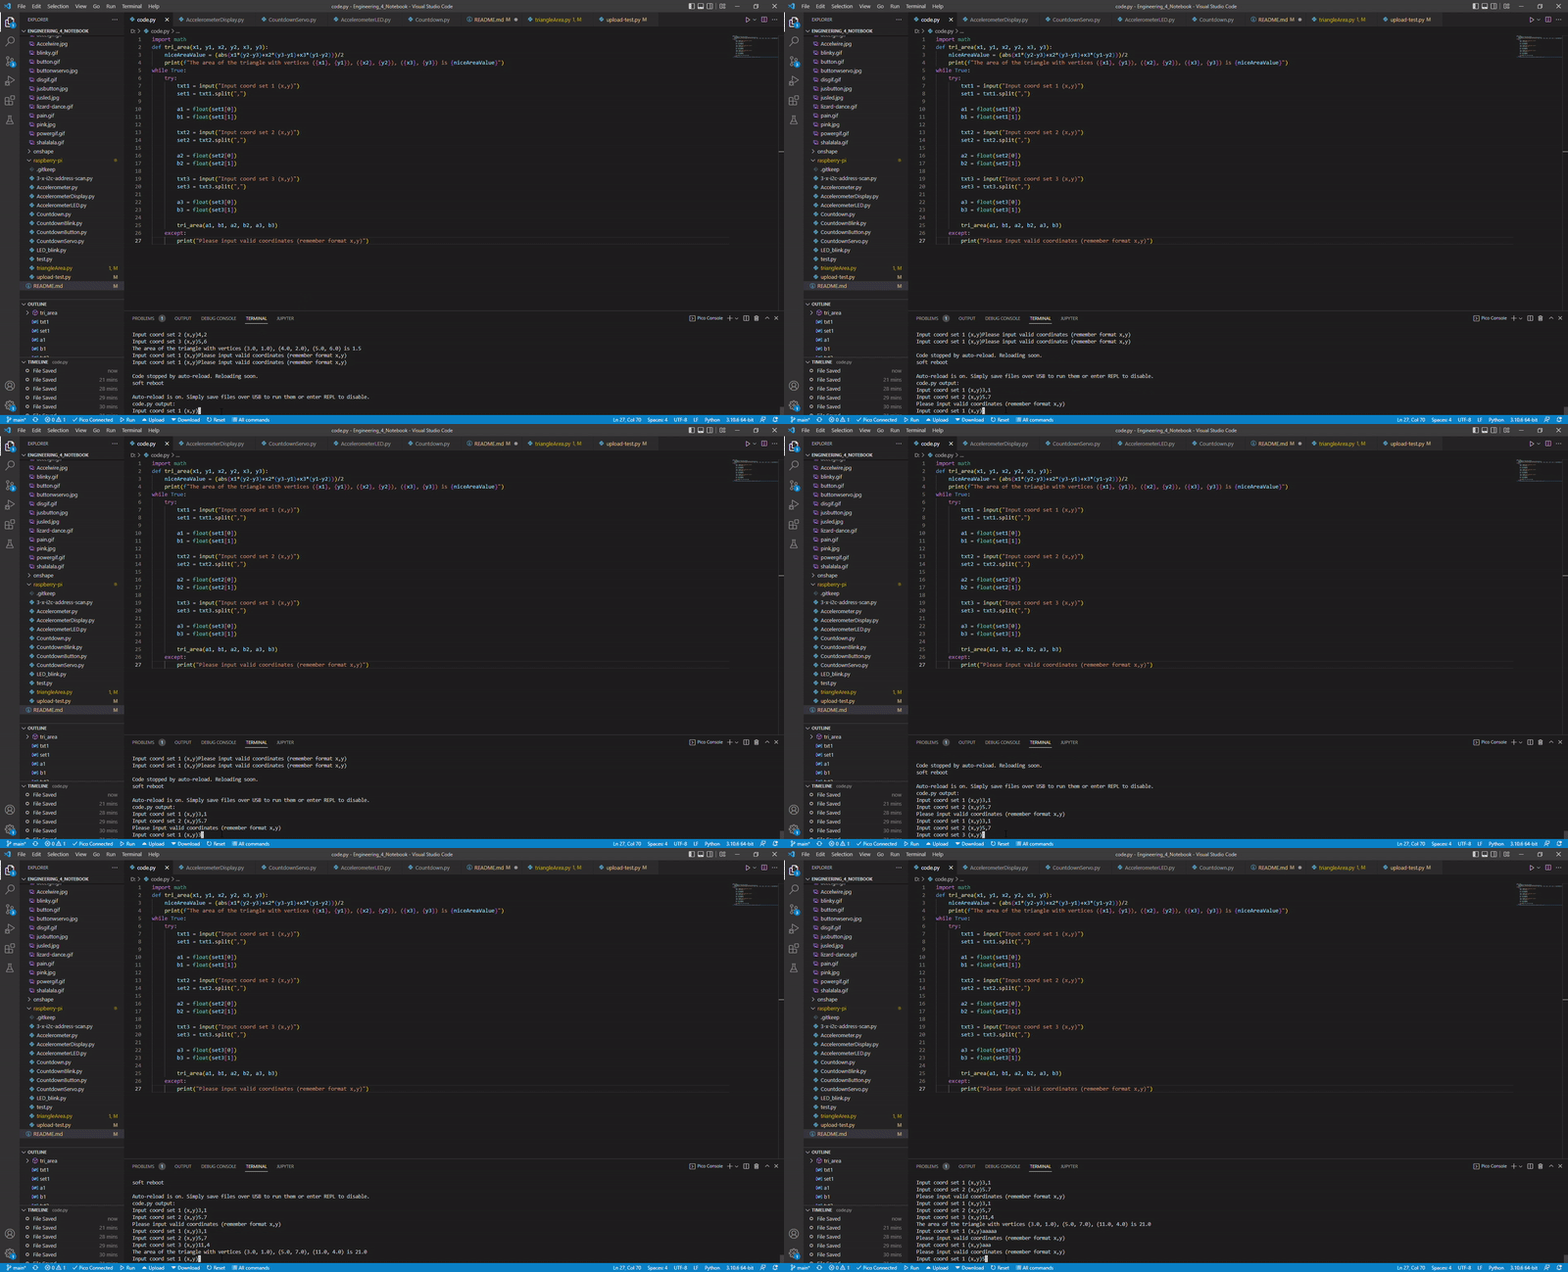
Create a program which calculates the area of a triangle. The code must ask for the user to input a set of three coordinates in (x,y) format. The triangle area must be determined using a function. If the user inputs coordinates incorrectly (letters or improper format) the code should return to the input stage, it should not throw an error or exit the script. The triangle area must be printed to the screen in this format: “The area of the triangle with vertices (x,y), (x,y), (x,y) is {area} square km. The code must return to the input stage after printing the area, and wait for user input.
The split function formats the output as a list, so to access it you need to do your output name[number of item in list]. For example if I did
txt = "69, 420"
output = txt.split(, )
I would have to access one of those numbers by saying
x = output[1]to get the number "420." Other than that, using 'try' and 'except' is actually astoundingly simple and horrifically helpful so it's important to use that. The only other problem was the way I formatted my math statement. Python doesn't recognize 'a(b)' as multiplication so you have to format that as 'a*(b)' and that caught me up for a while.
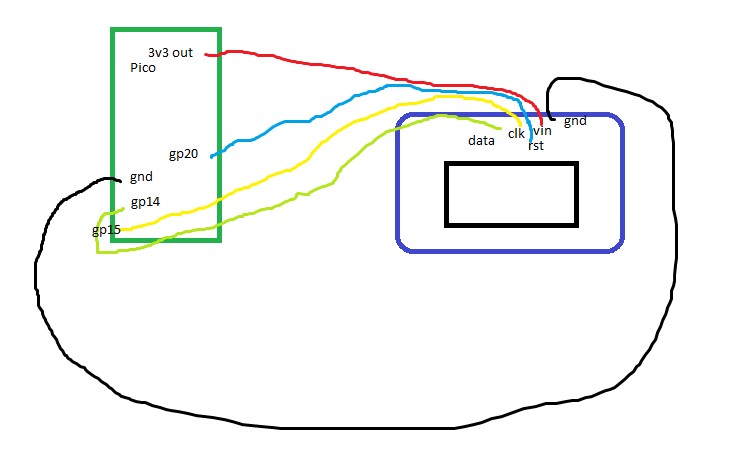
Create a program which calculates the area of a triangle. The code must ask for the user to input a set of three coordinates in (x,y) format. The triangle area must be determined using a function. If the user inputs coordinates incorrectly (letters or improper format) the code should return to the input stage, it should not throw an error or exit the script. The triangle area must be printed to the screen in this format: “The area of the triangle with vertices (x,y), (x,y), (x,y) is {area} square km. The code must return to the input stage after printing the area, and wait for user input. An onboard OLED screen must plot each triangle on a graph relative to the base location.
This one is literally just adding a display. I guess like remember the coordinates have 64, 32 as the center. That part actually caused me problems after the fact, so you gotta like do weird math and divisions and stuff. So do those divisions! Like when you write it, because doing it after the fact is harder and feels more tedious.
Create a program which calculates the area of a triangle. A list of coordinates must be hard coded into the script. The triangle area must be determined using a function. The code must select the triangle with the closest centroid that has an area > 100 km^2. An onboard screen must plot each triangle as it is evaluated on a graph relative to the base. The code must print the following text “The closest suitable landing area has vertices ({x}, {y}, {z}). The area is {area} km2 and the centroid is {distance} km away from base."
There's a lot of things to say about this. Firstly, put your calculation for the triangle center and the triangle area in two different function. If you don't do this you'll have to do so many lists and other stuff. Furthermore in the end it probably will not work at all, or at least that's what I discovered. If you feel like making more work for yourself then put it all in one function, see if I care.
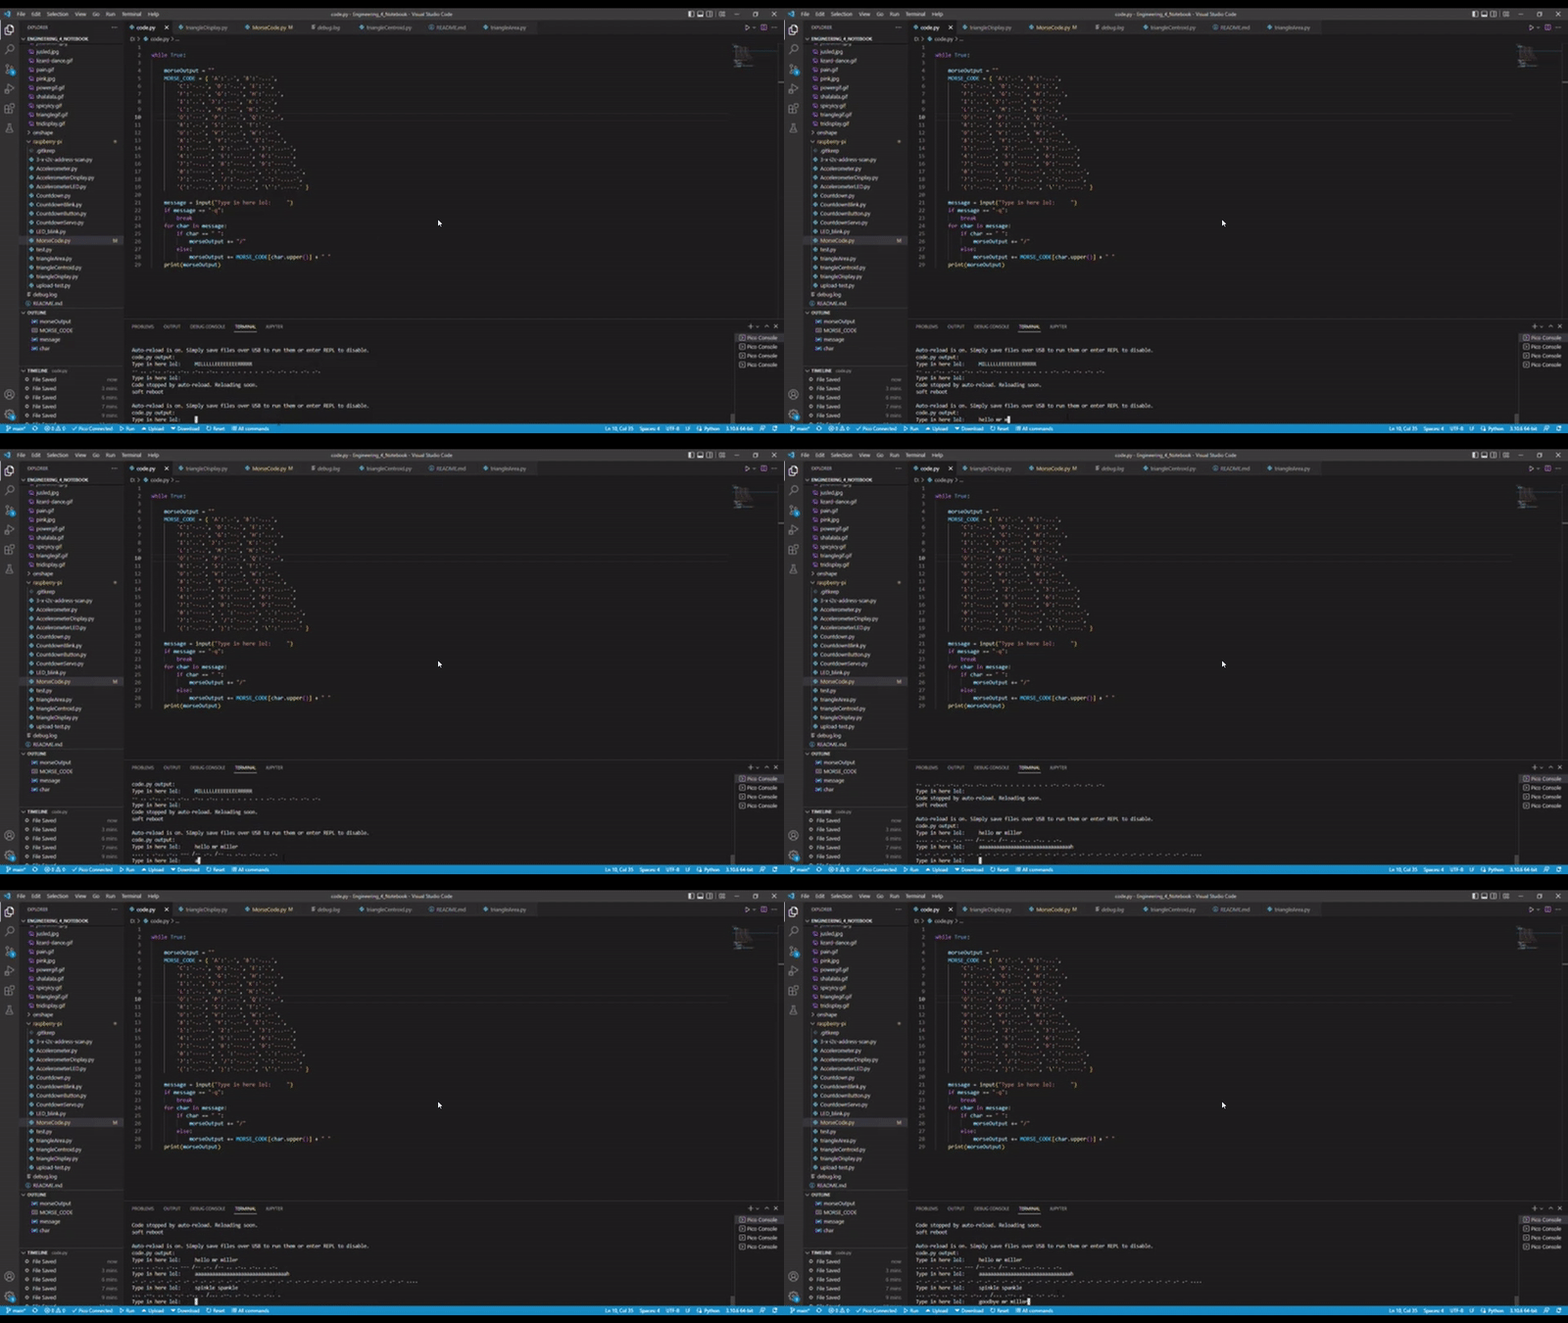
Create a which accepts text input by the user. If the user types “-q”, your script must exit. If the user types anything else, your script must translate the text to morse code dots and dashes, and print those to the monitor. The printed text must use a space to show breaks between letters, and a slash to show breaks between words
This code went really smoothly. Like from start to finish. It must be said that the way I started coding it was really janky, like not using the dictionary correctly. Using the dictionary correctly you only need ONE line of code to tell it to parse through the message and convert it to morse code. If you were doing it incorrectly then you have a bunch of if statements checking the characters and it's like 100 lines of code, and what's even the point of using the dictionary if you're doing that?
Create a which accepts text input by the user. If the user types “-q”, your script must exit. If the user types anything else, your script must translate the text to morse code dots and dashes, and print those to the monitor. The printed text must use a space to show breaks between letters, and a slash to show breaks between words. The script must flash an LED to transmit the morse code message using the timing sequence shown below
You know how to make an LED blink. Do that. Then you just do a for loop and a bunch of if statements for the dots and dashes. It's simple. It's so horrendously simple. I don't know how to reflect on this. I think I made it a bit less efficient by adding extra 'led.value(False)' lines that didn't need to be there so maybe get rid of those if you feel like it. That's all.
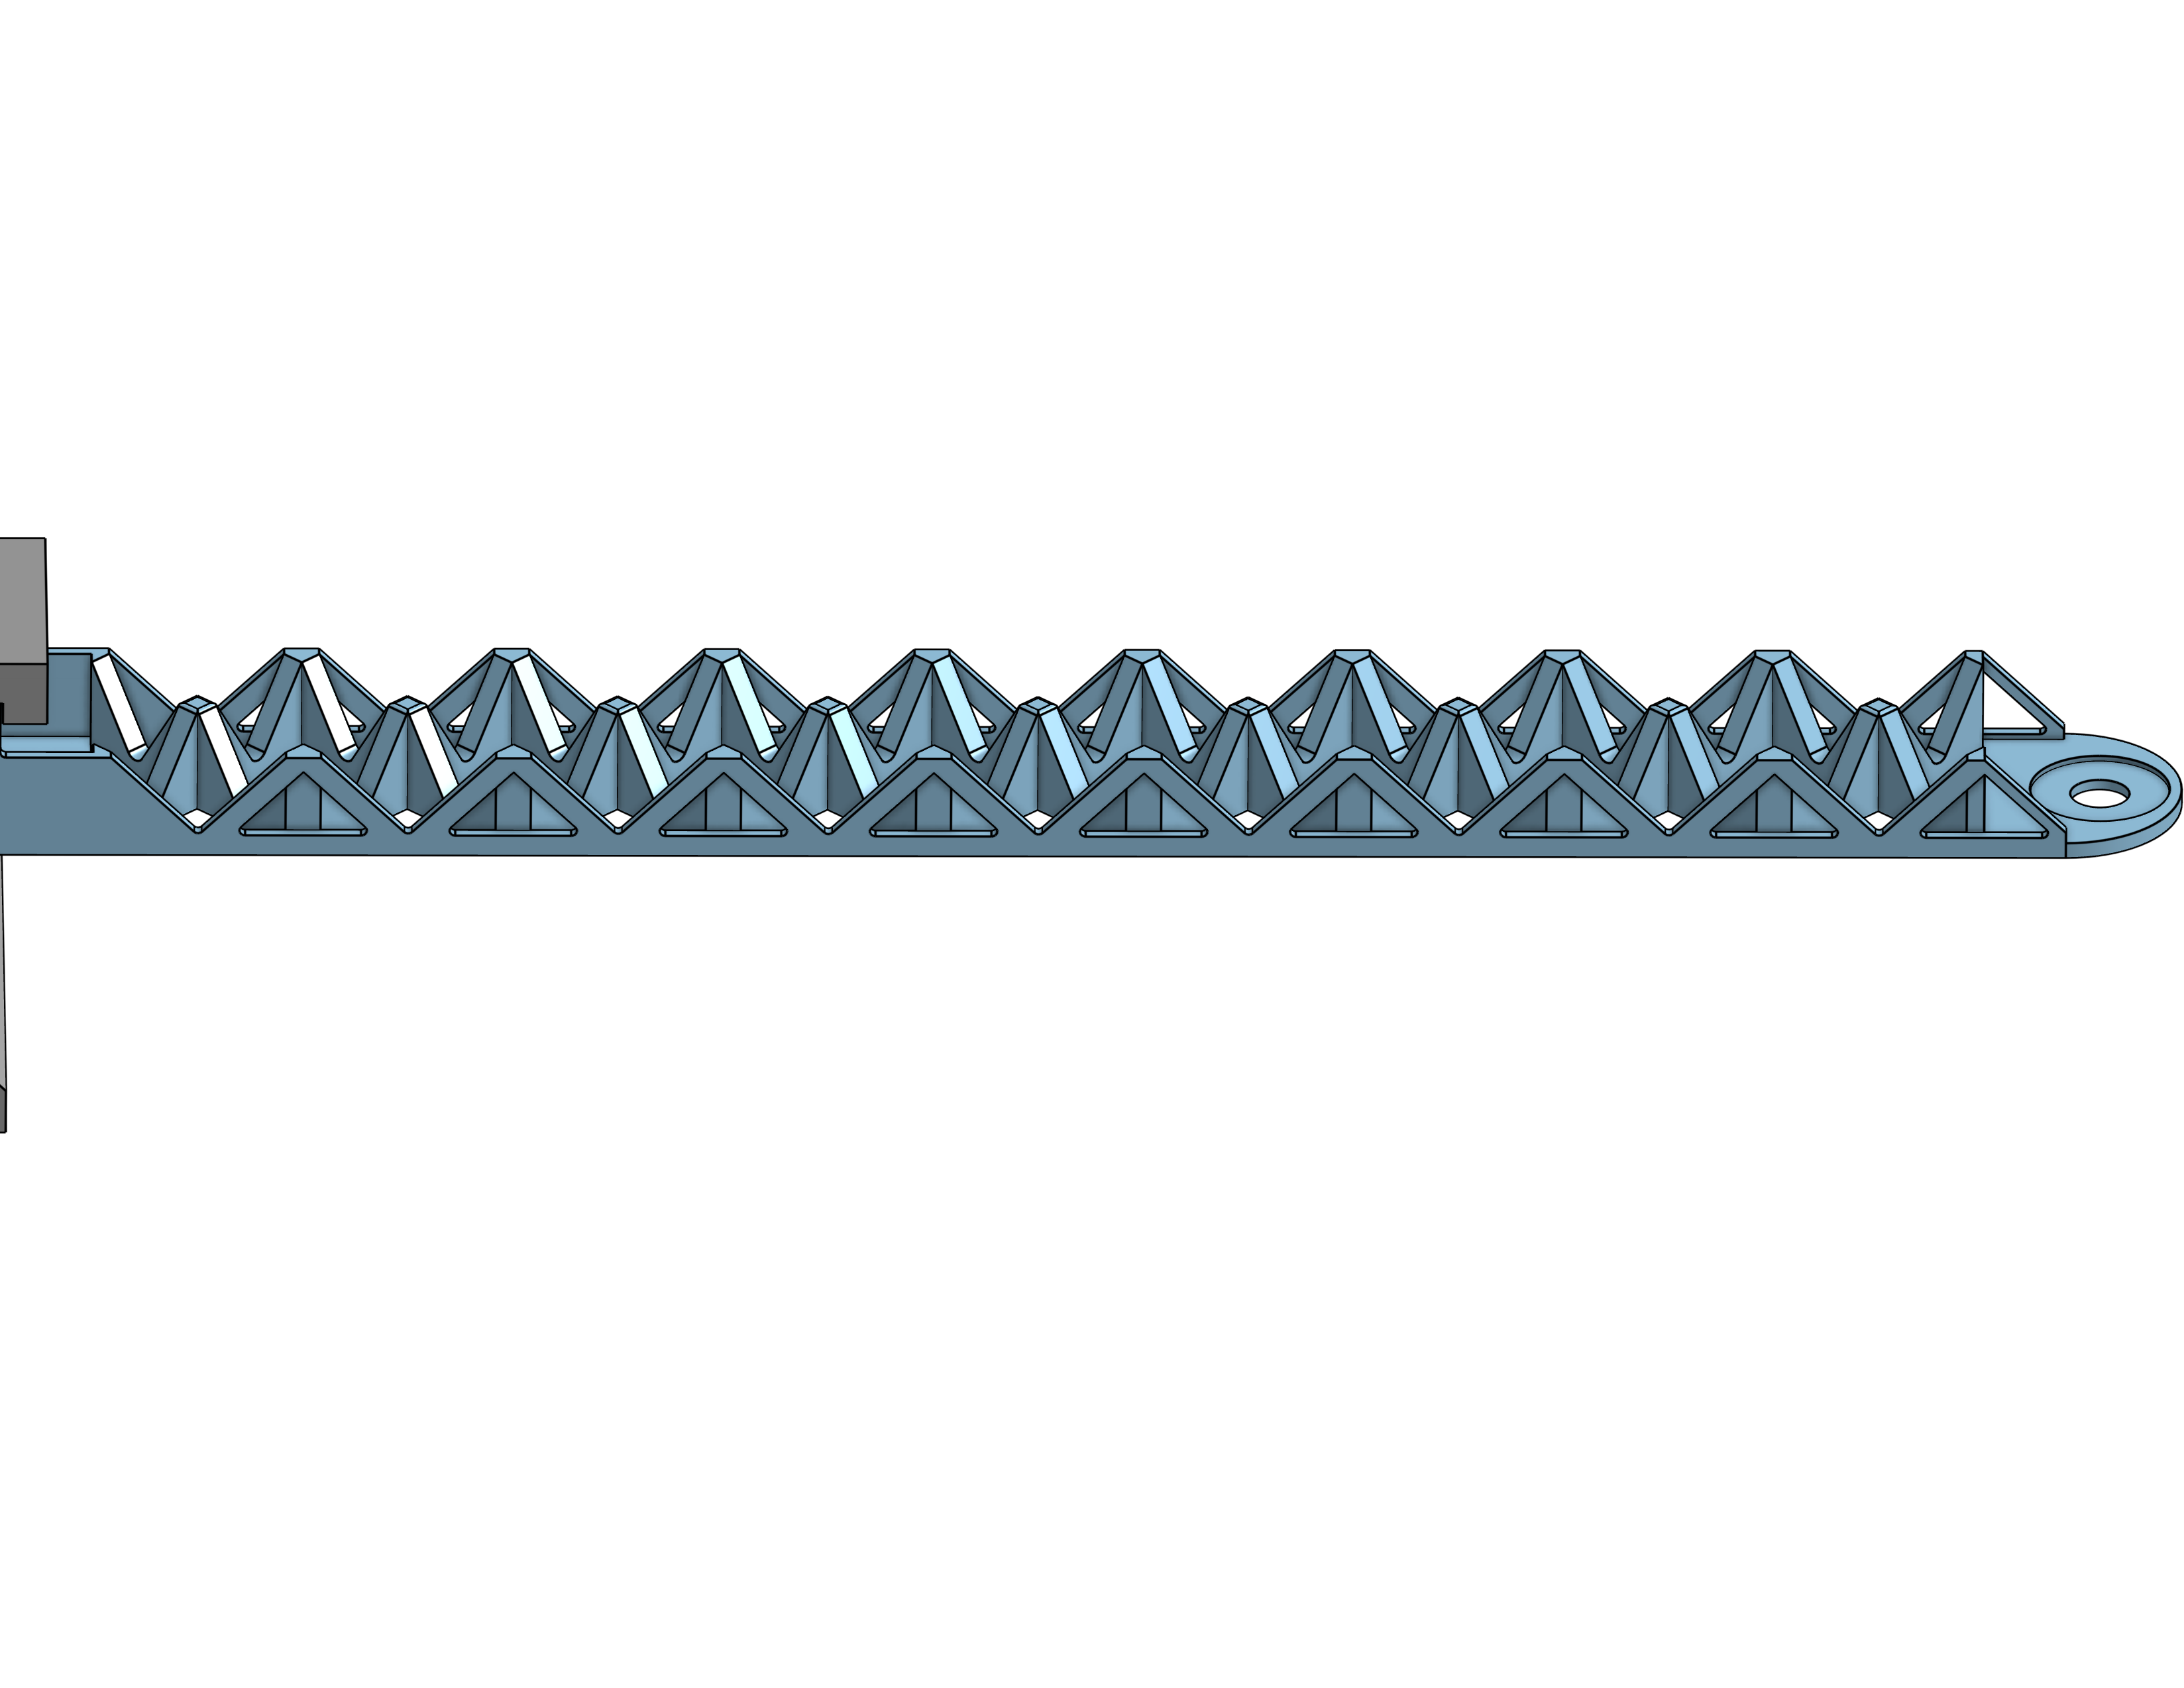
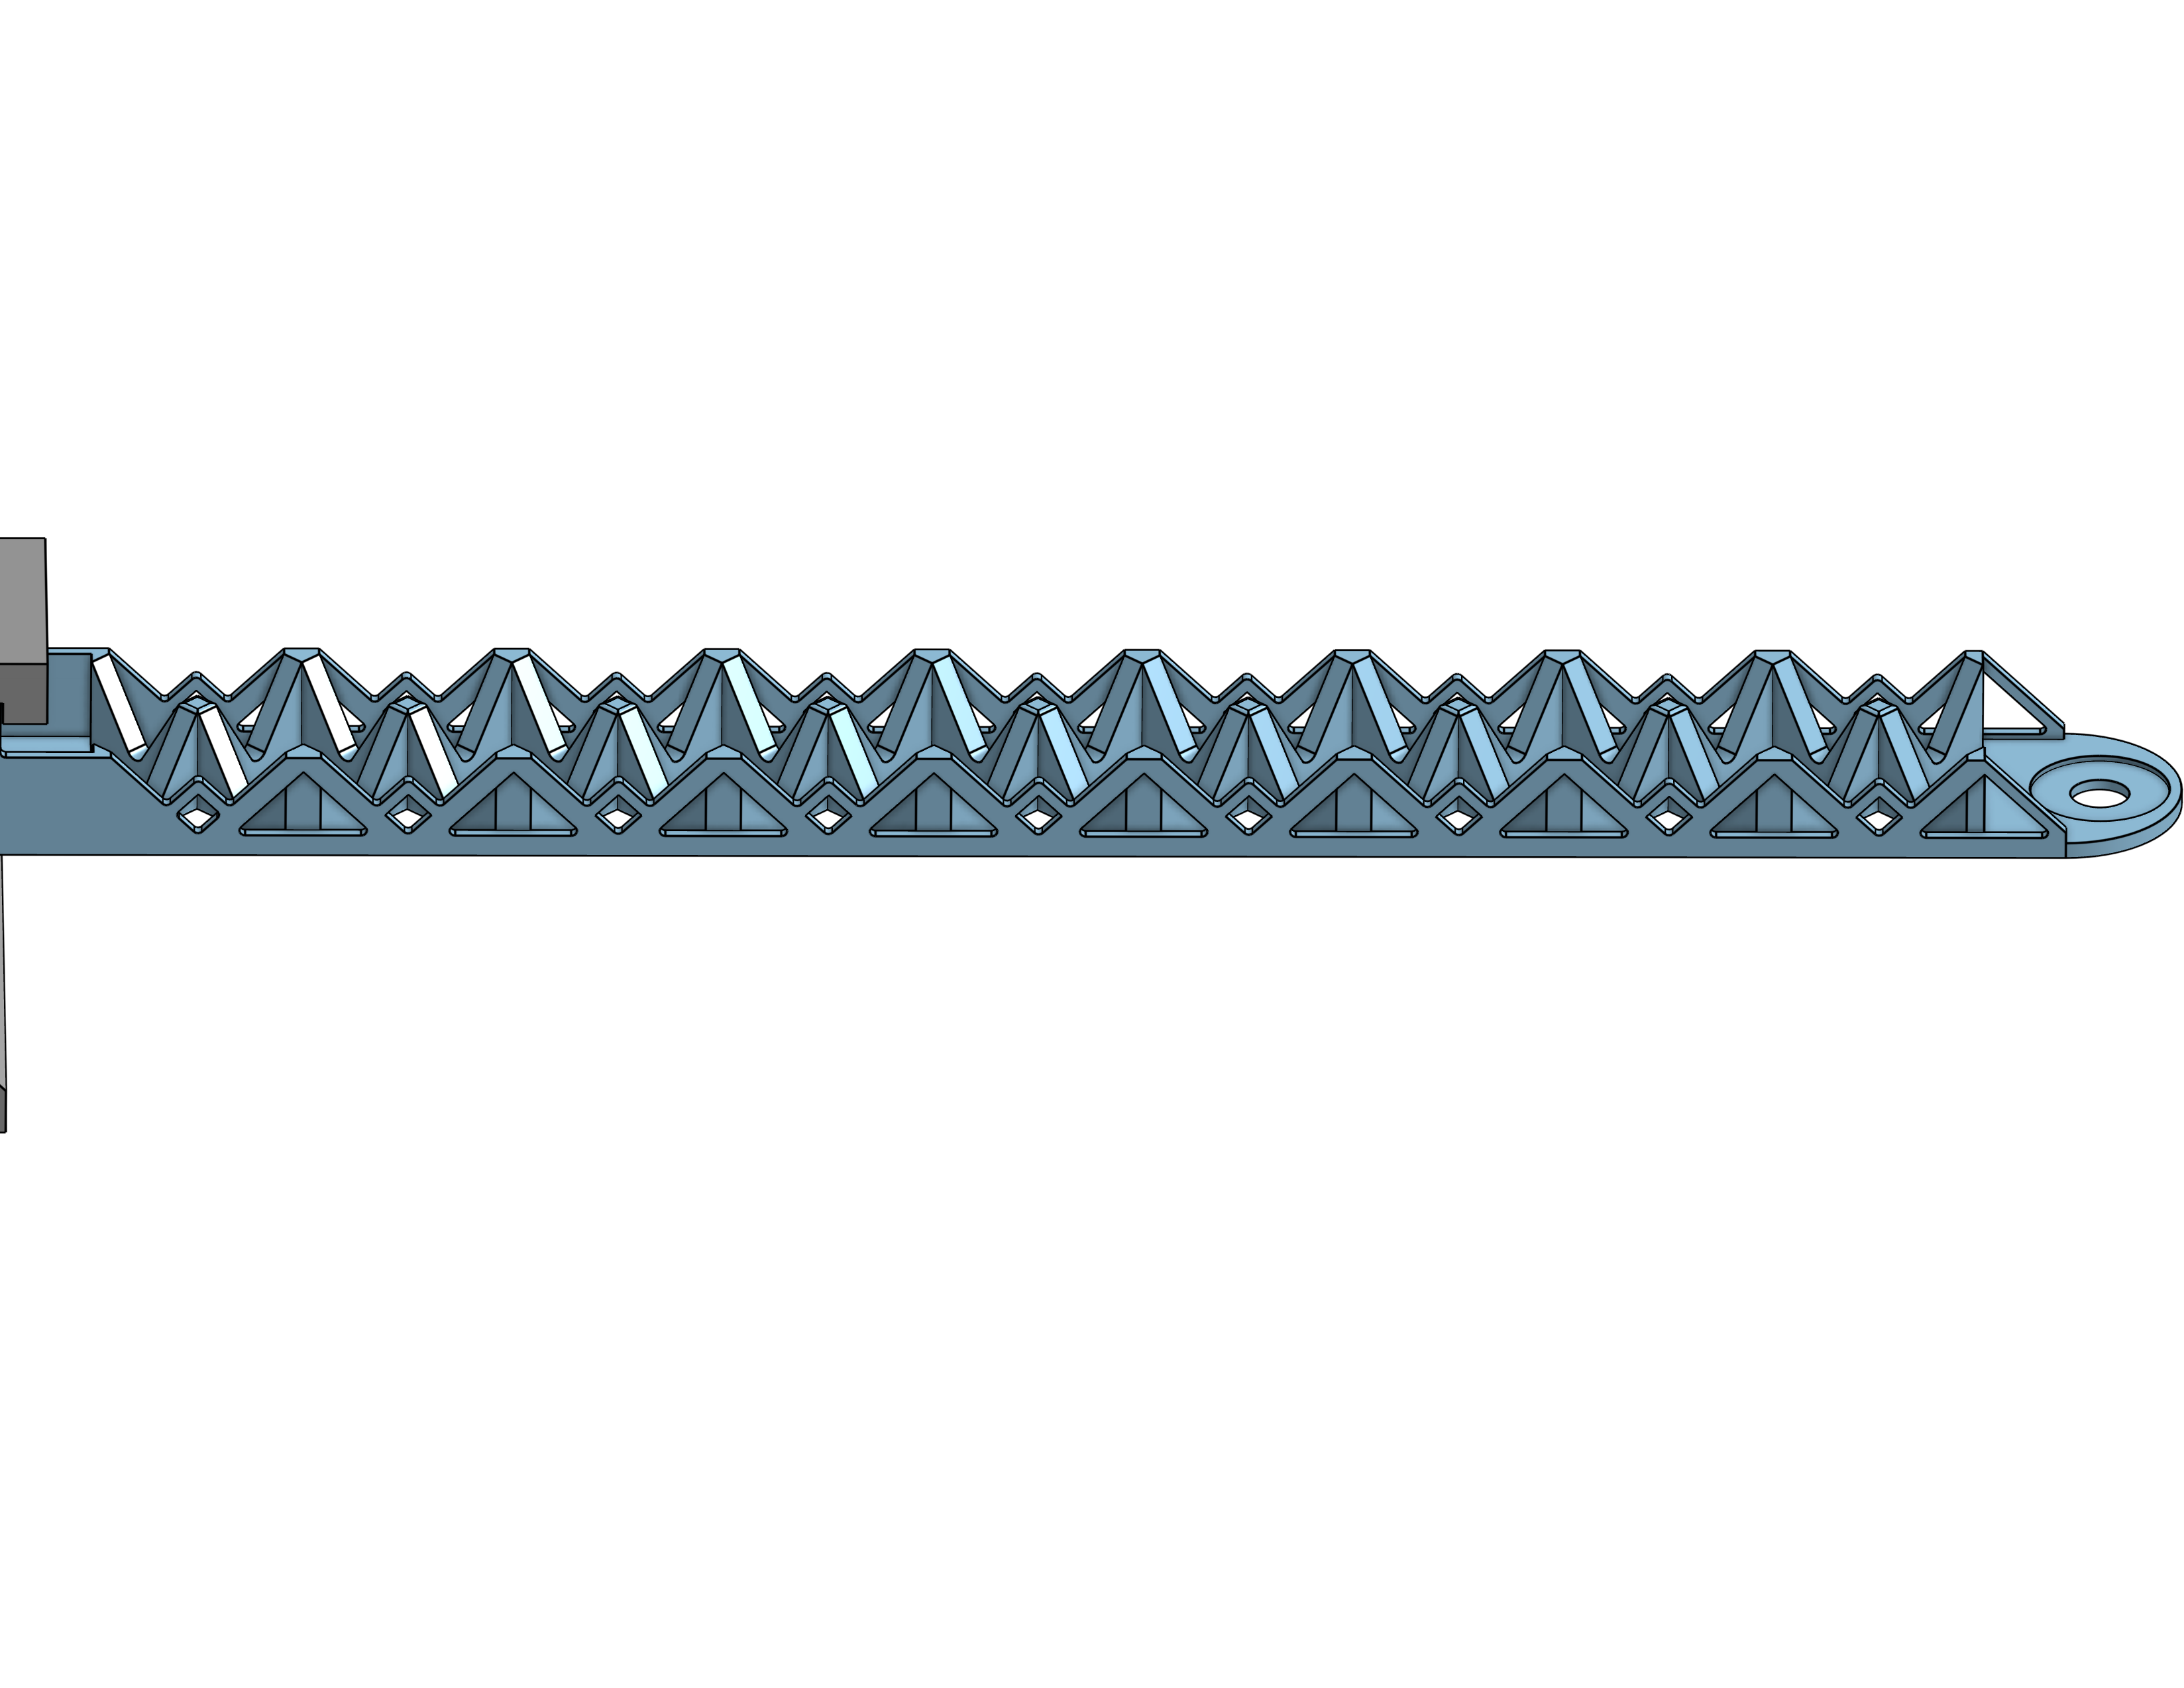
Making a 180 mm long PLA 3d printed beam intended to hold the most amount of weight without breaking or bending past 35 mm. It must also not weigh more than 13 grams and work fully with the provided materials (attachment block and the bolt to hang weight off of).
Image courtesy to Ben Wright
There are many things which one can say went wrong with this assignment. In my infinite wisdom, when my partner Ben was absent, I designed this beam to include as many triangles as possible, because hey that sounds structurally sound. It had the right idea but unfortunately I forgot that they sort of have to be connected in order to add any benefits. Needlessly to say our beam immediately broke. So consider whether a design logically makes sense before you just make the coolest thing possible.
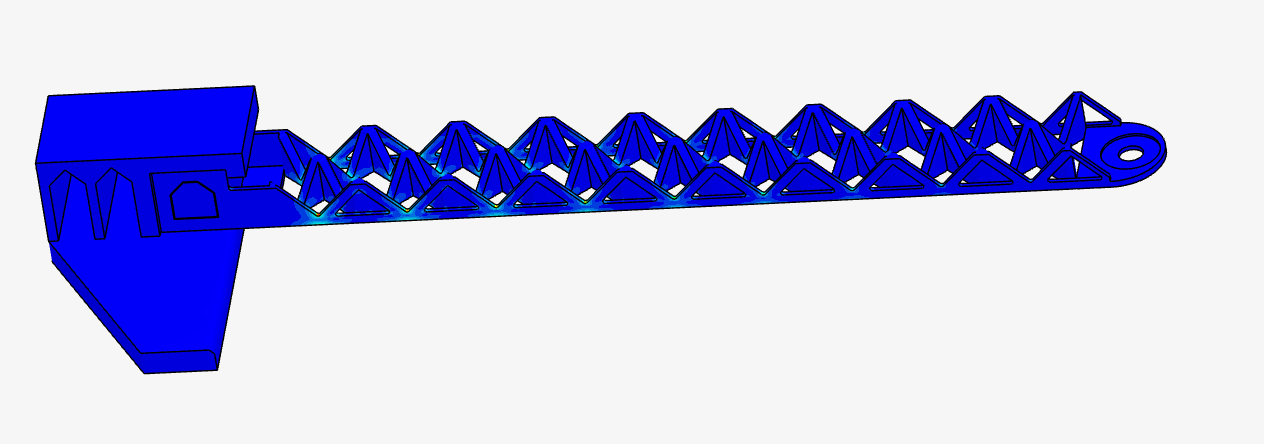
Use simscale to run an FEA analysis on the beam we just created. This is the Finite Element Analysis of the FEA assignment.
Image courtesy to Ben Wright
So after creating the mesh and trying to simulate a weight on the beam, there was some error in simscale, likely due to what a weird part we created, which meant we had to change some setting to override it and let us simulate. After simulating it was very apparent that the beam was awful and would immediately break, however it was easy to ignore that and blame that on the setting we changed. In the above image, displacement is not turned on, if it was on then the beam would like gumby being used to hold together a tractor trailer. Long story short we should've changed a lot more before the physical test but I'll get to that in the next part.
After running FEA, use the data collected to improve the design of our beam and decrease the maximum stress by half of what it was originally.
Image courtesy to Ben Wright
So we did in fact make design changes after the horrific simulation. We added those little supporting diamonds in between that triangles which you can see in the image, and also generally optimized the part. This didn't change the main problem that the triangles were completely unconncected at the top which ultimately came back to haunt us when we tested it in the physical realm. It did in fact decrease the deflection and stress significantly though, but the design itself was still very flawed.
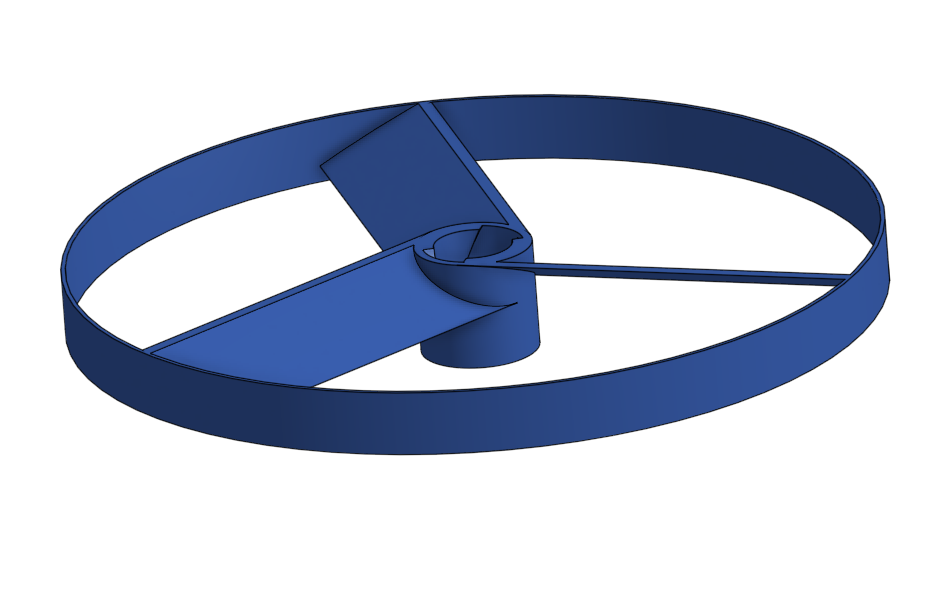
(I made the spinner)
Using Onshape, create the first part of a CAD model representing one of those spinny flying propeller things. I created the "spinner" part which slots into the propeller and create the rack and pinion relationship between the key to make it spin. The parts must have the measurements specified in the assignment.
I have nothing to write here. If anything the biggest lesson is to write your reflections right after you finish the assignment, so you can actually have something to write. Nobody will read this but you though, it doesn't matter. My knowledge, my experience, is carried on through words and words, themselves, are carried on through their own meaning. We're taught this meaning through others. I am one of those others, persisting the meaning of these words, and these words are persisting the story of my own life. You are the sole proprietor now of a piece of my being, and the judge and jury, deciding what that means to you.
(I made the Prop)
Using Onshape, create the first part of a CAD model representing one of those spinny flying propeller things. In this assignment I created the "prop" part which is the propeller. It flies off when spun and looks cool. Yay. The parts must have the measurements specified in the assignment.
Is it me that has nothing to write? Or is it you that has nothing read? A patient goes to the doctor's office in perfect health and wellness. The doctor mourns.
Your readme will have various images and gifs on it. Upload a test image and test gif to make sure you've got the process figured out. Pick whatever image and gif you want!
