Please note that this project is currently in an alpha stage and should be considered as a proof of concept. It aims to solve challenges in bridging the gap between the old and the new.
Our aim is to craft a cutting edge, simple, yet fast, responsive Web UI as an add-on to your CCU3.
- Most web-based homematic solutions are outdated and mired in antiquated commonJS code, entangled in the callback chaos.
- I dont want to setup another server like Mediola or Home-Assistant to have a state of the Art UI.
- Keep the CCU3 alive and bridge the gap from the old to the new.
This project is built with a robust set of technologies to ensure high performance and maintainability:
- React: A JavaScript library for building user interfaces.
- TypeScript: A strongly typed superset of JavaScript that adds static types.
- Material-UI: A popular React UI framework for faster and easier web development.
- React-Query: A data fetching library for React, used to fetch, cache and update data in your React and React Native applications.
For this add-on to function properly, it is necessary to have rooms configured in your CCU3. Rooms should have channels assigned with appropriate names. This is because the add-on queries the rooms, their channels, and in turn, the datapoints of those channels. Without this setup, the add-on will not work.
The App uses the same JSON-RPC interface as the CCU3.
To optimize performance we've tailored RegaScripts to fetch data in the exact structure required by our App.
In addition, we are utilizing React-Query, adhering to their best practices to ensure our data requests are as efficient as possible.
The App provides the same authentication mechanism as the CCU3. After logging in, the App obtains a random session id from the CCU3, it will be saved to localStorage and used for subsequent requests. To prevent users from inadvertently logging each other out, it is necessary to use distinct user accounts.
To install this add-on:
- download the latest tar.gz file from the releases page.
- Install it as a plugin on your CCU3 on the settings page under additional software.
- After reboot, the Add-on will be available at
http://ccu3ip/addons/mui.
Progressive Web Apps can be installed on your device like native apps. Here's how you can add our PWA to your home screen:
- Open the PWA in your browser (Chrome, Firefox, etc.).
- Tap on the browser's menu (usually three dots in the top right corner).
- Tap on "Add to Home screen".
- Open the PWA in Safari.
- Tap the Share button (the box with an arrow pointing upwards).
- Scroll down and tap "Add to Home Screen".
After these steps, the PWA will appear as an icon on your home screen, and you can use it just like a native app.
I want to display this App on Tablet in our Kitchen, to pervent Standby from the PWA, i use WakeLock API.
WakeLock API is still experimental on Chrome.
To use WakeLock API in Chrome two things need to be configured on your mobile device (tablet):
- go to
chrome://flags - Search & Enable
Experimal Web Platform features. - Set your CCU3 IP as Secure origin:
- Search & Enable
#unsafely-treat-insecure-origin-as-secure - Add origin of your ccu3 .e.g. http://192.168.178.26 (thats mine)
- Save and Relaunch Chrome.
To develop and build this project, follow these steps:
- Clone the repository:
git clone https://github.com/ccu-addon-mui.git - Navigate into the project directory:
cd ccu-addon-mui - Install the dependencies:
npm install - Set your CCU3 IP in: proxy.config.json
- Start the development server:
npm start - To build the project, use:
npm run build
Want to start contributing to this project?
Please visit our issues page for the latest issues and feature requests.
I have collected an API Summary, where you have an quick overview of all methods for the homematic API
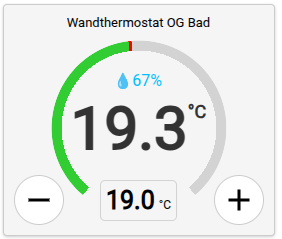
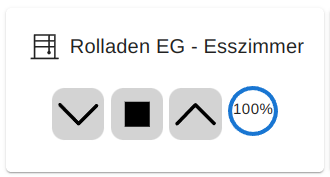
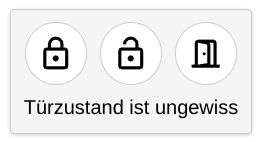
This project currently supports the following devices:
We welcome pull requests to add support for new devices. Your contributions are appreciated!
The current user interface represents a responsive version of the rooms view of the CCU3.
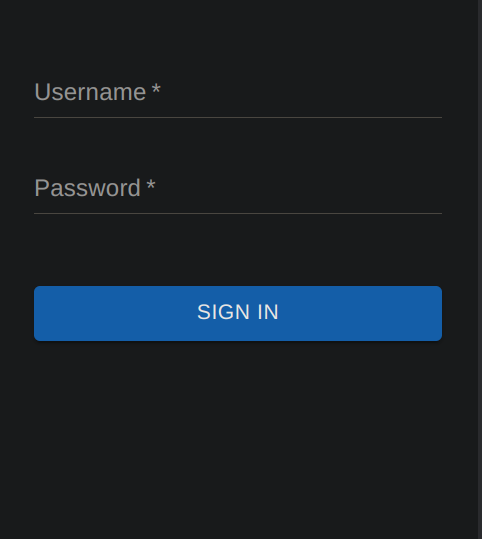
This is the root view. If you don't have a session ID, you'll always be redirected to this view.
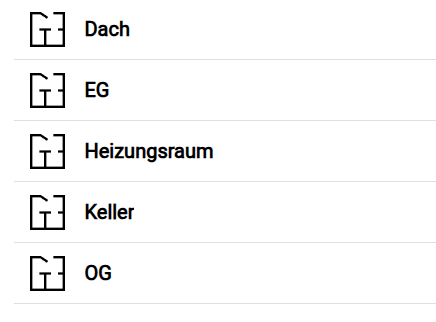
Once you obtain a session ID, you'll be automatically redirected to the rooms view. Here you see all rooms configured in the ccu3, and you can select the room in which you want to see or modify channels.
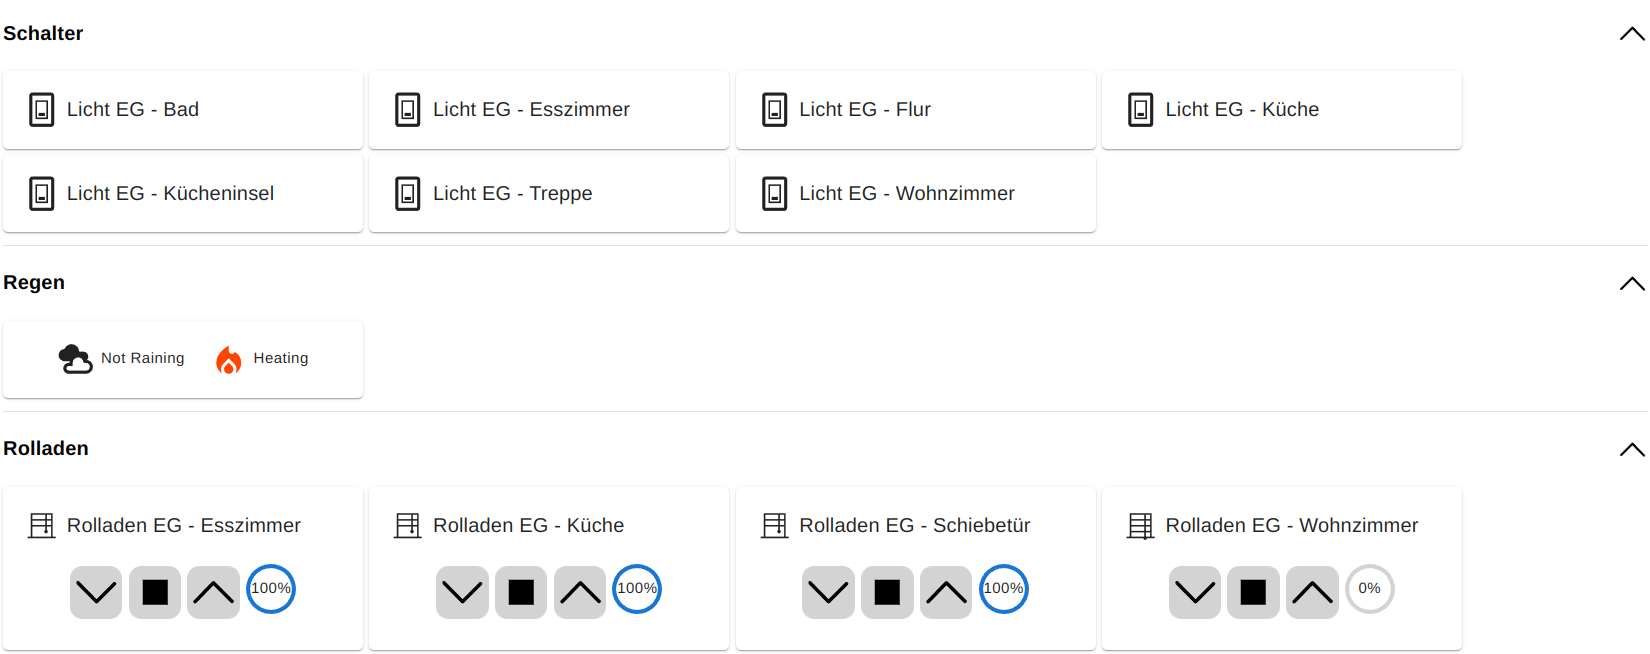
This is the channels view.
Here you can see and change the state of the channels associated with the selected room.
