Lightweight and minimalistic free and opensource Servers and HTTP monitor.
- 💾 Shows used disk space percentage and ALERT badge if it exceeds configurable threshold (90% by default)
- 🧠 Shows used RAM percentage and ALERT badge if it exceeds configurable threshold (90% by default)
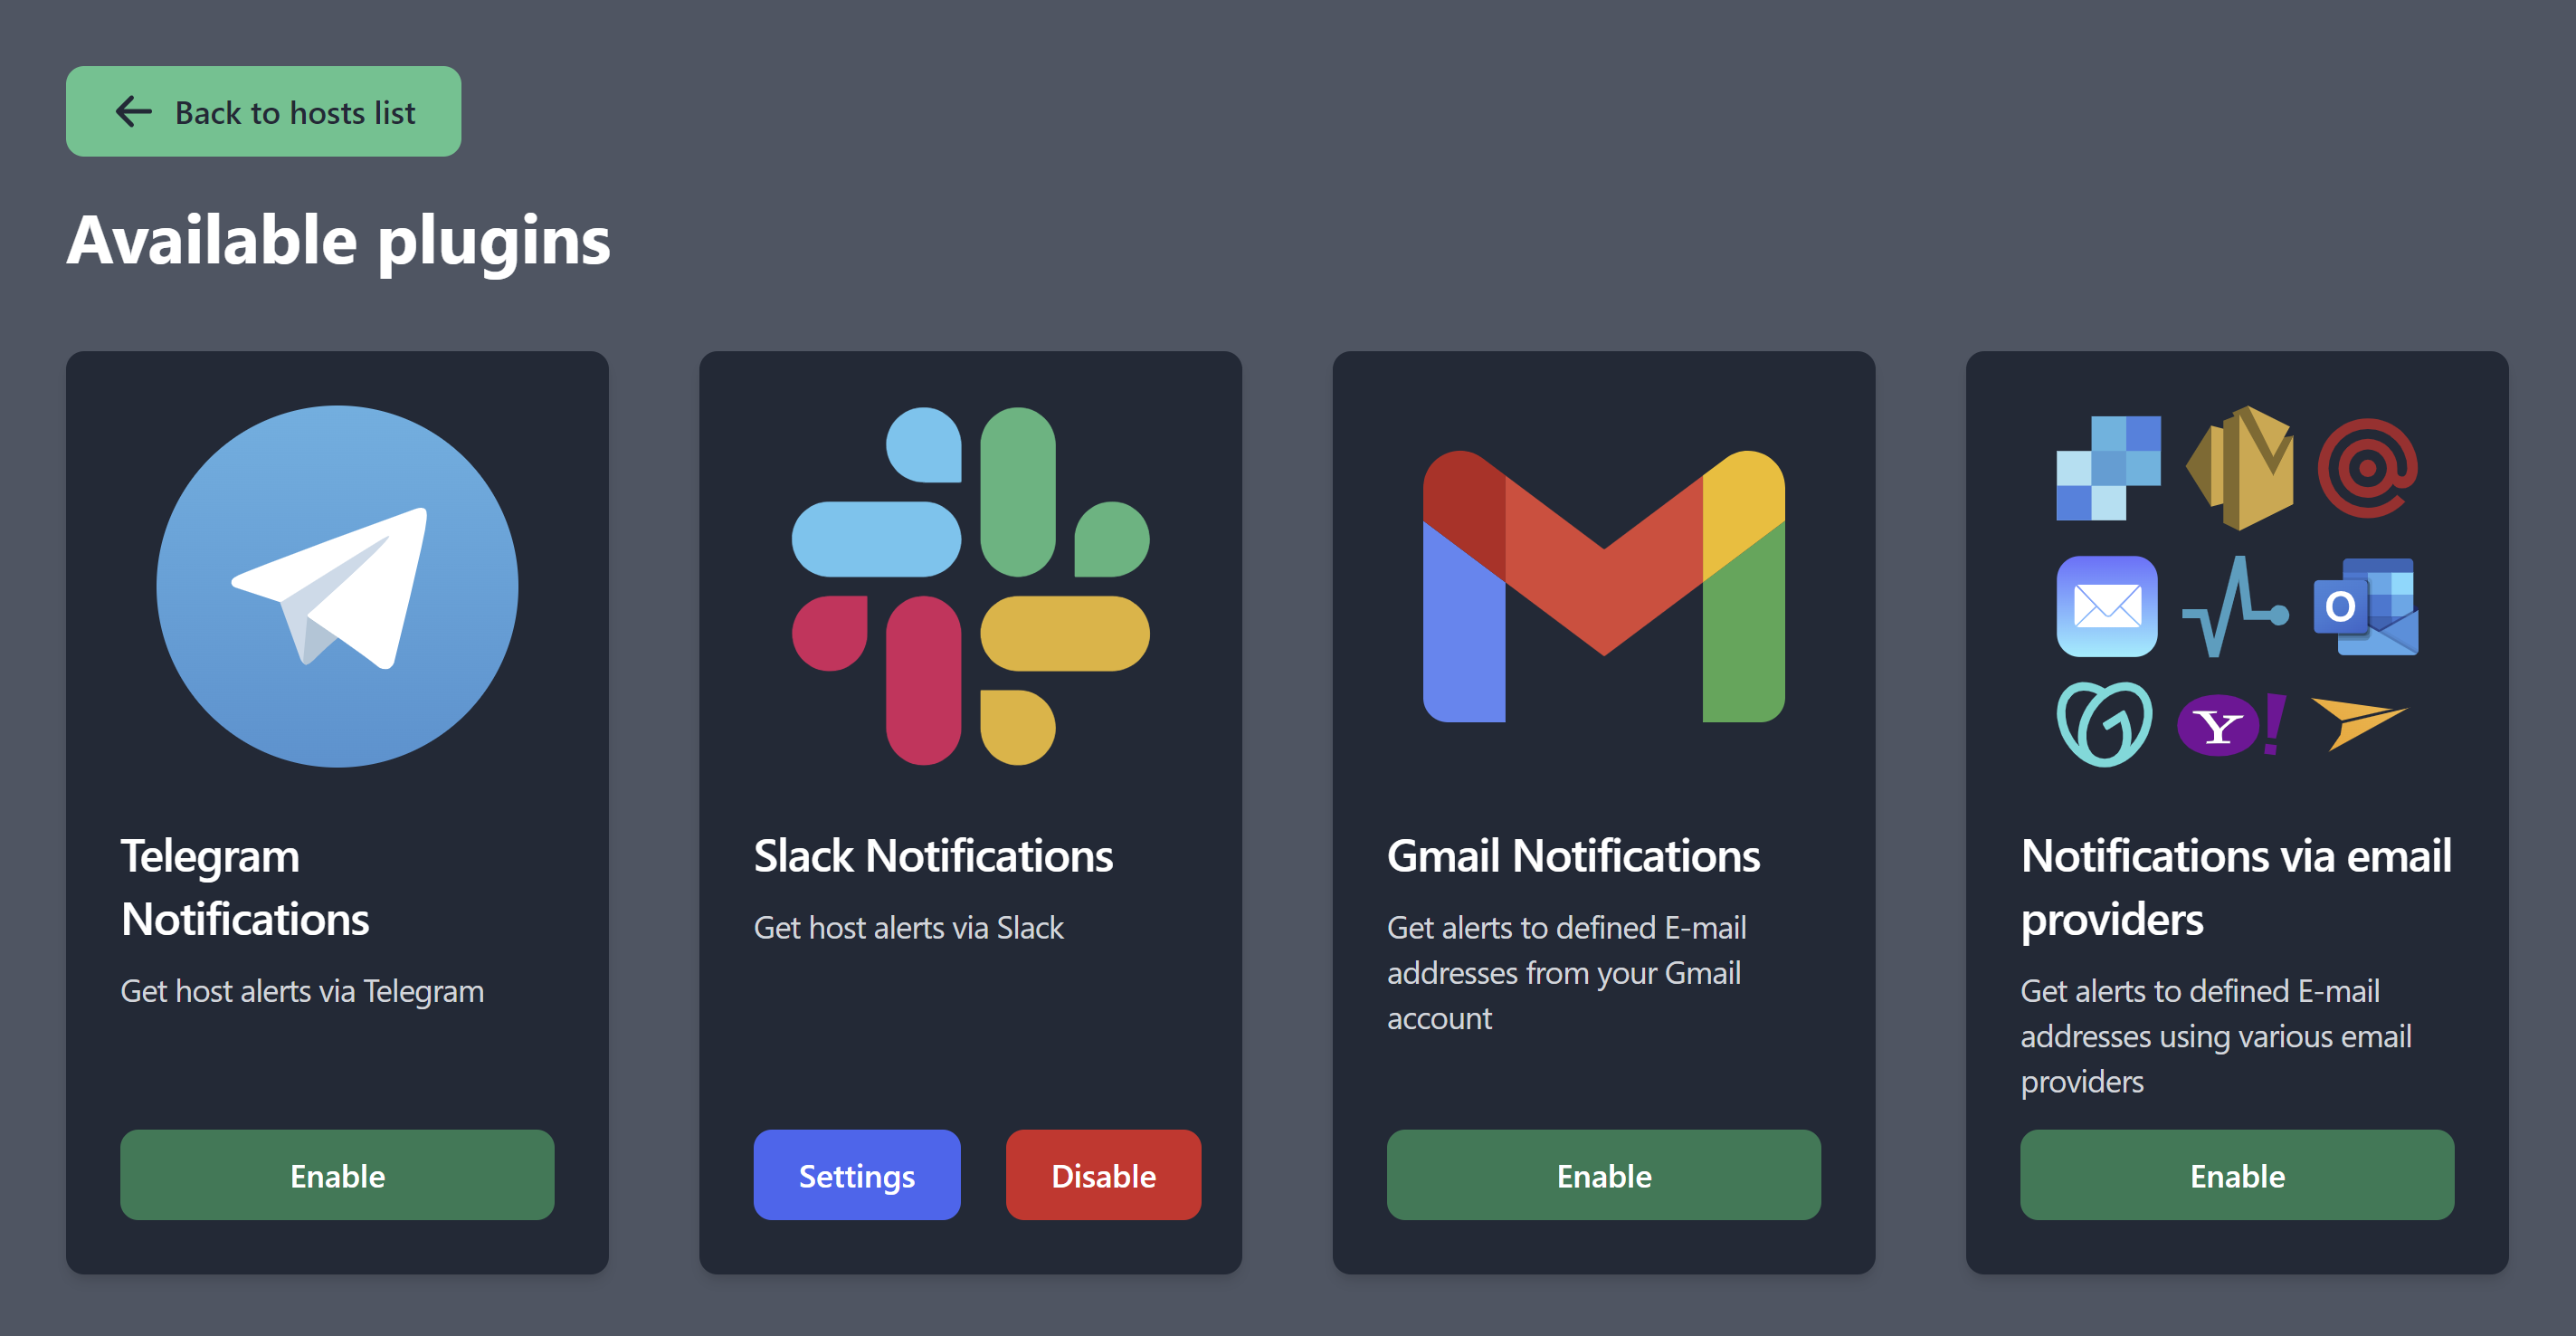
- ☎️ Built-in plugins to setup free Email/Slack/Telegram notifications
- 🪧 Agents installed using simple code snippets. Options: Docker/Compose/Bash+curl+crontab.
- 🏙 Allows to monitor as many hosts as needed
- ⏰️ Configurable monitoring interval
- 📈 View top 10 processes consuming RAM, historically over last 2 days.
- 🌐 HTTP / HTTPS Monitor, status code check, webpage keywords existence, basic auth, notifications
- 🔒 HTTPS SSL check with expiration reminder (default is 14 days prior to expire, configurable)
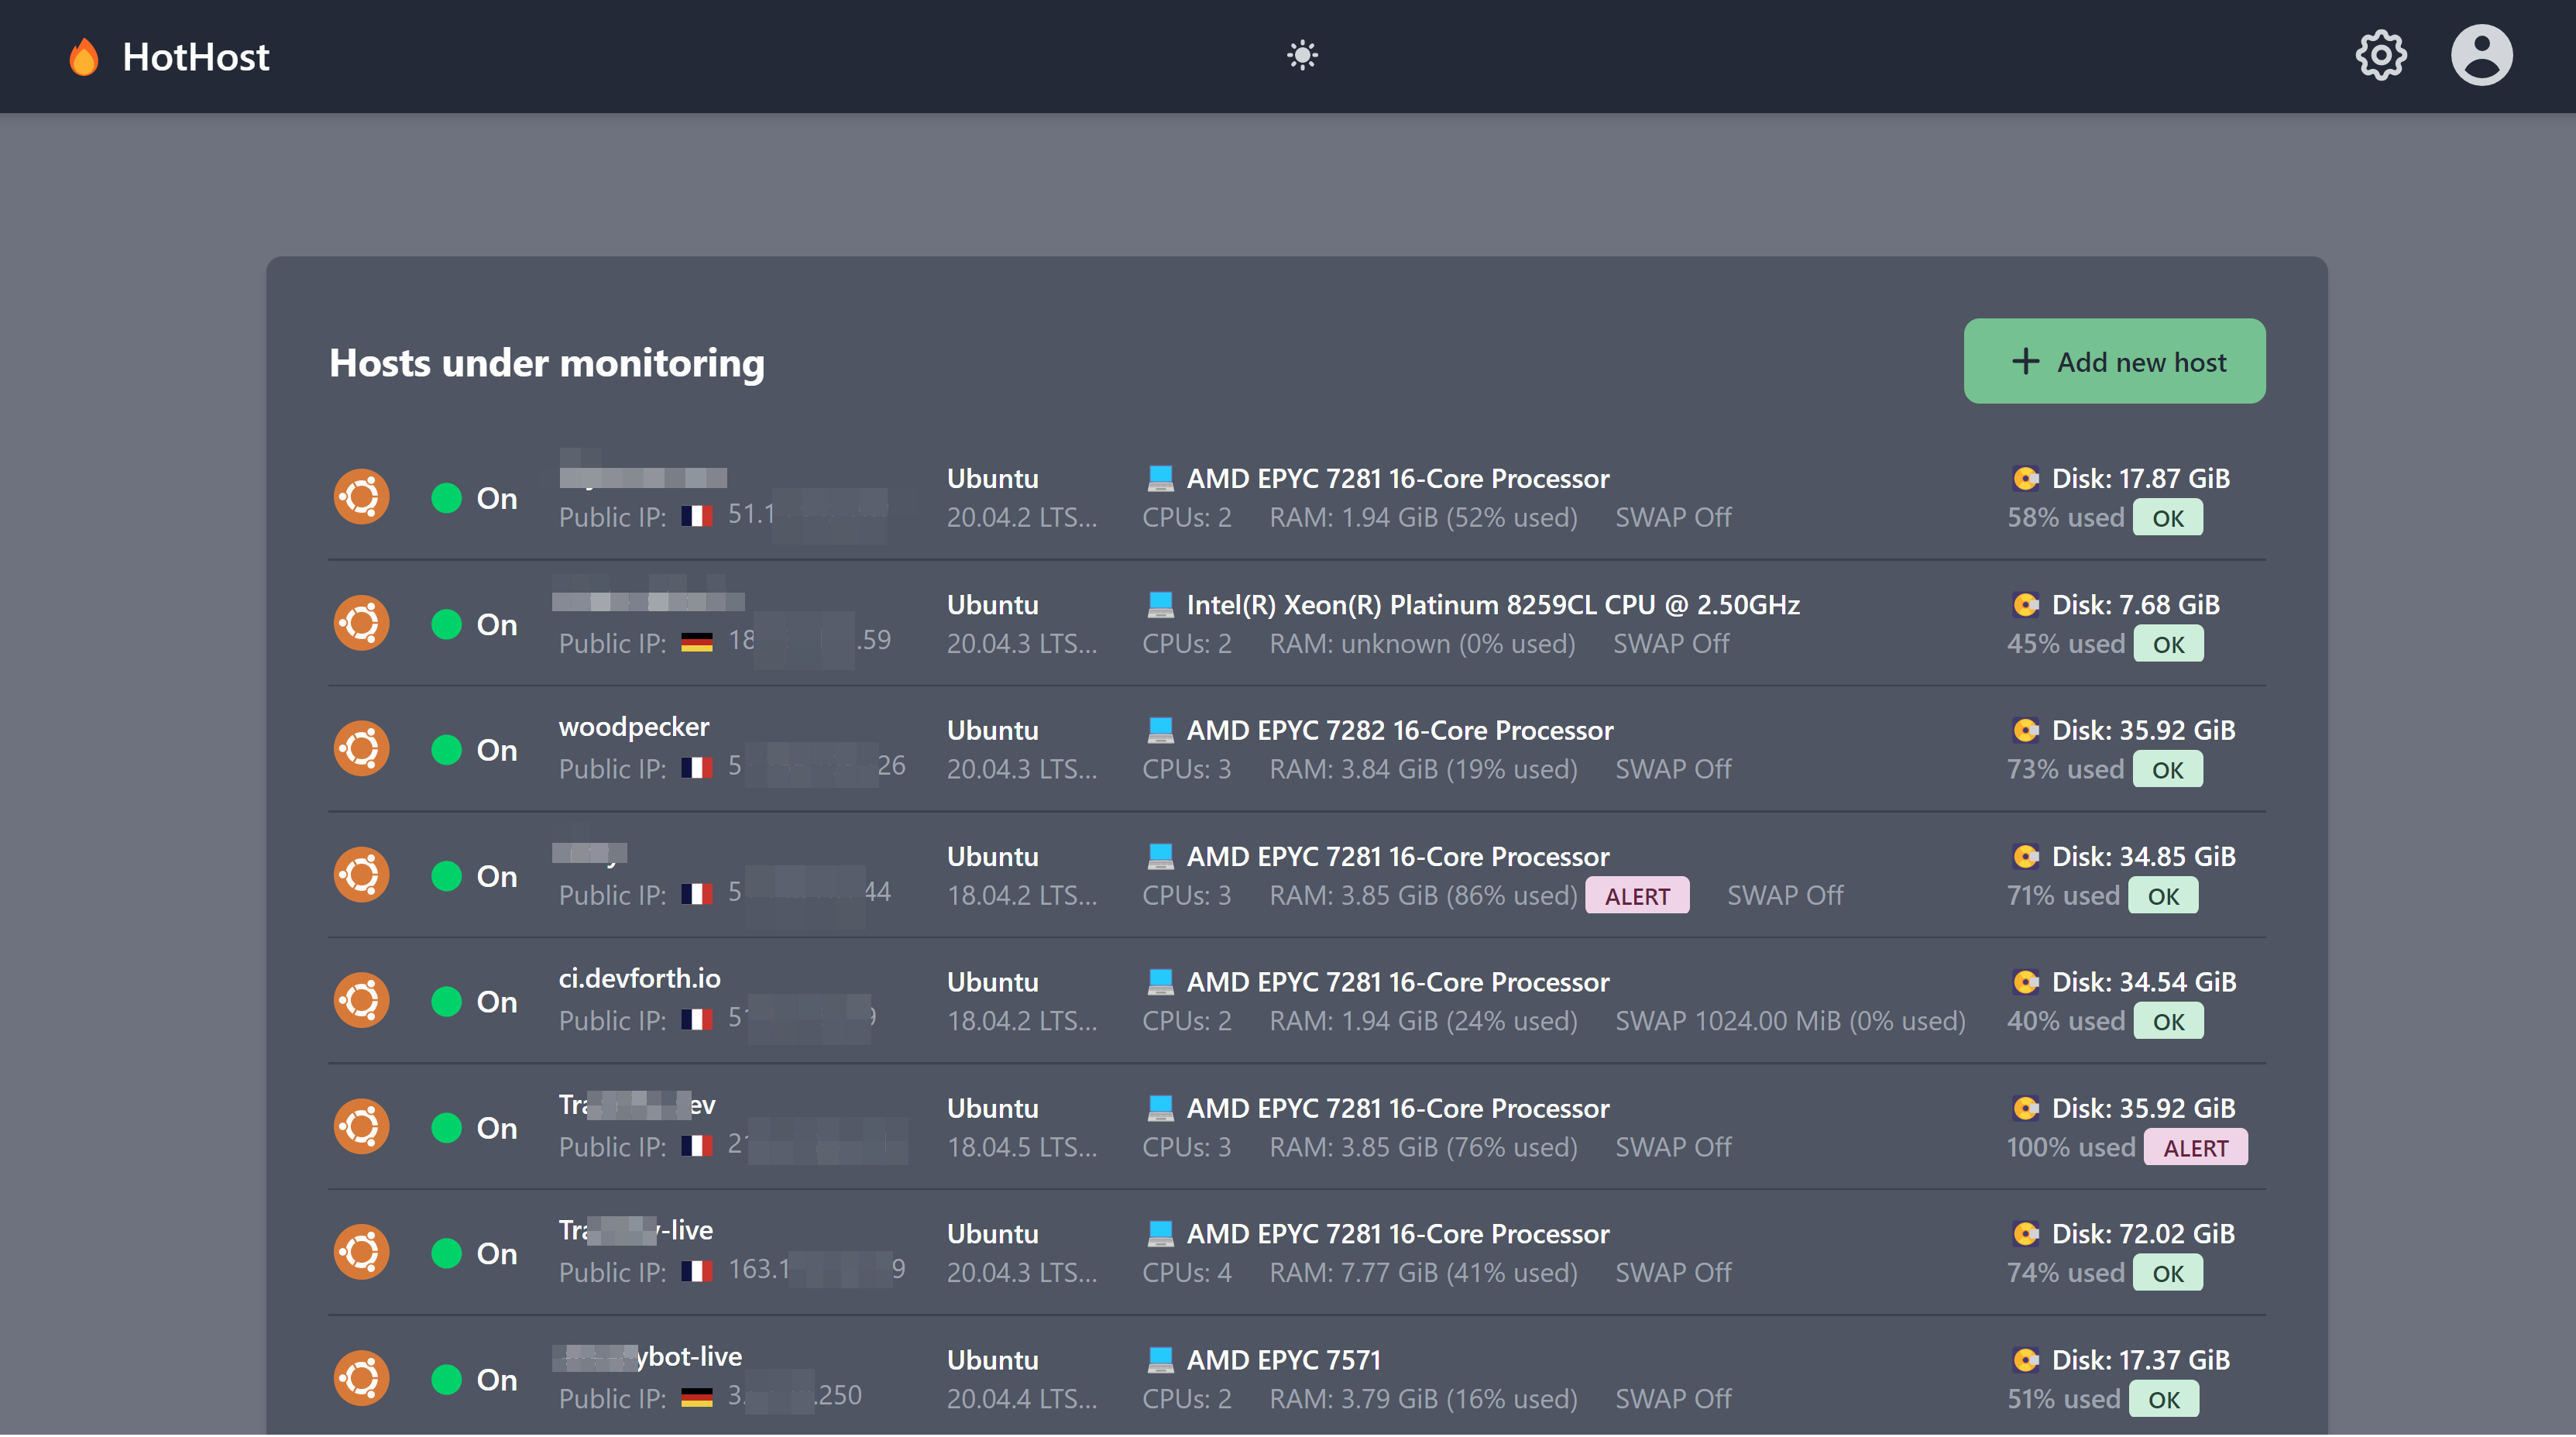
For each host it allows to see:
- OS version
- CPU model
- RAM size and current RAM ussage
- See whether SWAP is enabled and whether it is used
Hosts view:
Add new host box:
Available notification plugins:
Analyze top RAM-consuming processes at a time:
HTTP(s) Monitor setup:
First you need to run HotHost Web Server. Web-server itself, when will be started, will give you clear guide how to add agents via own Web UI.
You can use any host with public IP. You are responsible for setting up HTTPS.
For HTTPS you can use anything, most simple options:
- Nginx or Traefik with connected external certificate or free Let's Encrypt certificate
- Free Cloudflare CDN which terminates SSL and gives additional layer of security.
We recommend you to check guide how to setup HotHost with free Cloudflare plan and EC2 Nano
If you have existing Docker/Compose stacks, you can use snippets below:
Add to your existing compose stack:
version: '3.5'

services:
  hothost-web:
    image: devforth/hothost-web
    restart: always
    environment:
      - HOTHOST_WEB_ADMIN_USERNAME=admin
      - HOTHOST_WEB_ADMIN_PASSWORD=!!!CHANGE_ME!!!
      - HOTHOST_WEB_PORT=8007
      - HOTHOST_WEB_PUBLIC_VIEW_ENABLED=false
    ports:
      - 8007:8007
    volumes:
      - v-hothost-data:/var/lib/hothost/data/
volumes:
  v-hothost-data:
Now you should proxy https://subdomain.yourdomain.com to serve requests from 127.0.0.1:8007.
Example Nginx Proxy:
server {
  listen 443;
  server_name subdomain.yourdomain.com;
  ssl_certificate     wildcard.crt;
  ssl_certificate_key   wildcard.key;

  charset utf-8;
  client_max_body_size 75M;

  gzip on;
  gzip_disable "msie6";
  gzip_vary on;
  gzip_proxied any;
  gzip_comp_level 8;
  gzip_buffers 16 8k;
  gzip_http_version 1.1;
  gzip_min_length 256;
  gzip_types text/plain text/css application/json application/x-javascript text/xml application/xml application/xml+rss text/javascript application/vnd.ms-fontobject application/x-font-ttf font/opentype image/svg+xml image/x-icon;

  location / {
      proxy_read_timeout 220s;
      proxy_set_header X-Forwarded-For $proxy_add_x_forwarded_for;
      proxy_set_header Host $http_host;
      proxy_redirect off;
      proxy_pass http://127.0.0.1:8007;
  }
}
- After that Use https://subdomain.yourdomain.com to view as admin and add new agents
If you are not using Compose, rhen just install Docker to your host with public IP and run folowwing command:
mkdir -p /www/hothostdata
docker run -d --name=hothost-web \
  -v /www/hothostdata:/var/lib/hothost/data/  \
  --env HOTHOST_WEB_ADMIN_USERNAME=admin  \
  --env HOTHOST_WEB_ADMIN_PASSWORD=!!!CHANGE_ME!!!  \
  --env HOTHOST_WEB_PUBLIC_VIEW_ENABLED=false  \
  --restart=always  \
  --env HOTHOST_WEB_PORT=8007  \
  -p 8007:8007  \
  devforth/hothost-web
docker pull devforth/hothost-web:latest
then recreate a contaner
Every plugin is a standalone .js in ESM format (with exports/imports, CommonJS with require is not supported). File should have a defined structure. Use server/src/plugins/slack.js for a Hello-World example. It is well documented
Currently plugin file should be placed into server/src/plugins directory.
If you want to bundle some dedicated node modules then you need to bundle them using webpack or other bundler which supports ESM outputs. Please see server/src/plugins/gmail.src/gmail.src.js - it bundels node-mailer into plugin.
Default local credentials:
- admin:123456
First, start back:
cd server
npm ci
npm start
Then start front:
cd frontend
npm ci
npm run dev


