Kick off your city's relief efforts as we all learn to cope with COVID-19 with this starter powered by Gatsby, Airtable, and community efforts.
This project is aims to make it as easy as possible to launch and manage an index of resources in your city during the COVID-19 pandemic.
Using this template you can set up a service relief site without touching any code.
1. Get Ready
- Secure a domain name
- Create your accounts
- Create Github Account
- Create Netlify Account or Zeit Account
- Create Airtable Account
2. Set up data source
- Set up Airtable
- Get ready to deploy
- Get keys for env variables
3. Deploy your site
- Click Deploy button
- Connect to Airtable, set City/State
- Configure domain name
4. Go Live
- Add your site to the directory
- Spread the word
Generally we're using the pattern citynameservicerelief.com -- for example:
austinservicerelief.comseattleservicerelief.com
First, you'll need to create a few accounts with free tiers from different software services.
If you have a GitHub account, go ahead and log in. If not, sign up for an account.
If you have a Netlify account, go ahead and log in. If not, sign up for an account. (Recommend logging in with GitHub.)
If you have an Airtable account, go ahead and log in. If not, sign up for an account.
To set up Airtable, you can use a base template configured specifically for a service relief site.
👉🏼 Open the template and click "Add base".
Then you should see several tiles that correspond to individual "Bases" that Airtable has set up for you. Look for "Service Relief Template".
👉🏼 Hover over the "Service Relief Template" tile, and click the "down" caret that appears. Replace the text "Service Relief Template" with something like "Service Relief Austin". (Use your city name).
In order for your site to grab the data from your Airtable document, you'll need to collect 4 key values.
Copy the following snippet into a text file.
AIRTABLE_API_KEY=key00000000000000
AIRTABLE_BASE_ID=app00000000000000
AIRTABLE_TABLE_NAME=tbl00000000000
AIRTABLE_EMBED_ID=shr0000000000000
Your API key is secret, sort of like a key for a safe deposit box. Don't share it.
👉🏼 Visit your Airtable account, and find the "API" section.
👉🏼 Click the "Generate API key" button.
👉🏼 Click on the dots to show your key, and copy it.
👉🏼 Paste the key in your text file as the value for AIRTABLE_API_KEY.
For example, if my key were key123, it would look like this:
AIRTABLE_API_KEY=key123
AIRTABLE_BASE_ID=app00000000000000
AIRTABLE_TABLE_NAME=tbl00000000000
AIRTABLE_EMBED_ID=shr0000000000000
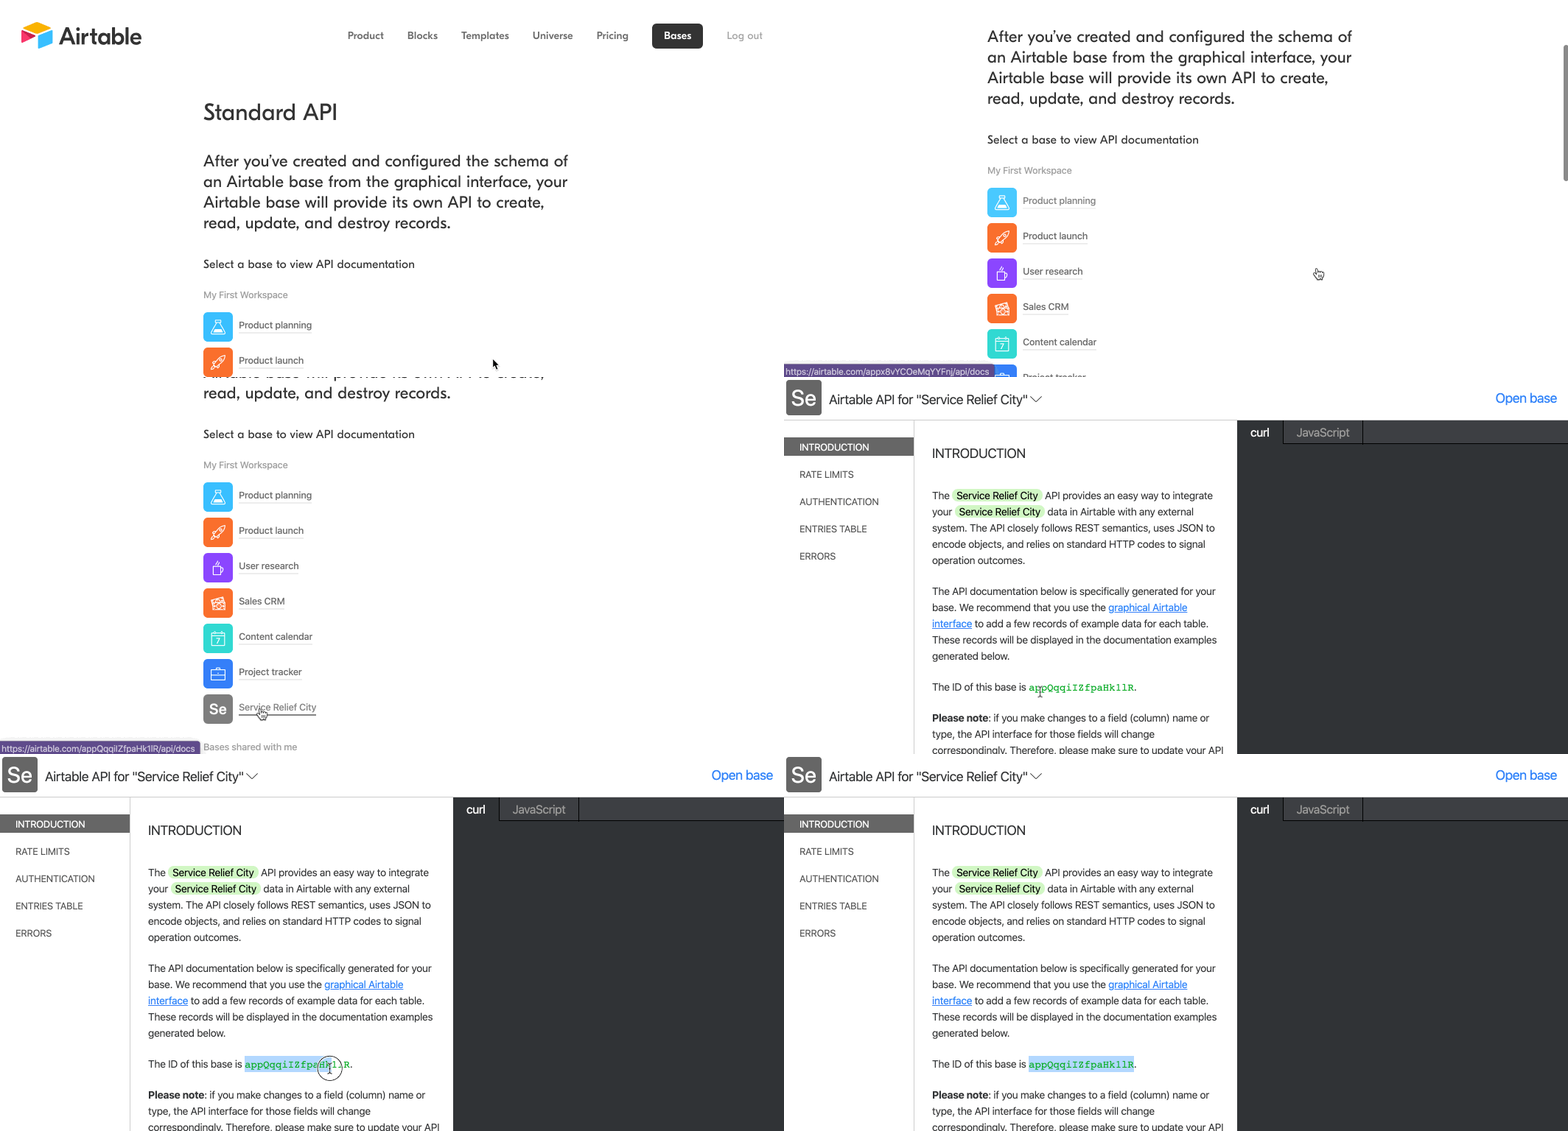
👉🏼 Visit the Airtable API page.
👉🏼 Click on the base you just created and renamed for your city.
👉🏼 Copy the base id found halfway down the page (highlighted in the gif above).
👉🏼 Paste the id in your text file as the value for AIRTABLE_BASE_ID.
For example, if my key were app123, it would look like this:
AIRTABLE_API_KEY=key123
AIRTABLE_BASE_ID=app123
AIRTABLE_TABLE_NAME=tbl00000000000
AIRTABLE_EMBED_ID=shr0000000000000
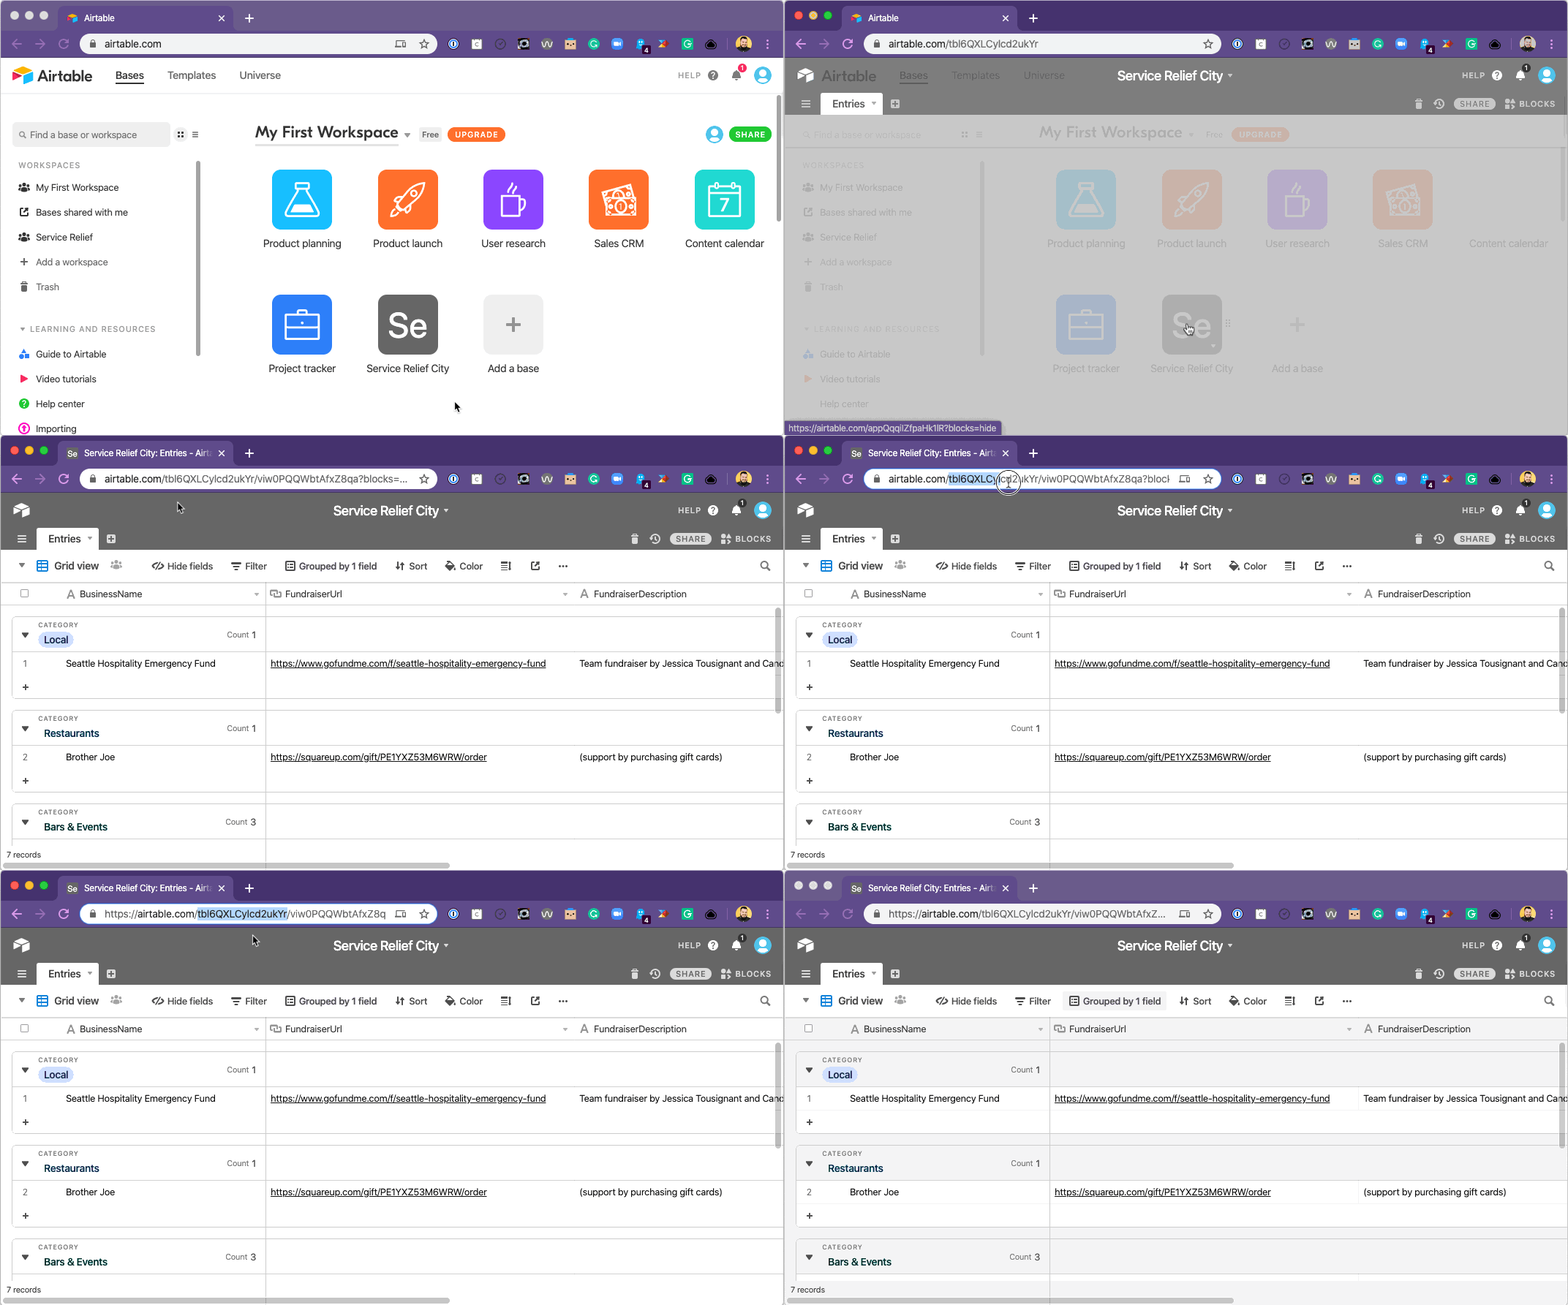
👉🏼 Visit the Airtable base you've created for your city by visiting the Airtable homepage and then clicking the tile for your base.
You can find your table id in part of the url. After https://airtable.com/, copy everything before the next /. For example, in the following URL:
https://airtable.com/tbl6QXLCylcd2ukYr/viw0PQQWbtAfxZ8qa
The part you need would be tbl6QXLCylcd2ukYr.
👉🏼 Paste the table id in your text file as the value for AIRTABLE_TABLE_NAME.
For example, if my table id were tbl123, it would look like this:
AIRTABLE_API_KEY=key123
AIRTABLE_BASE_ID=app123
AIRTABLE_TABLE_NAME=tbl123
AIRTABLE_EMBED_ID=shr0000000000000
👉🏼 Click the "Grid View" at the top left of your base.
👉🏼 Select "Submit a Fundraiser". This will take you to the form view, a submission form created automatically, which corresponds to your Airtable base.
👉🏼 Click "Share Form". You should see a link. Copy everything after https://airtable.com/.
👉🏼 Paste the embed id in your text file as the value for AIRTABLE_EMBED_ID.
For example, if my table id were shr123, it would look like this:
AIRTABLE_API_KEY=key123
AIRTABLE_BASE_ID=app123
AIRTABLE_TABLE_NAME=tbl123
AIRTABLE_EMBED_ID=shr123
With all four values collected, you're ready to set up the site.
Note: We plan to set up instructions for other providers eventually, as well.
👉🏼 Click the button below to begin the process of deploying to Netlify.
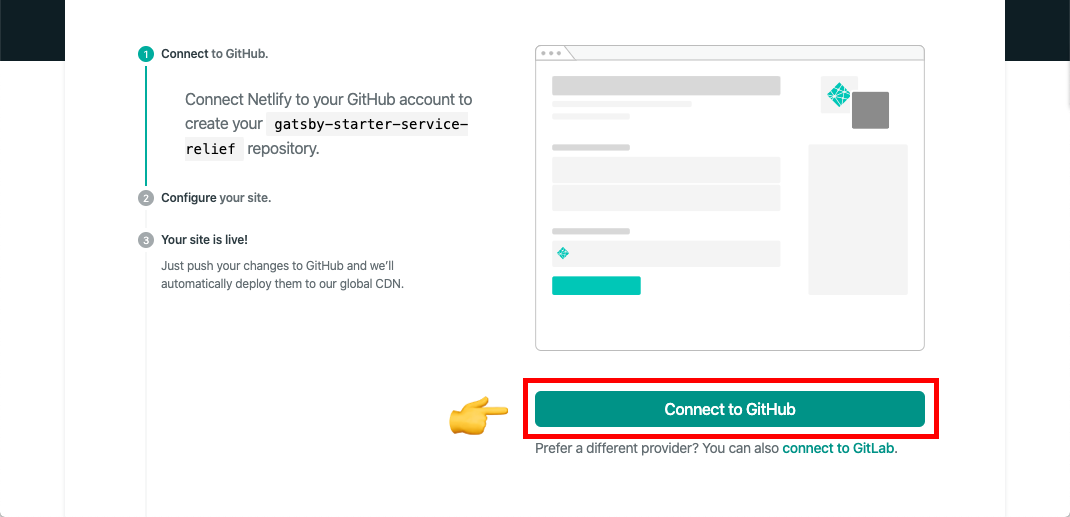
👉🏼 Click "Connect to GitHub". (You should already be logged in, but if you're not, log in).
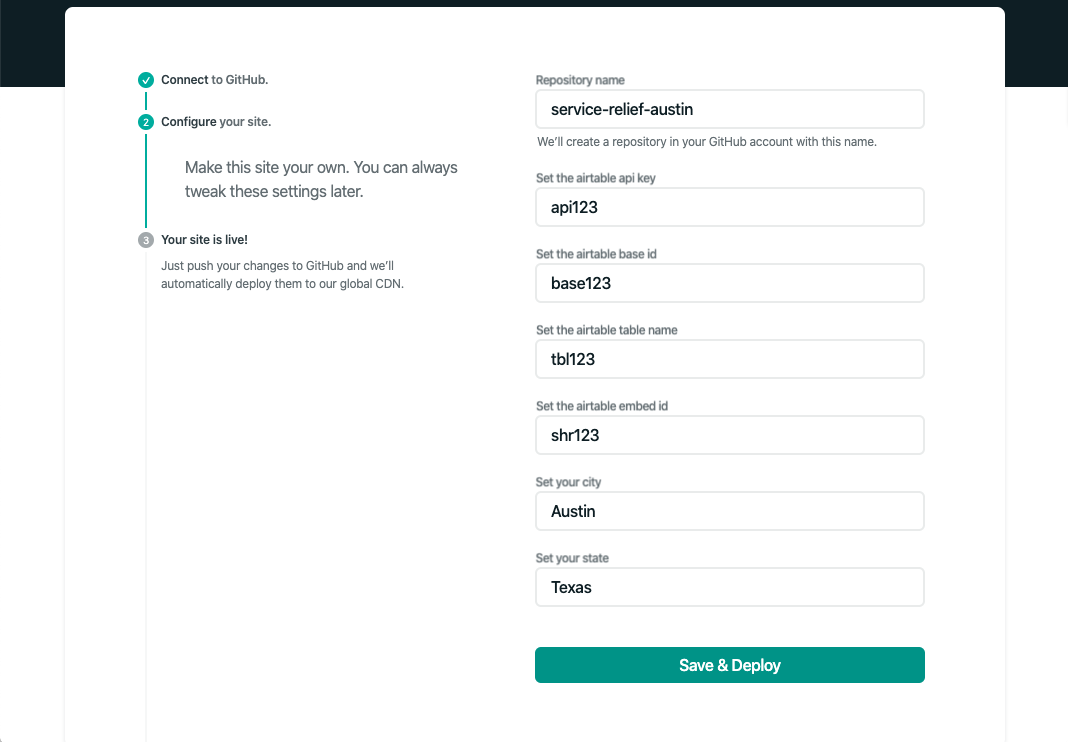
👉🏼 For the repository name, use something like service-relief-austin (using your city, of course).
👉🏼 Use the text file with your four Airtable values to populate the prompts for API key, base id, table name, and embed id.
👉🏼 In the final two prompts, specify your city and state. (We'll use this to personalize your site a bit).
👉🏼 Click "Save and Deploy".
It will take a little while for your new site to build. You'll see the message "Site deploy in progress".
When the build is published, you'll see a live green link under the site title:
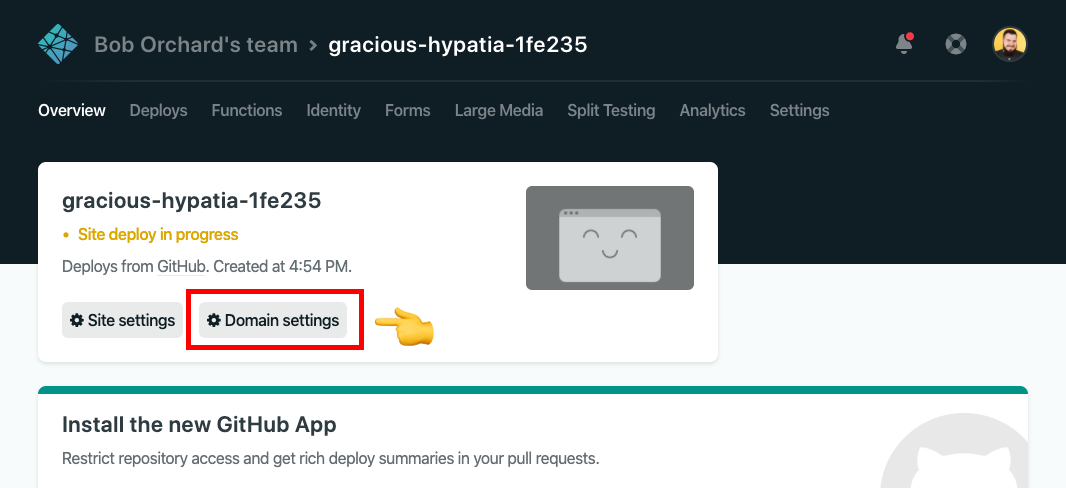
You can set a custom domain in your Netlify site settings. From your site's main admin page on Netlify:
👉🏼 Click "Domain Settings".
👉🏼 Under "Custom Domains", click "Add Custom Domain".
From there, follow the steps to add your domain.
@TODO


