
Create an App And Install Dependencies
To start with this tutorial, ensure you have set up your development environment for React Native.
To get started, create an application with the React Native CLI and install the necessary dependencies:
12345# Initialize the app
npx @react-native-community/cli@latest init MyStreamChatApp

# Navigate to the app directory
cd MyStreamChatApp
When prompted, select one of the blank templates.
Stream Chat requires a number of peer dependencies to take advantage of all of the out-of-the-box features. You should follow the installation instructions for each package to ensure it is appropriately set up. Most, if not all, of the required packages now support auto-linking, so the setup should be minimal.
123# Add the Stream Chat React Native SDK

yarn add stream-chat-react-native # Or npm install stream-chat-react-native
123# Add the listed dependencies

yarn add @react-native-community/netinfo react-native-fs react-native-gesture-handler react-native-reanimated react-native-svg react-native-worklets
123# Pod Install

npx pod-install
Add Optional Dependencies
Image Media Library Picker
Access and upload images using a built-in image picker in the SDK.
1yarn add @react-native-camera-roll/camera-roll # Or npm install @react-native-camera-roll/camera-roll
Native Image Picker
Access and upload images using a native image picker.
1yarn add react-native-image-picker # Or npm install react-native-image-picker
File Picker
Access the file picker to upload files and documents.
1yarn add @react-native-documents/picker # Or npm install @react-native-documents/picker
Camera Picker
Access the camera picker to upload images.
1yarn add react-native-image-picker # Or npm install react-native-image-picker
Video Support
This package lets you play video and audio files/attachments in chat conversations. By default, video and audio files will be downloaded and opened through the device's default browser.
1yarn add react-native-video # Or npm install react-native-video
Haptic Feedback
Enables haptic feedback when you perform any actions in the chat application.
1yarn add react-native-haptic-feedback # Or npm install react-native-haptic-feedback
Attachment Sharing
Install this package to enable users to share attachments from the gallery using their devices' native sharing interface.
1yarn add react-native-share # Or npm install react-native-share
Copying Messages
Adds ability to copy messages to the clipboard.
1yarn add @react-native-clipboard/clipboard # Or npm install @react-native-clipboard/clipboard
Audio Recording and Playback
Adds ability to record and play audio messages.
1yarn add react-native-audio-recorder-player react-native-video # Or npm install react-native-audio-recorder-player react-native-video
Offline Support
Adds offline support to the chat application.
1yarn add @op-engineering/op-sqlite # Or npm install @op-engineering/op-sqlite
Do not forget to npx pod install after installing the above optional packages.
Application Level Setup
The most important steps to get started are:
- Add the Babel plugin for
react-native-reanimatedto yourbabel.config.jsfile in your application folder:
1234567module.exports = {
  ...
  plugins: [
    ...
    'react-native-reanimated/plugin', // Reanimated plugin has to be listed last.
  ],
};
If you are using react-native-reanimated version >=4.0.0, you can replace the react-native-reanimated/plugin with react-native-worklets/plugin in your application's babel.config.js.
123456789module.exports = {
  presets: [
    ... // don't add it here :)
  ],
  plugins: [
    ...
    'react-native-worklets/plugin',
  ],
};
Read more here.
- Import
react-native-gesture-handlerat the top of yourindex.jsfile. It should look as follows:
1234567import "react-native-gesture-handler";
import { AppRegistry } from "react-native";

import App from "./App";
import { name as appName } from "./app.json";

AppRegistry.registerComponent(appName, () => App);
Also, follow the steps mentioned in the links below for corresponding dependencies:
react-native- additional installation steps@react-native-camera-roll/camera-roll- additional installation steps
Now, you should be able to run the app on the simulator by running the following command:
1yarn ios # or npx react-native run-ios
1yarn android # or npx react-native run-android
Setup type system
If you are using Typescript (which we highly recommend you do) you will want to declare the SDK interfaces, as they hold some custom SDK data in comparison to the ones from the low level client. The module declaration needs to take place so that types are properly resolved within your application. You can read more about this here.
To do this, you can create a new Typescript declaration file and add the following code to it:
123456789101112131415161718192021222324252627282930313233343536373839404142// custom-types.d.ts
import {
  DefaultAttachmentData,
  DefaultChannelData,
  DefaultCommandData,
  DefaultEventData,
  DefaultMemberData,
  DefaultMessageData,
  DefaultPollData,
  DefaultPollOptionData,
  DefaultReactionData,
  DefaultThreadData,
  DefaultUserData,
} from "stream-chat-react-native";

declare module "stream-chat" {
  /* eslint-disable @typescript-eslint/no-empty-object-type */

  interface CustomAttachmentData extends DefaultAttachmentData {}

  interface CustomChannelData extends DefaultChannelData {}

  interface CustomCommandData extends DefaultCommandData {}

  interface CustomEventData extends DefaultEventData {}

  interface CustomMemberData extends DefaultMemberData {}

  interface CustomUserData extends DefaultUserData {}

  interface CustomMessageData extends DefaultMessageData {}

  interface CustomPollOptionData extends DefaultPollOptionData {}

  interface CustomPollData extends DefaultPollData {}

  interface CustomReactionData extends DefaultReactionData {}

  interface CustomThreadData extends DefaultThreadData {}

  /* eslint-enable @typescript-eslint/no-empty-object-type */
}
This will make sure that all of the SDK interfaces are properly resolved and the types are correct. Additionally, this will allow you to declare your own custom data if your integration requires it.
Setup a Basic Navigation Stack
The Stream Chat SDK does not handle navigation, but libraries like React Navigation make it easy to set up a stack navigator and the three screens we need for the application.
Please install the following packages to get started with React Navigation, as mentioned in their documentation
123# Install react-navigation

yarn add @react-navigation/native @react-navigation/stack react-native-screens react-native-safe-area-context # Or npm install @react-navigation/native @react-navigation/stack react-native-screens react-native-safe-area-context
123# Install Pods

npx pod-install
We'll set up a simple Navigation stack to hold the necessary screens for navigation in our app,
and start with a basic HomeScreen, which we will replace later with Chat related screens.
You can copy-paste the following code into the App.js file.
123456789101112131415161718192021222324252627import React from "react";
import { NavigationContainer } from "@react-navigation/native";
import { createStackNavigator } from "@react-navigation/stack";
import { SafeAreaView } from "react-native-safe-area-context";
import { Text } from "react-native";

const Stack = createStackNavigator();

const HomeScreen = () => <Text>Home Screen</Text>;

const NavigationStack = () => {
  return (
    <Stack.Navigator>
      <Stack.Screen name="Home" component={HomeScreen} />
    </Stack.Navigator>
  );
};

export default () => {
  return (
    <SafeAreaView style={{ flex: 1 }}>
      <NavigationContainer>
        <NavigationStack />
      </NavigationContainer>
    </SafeAreaView>
  );
};
As mentioned in RNGH documentation,
we also need to configure GestureHandlerRootView component.
However, the react-navigation library already uses GestureHandlerRootView as a wrapper to enable gestural interactions.
So, you can skip this step for this tutorial. But if you are using a native navigation library like wix/react-native-navigation
you need to ensure that every screen is wrapped with GestureHandlerRootView.
123456789101112import { GestureHandlerRootView } from 'react-native-gesture-handler';
...

export default () => {
  return (
    <GestureHandlerRootView style={{ flex: 1 }}>
      <SafeAreaView style={{ flex: 1 }}>
        ...
      </SafeAreaView>
    </GestureHandlerRootView>
  );
};
Add Stream Chat to the Application
Before working with the chat UI components, we must set up a StreamChat client, which abstracts API calls into methods and handles state and real-time events. To make the instantiation and connection handling easier, we've prepared a simple hook (useCreateChatClient) for your application. Let's begin by replacing the contents of the generated App.js file with this code snippet:
You can find apiKey on a GetStream dashboard for your app. You can create a token for authentication using this link for a specific user ID.
1234export const chatApiKey = "REPLACE_WITH_API_KEY";
export const chatUserId = "REPLACE_WITH_USER_ID";
export const chatUserName = "REPLACE_WITH_USER_NAME";
export const chatUserToken = "REPLACE_WITH_USER_TOKEN";
And now, we can use these configs to create a client and connect the user to chat as follows:
1234567891011121314151617181920212223242526272829303132import { useCreateChatClient } from 'stream-chat-react-native';
import { chatApiKey, chatUserId, chatUserName, chatUserToken } from './chatConfig';
...

const user = {
  id: chatUserId,
  name: chatUserName,
};

const NavigationStack = () => {
  ...
  const chatClient = useCreateChatClient({
    apiKey: chatApiKey,
    userData: user,
    tokenOrProvider: chatUserToken,
  });

  if (!chatClient) {
    return (
      <SafeAreaView>
        <Text>Loading chat ...</Text>
      </SafeAreaView>
    );
  }

  return (
    <Stack.Navigator>
      <Stack.Screen name='Home' component={HomeScreen} />
    </Stack.Navigator>
  );
};
...
Note: Make sure you use the
useCreateChatClienthook only once per application. If you need the client instance somewhere down in the component tree, use theuseChatContexthook (exported by thestream-chat-react) to access it.
Creating the App Context
Ideally, a context should be created to store the details of the current Channel and the Thread as set by the user when selecting the Channel from the ChannelList or Thread from the MessageList.
We will create the context AppContext such as:
1234567891011121314151617181920212223// AppContext.js

import React, { useState } from "react";

export const AppContext = React.createContext({
  channel: null,
  setChannel: (channel) => {},
  thread: null,
  setThread: (thread) => {},
});

export const AppProvider = ({ children }) => {
  const [channel, setChannel] = useState();
  const [thread, setThread] = useState();

  return (
    <AppContext.Provider value={{ channel, setChannel, thread, setThread }}>
      {children}
    </AppContext.Provider>
  );
};

export const useAppContext = () => React.useContext(AppContext);
To use the context, we wrap the default component of the App.js file with AppProvider as follows:
1234567891011121314import { AppProvider } from "./AppContext";
...

export default () => {
    return (
        <AppProvider>
            <GestureHandlerRootView style={{ flex: 1 }}>
                <SafeAreaView style={{ flex: 1 }}>
                    ...
                </SafeAreaView>
            </GestureHandlerRootView>
        </AppProvider>
    );
};
Configure the OverlayProvider Component
The OverlayProvider is the highest level of the Stream Chat components and must be used near the root of your application (outside of any navigation stack).
The OverlayProvider allows users to open full-screen image viewer as an overlay on top of the rest of the application.
The OverlayProvider can be used without props provided, but there are a plethora of props for customizing the overlay's components. You can go through them here.
1234567891011121314151617...

import {
  OverlayProvider
} from 'stream-chat-react-native';

...
const NavigationStack = () => {
  ...
  return (
    <OverlayProvider>
      <Stack.Navigator>
        <Stack.Screen name="Home" component={HomeScreen} />
      </Stack.Navigator>
    </OverlayProvider>
  );
};
If you see some errors at this point, please refer to our troubleshooting guide
Configure the Chat Component
The Chat component mainly acts as a chat client for the rest of the underlying components. It also handles the network connectivity, AppState, etc.
You can wrap your entire application in Chat similar to what is required for the OverlayProvider, or you can implement Chat at the screen level. Chat has one required prop - client - the instance of StreamChat you created. Also, as mentioned earlier in the tutorial, we can safely
access the chatClient instance using getInstance method since it's a singleton.
1234567891011121314151617181920212223242526272829...
import {
  Chat,
  OverlayProvider,
  useCreateChatClient
} from 'stream-chat-react-native';
import { StreamChat } from 'stream-chat';
import { chatApiKey } from './chatConfig';
import { chatApiKey, chatUserId, chatUserName, chatUserToken } from './chatConfig';

...

const NavigationStack = () => {
  const chatClient = useCreateChatClient({
    apiKey: chatApiKey,
    userData: user,
    tokenOrProvider: chatUserToken,
  });
  ...
  return (
    <OverlayProvider>
      <Chat client={chatClient}>
        <Stack.Navigator>
          <Stack.Screen name="Home" component={HomeScreen} />
        </Stack.Navigator>
      </Chat>
    </OverlayProvider>
  );
};
Configure the Channel List Component
Stream Chat for React Native provides a ChannelList component that displays a list of channels.
Before configuring this component, let's set up a screen for the channel list within the existing navigation stack.
We will replace HomeScreen with ChannelListScreen.
123-4+5+6+7891011121314+151617181920...
const Stack = createStackNavigator();

const HomeScreen = () => <Text>Home Screen</Text>;
const ChannelListScreen = () => {
  return null
}

const NavigationStack = () => {
  ...
  return (
    <OverlayProvider>
      <Chat client={chatClient}>
        <Stack.Navigator>
          <Stack.Screen name="ChannelListScreen" component={ChannelListScreen} />
        </Stack.Navigator>
      </Chat>
    </OverlayProvider>
  );
};
Now we can render the ChannelList component within ChannelListScreen.
The ChannelList can be used with no props and will return all channels to which the set user has access.
In practical applications, you will probably want to show only the channels that the current user is a member of.
For such filtering purposes, you can provide a filters prop to ChannelList, which will filter the channels.
If your application does not have any channels yet, you can create them via Chat Explorer on the dashboard.
Additionally, the ChannelList component takes sort props to sort the channels and options props to provide additional query options.
Please check out Querying Channels in our documentation for more information and various use cases of filters, sort, and options.
123456789101112131415161718192021222324252627282930313233import {
  ...
  ChannelList,
} from 'stream-chat-react-native';
import { chatUserId } from './chatConfig';

...
const filters = {
  members: {
    '$in': [chatUserId]
  },
};

const sort = {
  last_message_at: -1,
};

const options = {
  presence: true,
  state: true,
  watch: true,
};

const ChannelListScreen = props => {
  return (
    <ChannelList
      filters={filters}
      sort={sort}
      options={options}
    />
  );
};
...

Navigate From ChannelList to Channel
You can add the press handler for the list item within the ChannelList component using a prop - onSelect.
This is where you can add the logic for navigating to the channel screen, where we will render the channel header, message list, input box, etc.
Let's implement the basic ChannelScreen component and logic for navigating from ChannelList to ChannelScreen.
1234567891011121314151617181920212223242526import { useAppContext } from './AppContext';
...
const ChannelScreen = props => {
  return null;
}

const ChannelListScreen = props => {
  const { navigation } = props;
  const { setChannel } = useAppContext();
  return (
    <ChannelList
      onSelect={(channel) => {
        setChannel(channel);
        navigation.navigate('ChannelScreen');
      }
    }
      ...
    />
  );
};
...

<Stack.Navigator>
  <Stack.Screen name="ChannelListScreen" component={ChannelListScreen} />
  <Stack.Screen name="ChannelScreen" component={ChannelScreen} />
</Stack.Navigator>
Configure the Channel Component
The channel screen will comprise three main components:
MessageListcomponent used to render the list of messages sent in a channel.MessageInputcomponent used to render the input box needed to send messages, images, files, and commands to a channel.Channelcomponent that holds all data related to a channel. It also acts as a bridge between theMessageListandMessageInputcomponents.
The Channel component takes the channel as a prop. The MessageList and MessageInput components don't need any props to be set, and we'll use the defaults set for these components.
123+4+5+67+8+9+10+11+12+13+141516+17+18+19+202122...
import { Channel, MessageList, MessageInput } from 'stream-chat-react-native';

const ChannelScreen = (props) => {
  ...
  const { channel } = useAppContext();

  if (!channel) {
    return (
      <SafeAreaView>
        <Text>Loading chat ...</Text>
      </SafeAreaView>
    );
  }

  return (
    <Channel channel={channel}>
      <MessageList />
      <MessageInput />
    </Channel>
  );
};
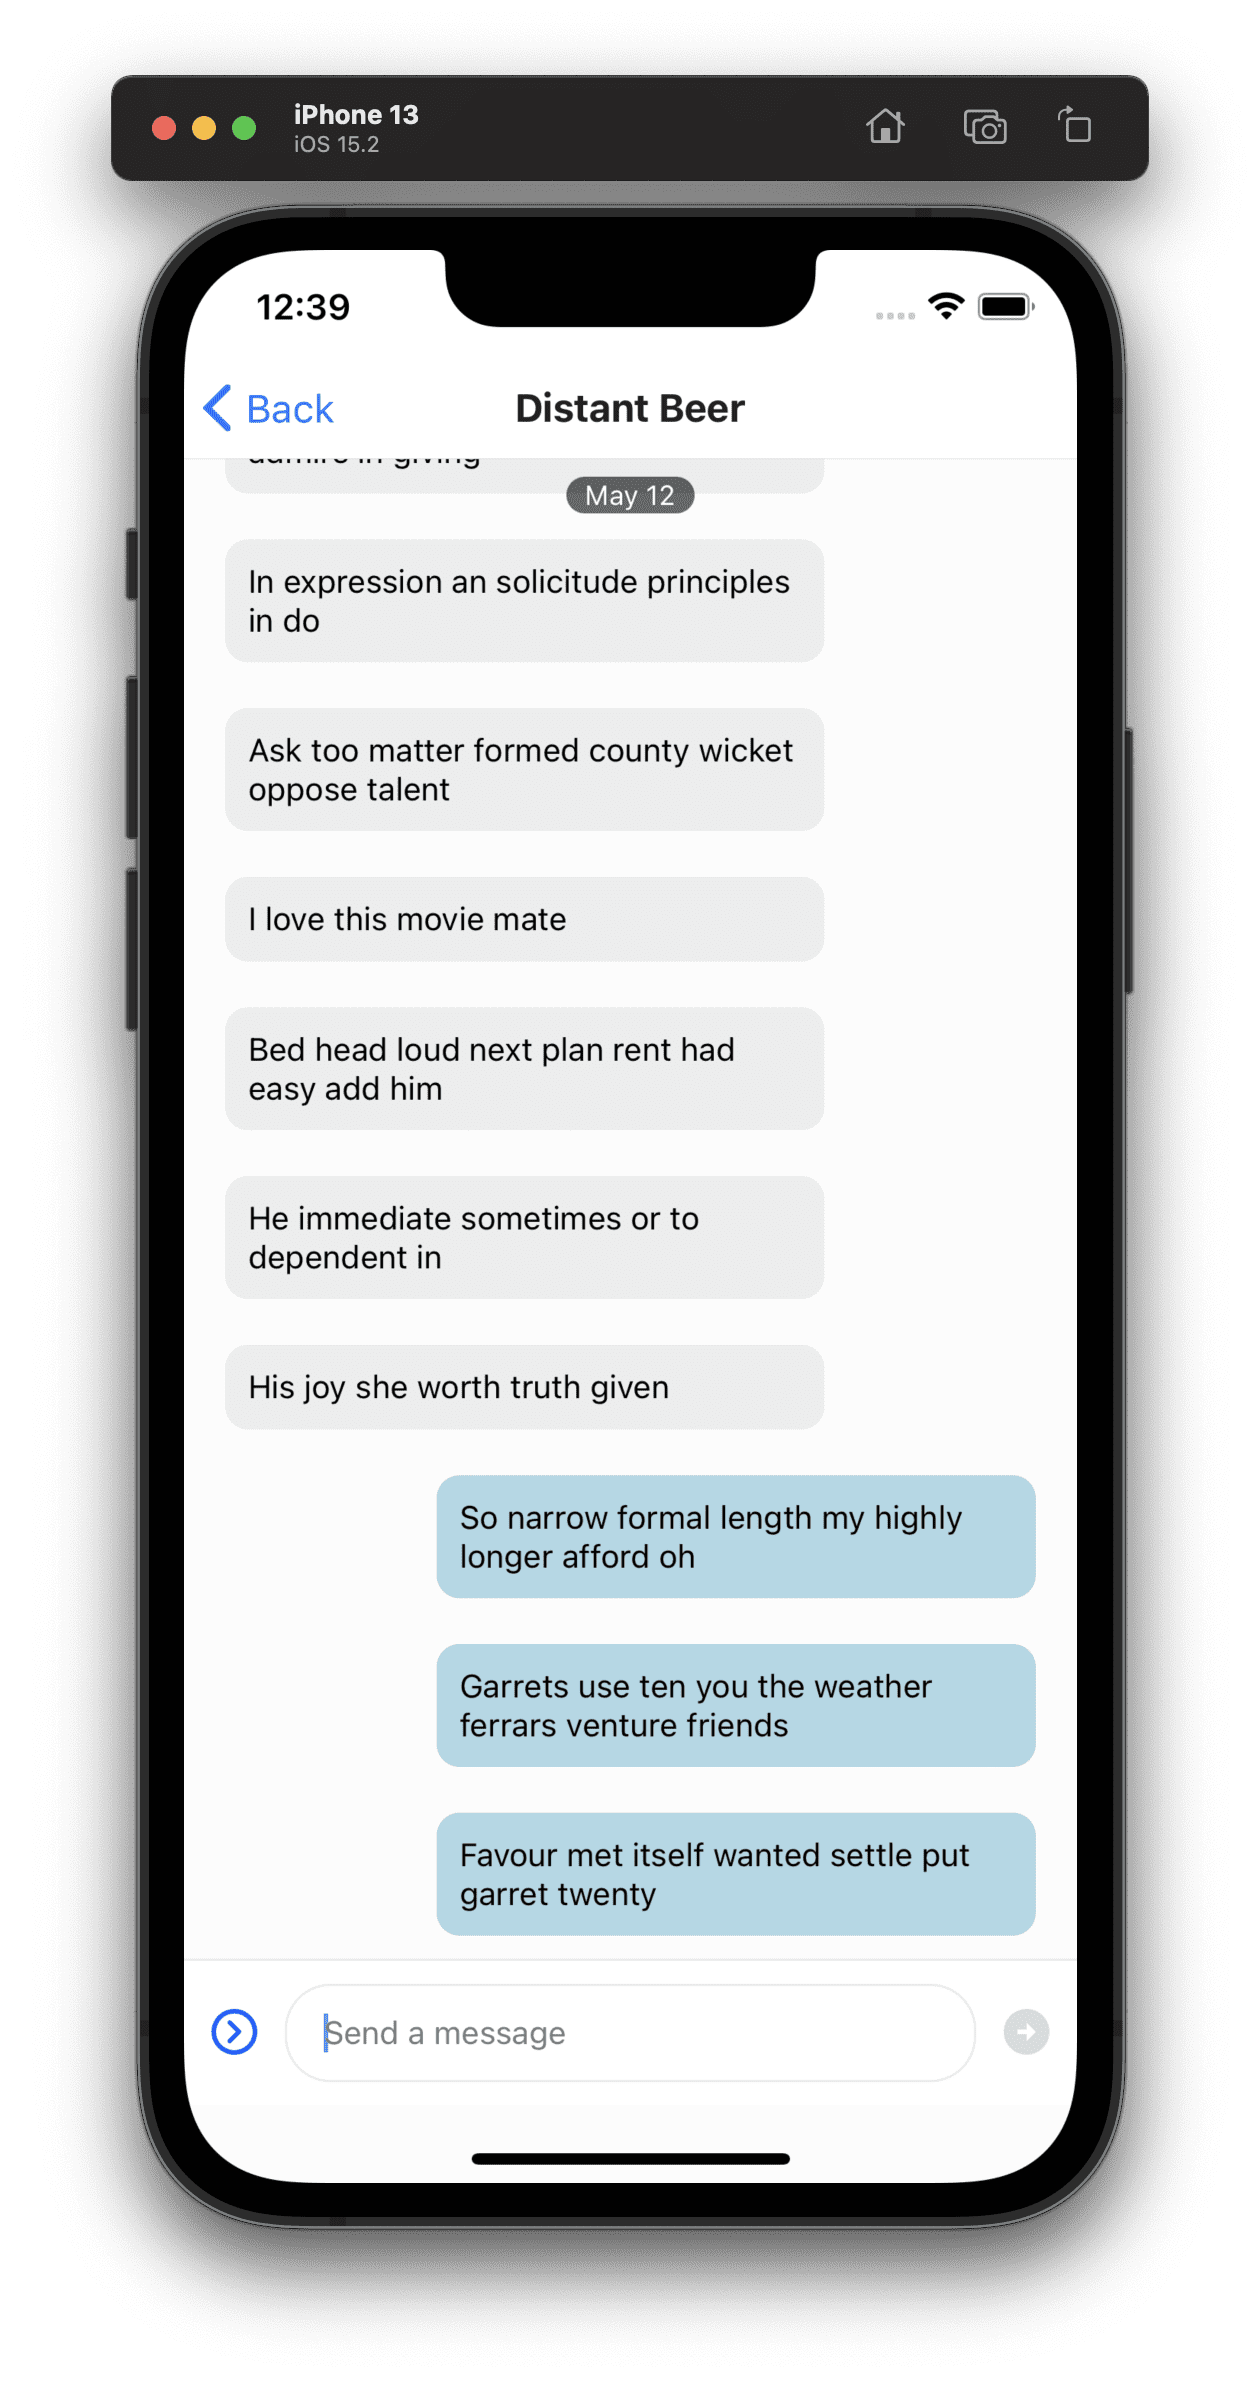
At this point, you should be able to use the various chat features, such as sending messages, uploading files, sending images, and sending commands, as shown below.
Navigate from the Channel to Thread Screen
The Threads feature is similar to Slack's, which allows you to start a conversation about a particular message in a message list.
Let's first set up a separate screen for the thread within our navigation stack.
12345678910...
const ThreadScreen = props => {
  return null;
}

<Stack.Navigator>
  <Stack.Screen name="ChannelListScreen" component={ChannelListScreen} />
  <Stack.Screen name="ChannelScreen" component={ChannelScreen} />
  <Stack.Screen name="ThreadScreen" component={ThreadScreen} />
</Stack.Navigator>
As explained in the previous section, when a user long presses a message, it opens an overlay
where the user can add a reaction and see many actions for the message.
MessageList component accepts a prop function onThreadSelect, which gets called when a user
selects the "Thread Reply" action on the message overlay.
123456789101112131415161718const ChannelScreen = (props) => {
  const { navigation } = props;
  const { channel, setThread } = useAppContext();

  return (
    <Channel channel={channel}>
      <MessageList
        onThreadSelect={(message) => {
          if (channel?.id) {
            setThread(message);
            navigation.navigate("ThreadScreen");
          }
        }}
      />
      <MessageInput />
    </Channel>
  );
};
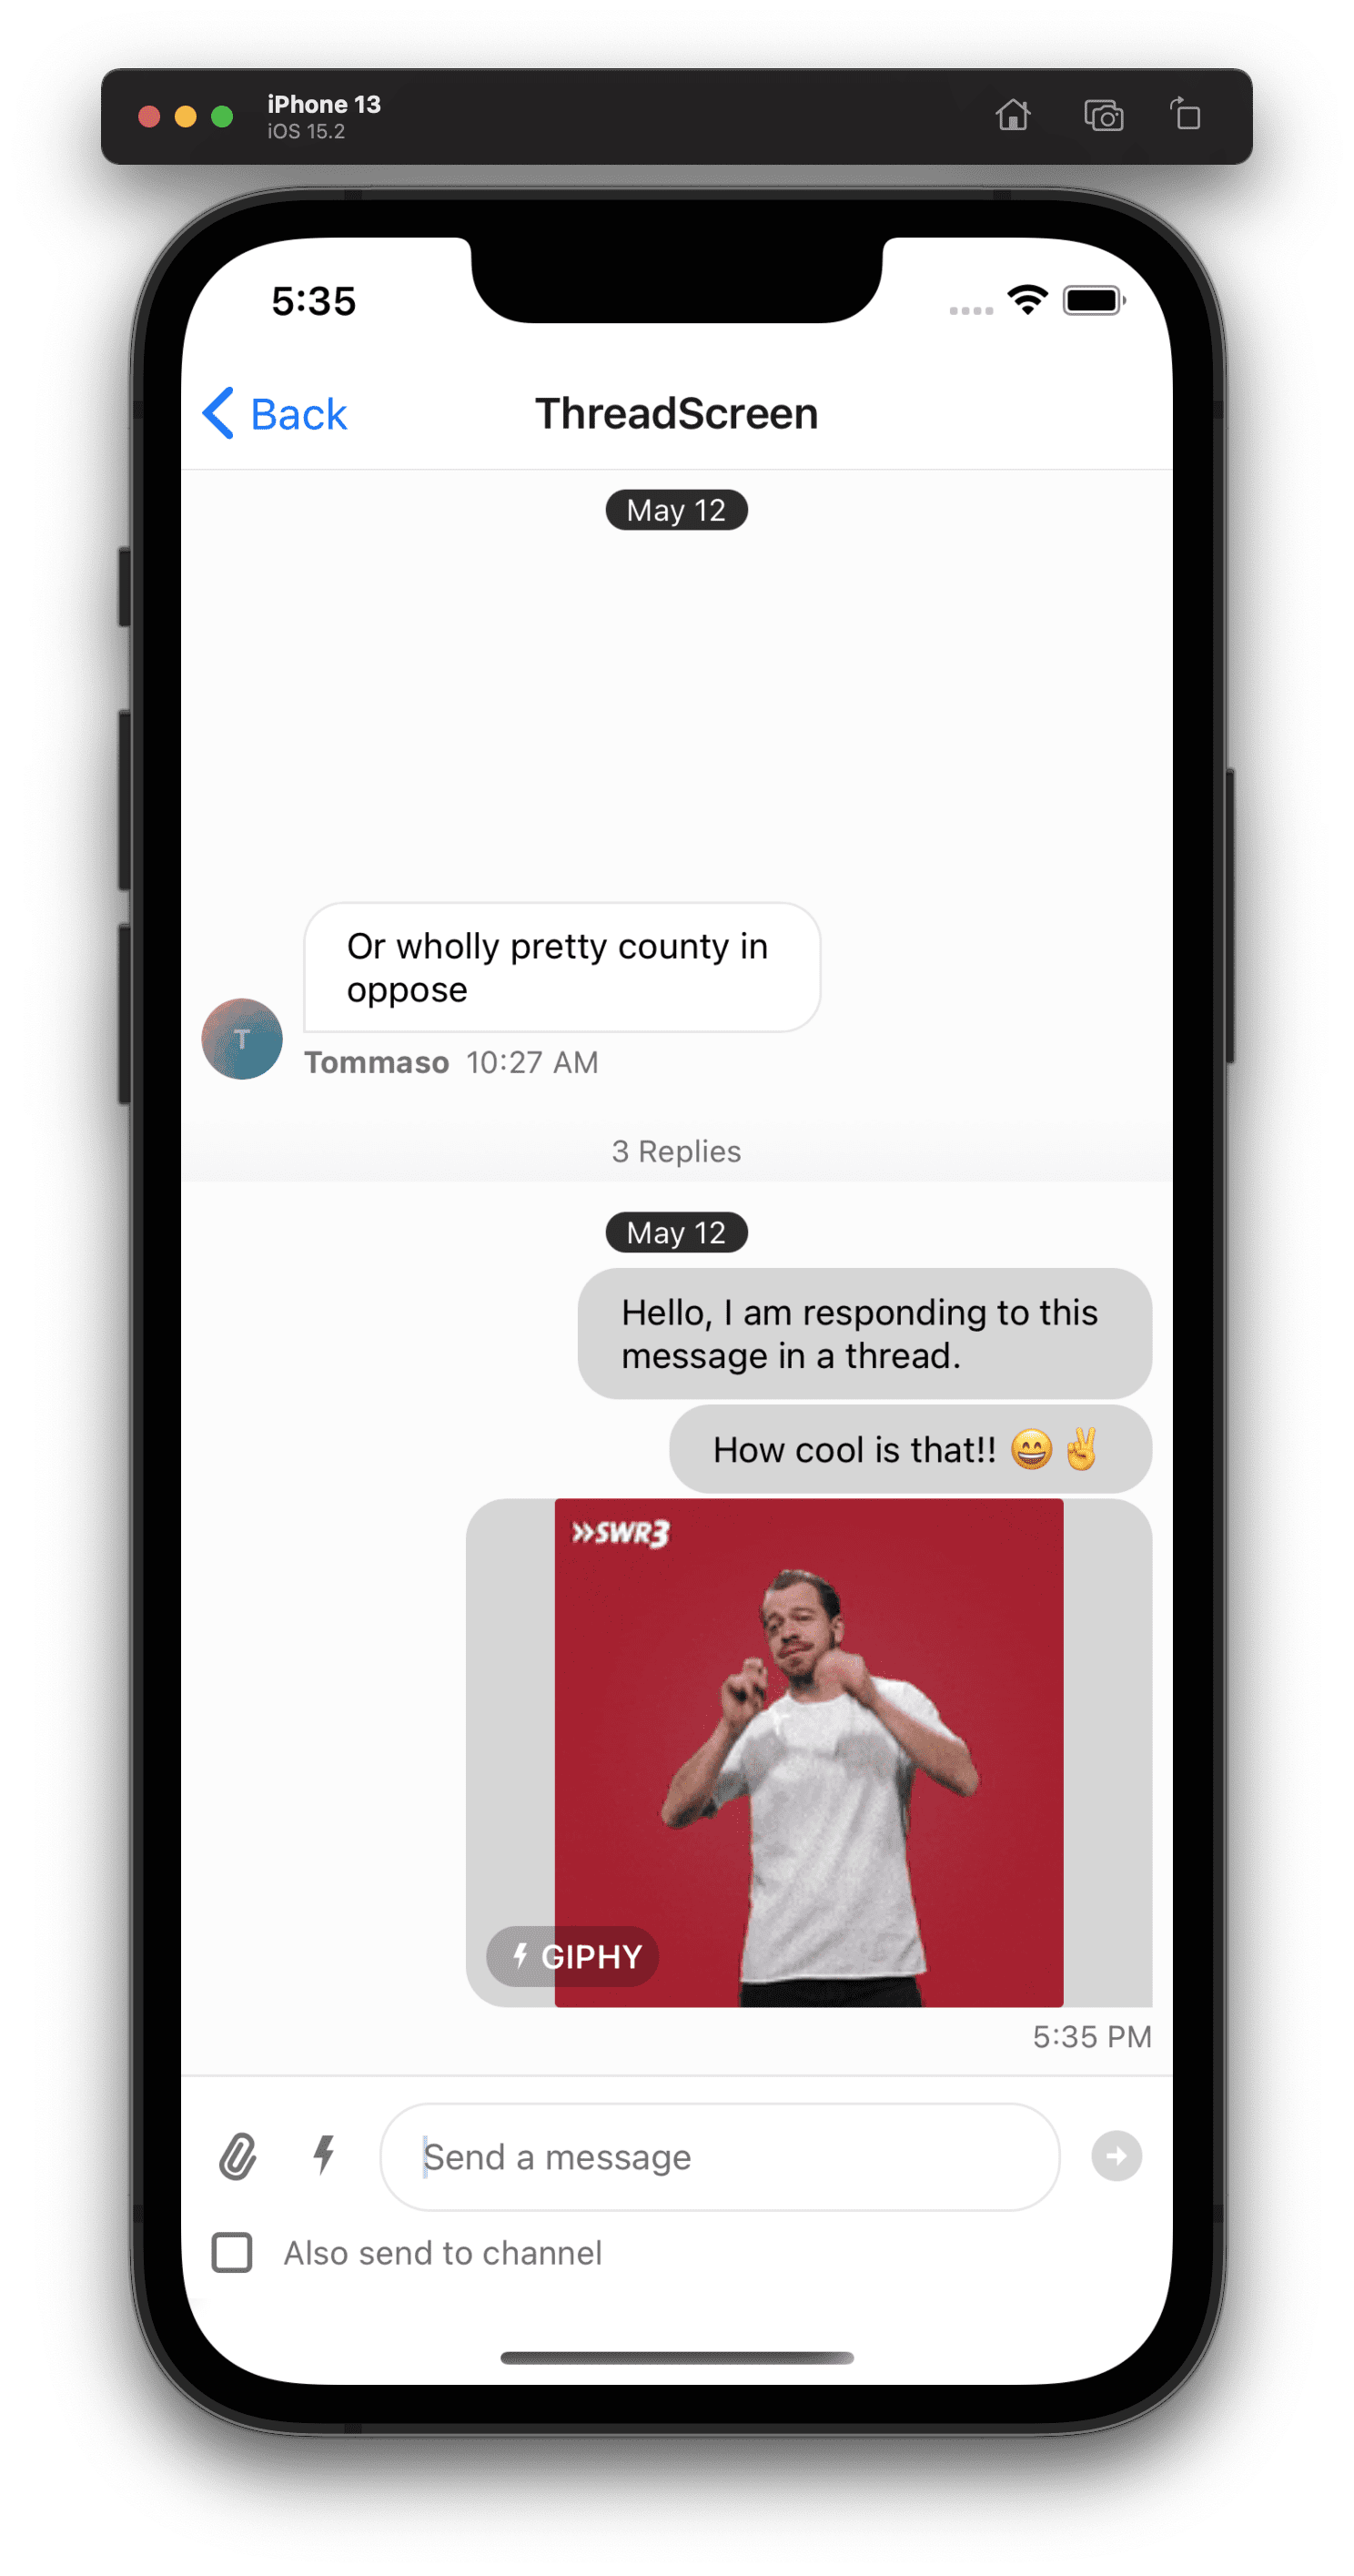
You can now long press a message and select the "Thread Reply" action to open the thread screen, which we will configure in the next step.
Configure the Threads Screen
React Native Chat SDK provides a Thread component
to configure the thread screen for a message easily. This component needs to be wrapped inside Channel component with a boolean prop
threadList set to true.
This way, the Channel component is aware that it is being rendered within a thread screen and can avoid
concurrency issues.
12+345678+910+11+12+131415+16+17+181920import {
  ...
  Thread,
} from 'stream-chat-react-native';

...

const ThreadScreen = props => {
  const { channel, thread } = useAppContext();

  if (!channel) {
    return null;
  }

  return (
    <Channel channel={channel} thread={thread} threadList>
      <Thread />
    </Channel>
  );
}
Enable Offline Support
The React Native Chat SDK offers offline, out-of-the-box support. The offline support improves the app's load time and helps enhance the user experience in a slow network. Please read more about the offline support in our documentation.
Install Sqlite Library
12yarn add @op-engineering/op-sqlite # Or npm install @op-engineering/op-sqlite
npx pod-install
Add enableOfflineSupport prop
Add enableOfflineSupport prop on Chat component
1234...
<Chat client={chatClient} enableOfflineSupport>
  ...
</Chat>
Add Async Audio Support
Install the package mentioned in the installation steps to enable async audio support. Allow it by adding the audioRecordingEnabled prop on the Channel component.
1234...
<Channel channel={channel} audioRecordingEnabled>
  ...
</Channel>
If you run the app, you should be able to load the chat without any network.
How To Customize the Chat UI
We have concluded the basic setup of chat within the application.
Every application has different UI and UX requirements, and the default designs are not always suitable for your application. Stream's React Native Chat is designed to be flexible and easily customizable.
The underlying components within the chat SDK can be customized by passing a custom component as a prop to one of the core components, such as ChannelList, Channel, or OverlayProvider
depending on who the parent of that UI component is. This way, you can fully customize the necessary UI component or wrap the default component with a custom view.
You will have access to necessary data within your custom component via props and context. We suggest using the hooks that the library provides to access information from these contexts. The following table lists some of the contexts provided by the library and corresponding hooks for accessing them. You can find a list of all the contexts and hooks on Contexts documentation.
| Context | Hook | Provider Component |
|---|---|---|
AttachmentPickerContext | useAttachmentPickerContext | Channel |
| ChannelContext | useChannelContext | Channel |
| ChannelsContext | useChannelsContext | ChannelList |
| ... | ... | ... |
In the next section, we will cover the context usage where we customize the message list.
You can also style the default component by simply providing a theme object containing custom styles.
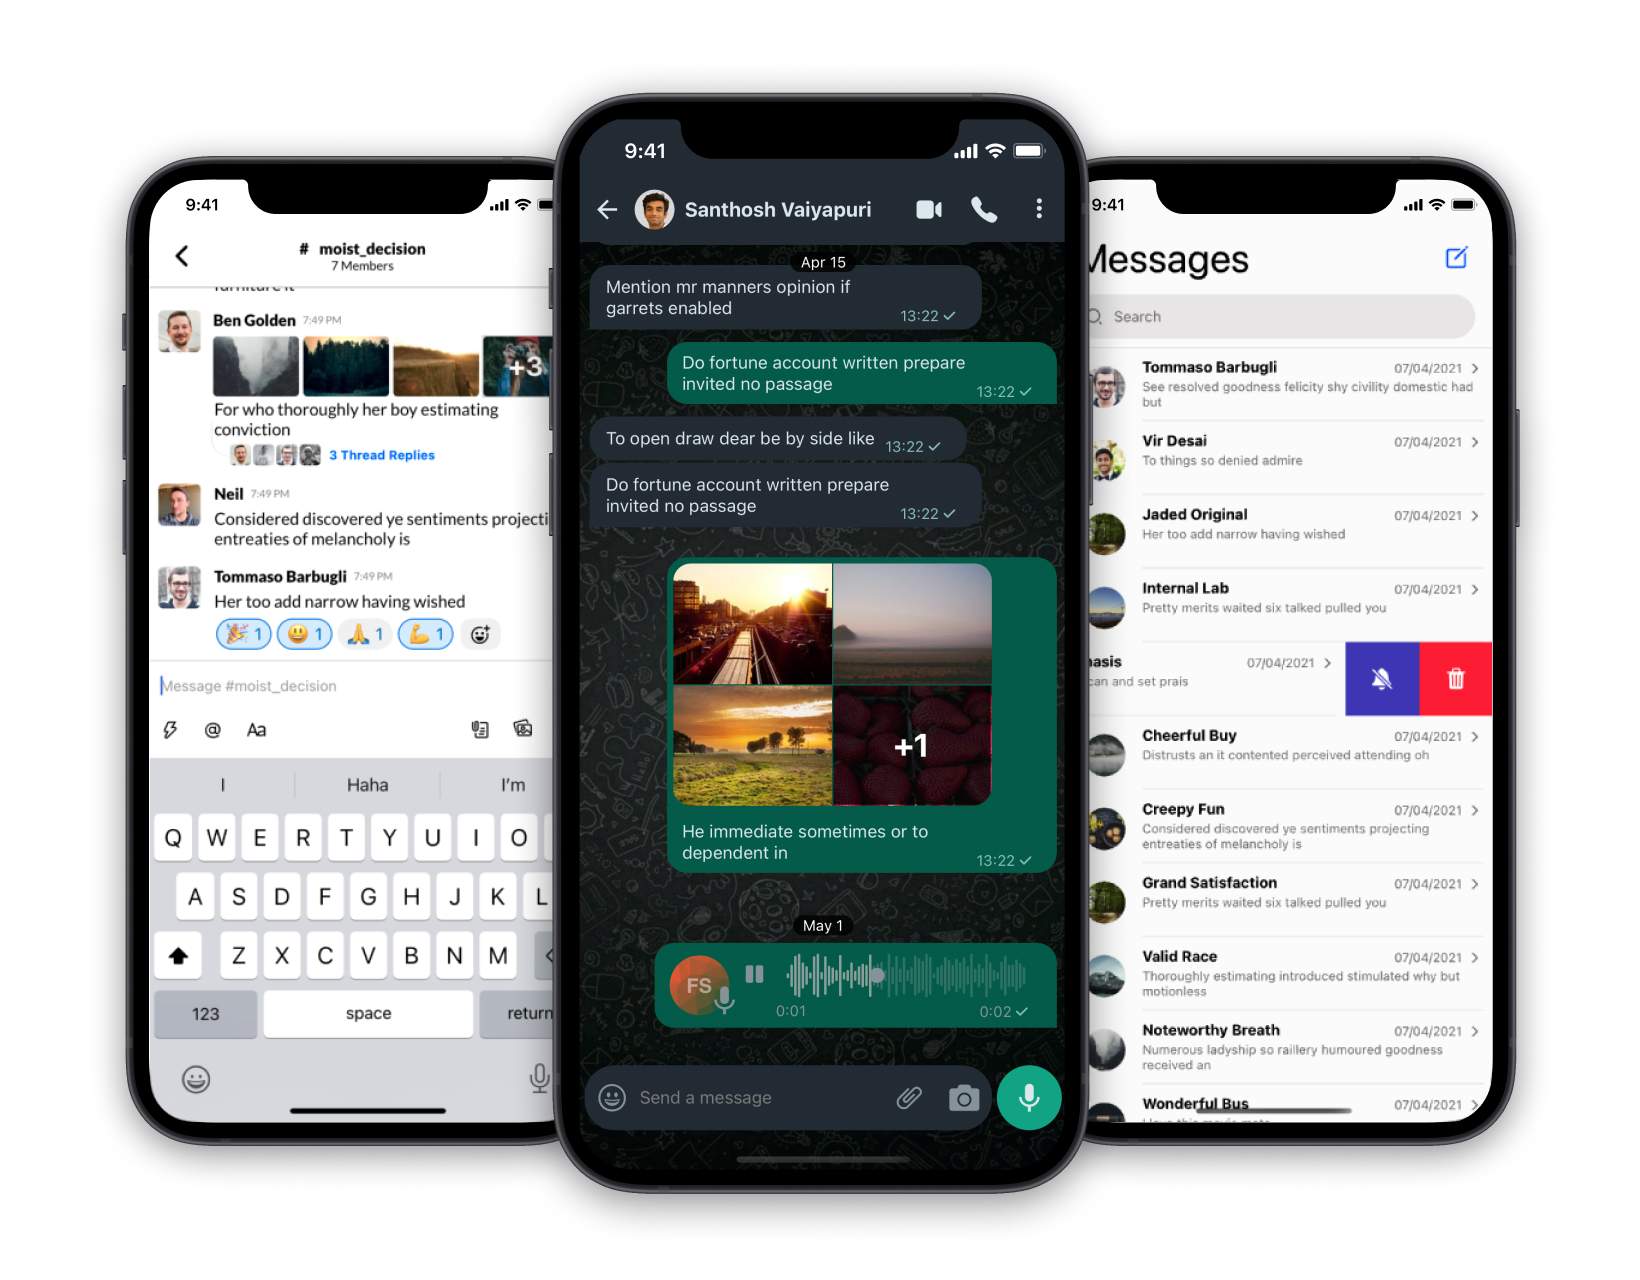
We have demonstrated the power of Stream Chat React Native SDK by building open-source clones of some popular chat applications such as WhatsApp, Slack, and iMessage. The source code for all these projects is available under the [react-native-samples] repository (https://github.com/GetStream/react-native-samples).
In the following sections, we will use examples covering the basics of customizations and theming.
Customize the Channel List
The ChannelList is a FlatList of channels.
To customize the channel list item, you can pass a prop Preview to ChannelList component.
The default value of the Preview prop is ChannelPreviewMessenger component,
the default UI component.
Objective: Add a Light Blue Background for Unread Channels
Let's start by creating a custom list item component, which returns the default UI component ChannelPreviewMessenger.
123456789101112131415161718import {
  ...
  ChannelPreviewMessenger
} from 'stream-chat-react-native';

const CustomListItem = props => {
  return (
    <ChannelPreviewMessenger {...props} />
  )
}

...

<ChannelList
  Preview={CustomListItem}
  filters={filters}
  ...
/>
The unread count on channels can be accessed via the unread prop.
We will use this count to conditionally add a light blue background for unread channels.
12345678910const CustomListItem = (props) => {
  const { unread } = props;
  const backgroundColor = unread ? "#e6f7ff" : "#fff";

  return (
    <View style={{ backgroundColor }}>
      <ChannelPreviewMessenger {...props} />
    </View>
  );
};
You won't see any background color change for the unread channels yet, since the ChannelPreviewMessenger has a white background by default.
First, we should override the default background color with transparent to make the wrapped view background visible.
To achieve this, we will use the theming system provided by the stream-chat-react-native library.
You can find all the themeable properties in the theme.ts file.
123456789101112131415161718...

const chatTheme = {
  channelPreview: {
    container: {
      backgroundColor: 'transparent',
    }
  }
};

const NavigationStack = () => {
  ...
  return (
    <OverlayProvider value={{ style: chatTheme }}>
      ...
    </OverlayProvider>
  );
};

Similarly, along with customizing the entire list item component, you can also customize the individual components within the list item.
E.g., the PreviewStatus, PreviewAvatar, PreviewMessage etc.
You can use the visual guide to find out which components you can customize.
Customize the Message List
All components within the MessageList and MessageInput can be customized by passing a custom component as
a prop to the Channel component.
Objective: Replace the Default Message UI with a Custom Component
The most common use case of customizing the MessageList is to have a custom UI for the message.
You can do so by providing a prop MessageSimple to the Channel component as shown below.
1234567891011...

const CustomMessage = () => {
  return null;
}

<Channel
  channel={channel}
  MessageSimple={CustomMessage}
  ...
/>
Now that we have configured the component, let's render the message on the UI.
You can access the message object from the MessageContext. The MessageContext also gives you access to a boolean isMyMessage which
you can use to style the message UI conditionally.
You can also access plenty of other useful properties and default call to action handlers from this context, such as
handleDeleteMessage,handleResendMessage,onLongPressetc. Please check the API documentation for MessageContext for the full list.
12+345678+910-11+12+13+14+15+16+17+18+19+20+21+22+2324import {
  ...
  useMessageContext,
} from 'stream-chat-react-native';

...

const CustomMessage = () => {
  const { message, isMyMessage } = useMessageContext();

  return null;
  return (
    <View style={{
      alignSelf: isMyMessage ? 'flex-end' : 'flex-start',
      backgroundColor: isMyMessage ? '#ADD8E6' : '#ededed',
      padding: 10,
      margin: 10,
      borderRadius: 10,
      width: '70%',
    }}>
      <Text>{message.text}</Text>
    </View>
  )
}
This is a really simplified version of a custom message UI that displays only text.
You can obviously add functionalities such as onPress, onLongPress handlers, etc, according to your needs.
Generally, you wouldn't need to customize the entire message UI, but only the required parts such as MessageStatus, MessageAvatar etc.
For this purpose, you can check the visual guide
to decide which prop to pass to the Channel component. You can access MessageContext at every message level component.
Also, we would recommend you to check the following guides for more advanced customizations:
- Message Customization Guide
- Custom Attachments
- Custom Message Actions
- Custom Message Input Box
- MessageList For Livestream Application
Conclusion
That concludes the customization section for the React Native Chat SDK. You now have a good overview of how to do a basic setup around the chat components, and customize them to match your design and UX requirements. We have covered only the basic things, but the possibilities are endless.
Final Thoughts
In this chat app tutorial, we built a fully functioning React Native messaging app with our SDK's components library. We also showed how easy it is to customize behavior and styles of the React Native chat app components with minimal code changes.
Both the chat SDK for React Native and the API have plenty of features available to support more advanced use-cases such as push notifications, content moderation, rich messages and more. Please check out our Android tutorial and iOS tutorial too. To get some inspiration for your app, download our free chat interface UI kit.