MinIO is a High Performance Object Storage released under GNU Affero General Public License v3.0. It is API compatible with Amazon S3 cloud storage service. Use MinIO to build high performance infrastructure for machine learning, analytics and application data workloads.
This README provides quickstart instructions on running MinIO on bare metal hardware, including container-based installations. For Kubernetes environments, use the MinIO Kubernetes Operator.
Use the following commands to run a standalone MinIO server as a container.
Standalone MinIO servers are best suited for early development and evaluation. Certain features such as versioning, object locking, and bucket replication require distributed deploying MinIO with Erasure Coding. For extended development and production, deploy MinIO with Erasure Coding enabled - specifically, with a minimum of 4 drives per MinIO server. See MinIO Erasure Code Overview for more complete documentation.
Run the following command to run the latest stable image of MinIO as a container using an ephemeral data volume:
podman run -p 9000:9000 -p 9001:9001 \
  quay.io/minio/minio server /data --console-address ":9001"
The MinIO deployment starts using default root credentials minioadmin:minioadmin. You can test the deployment using the MinIO Console, an embedded
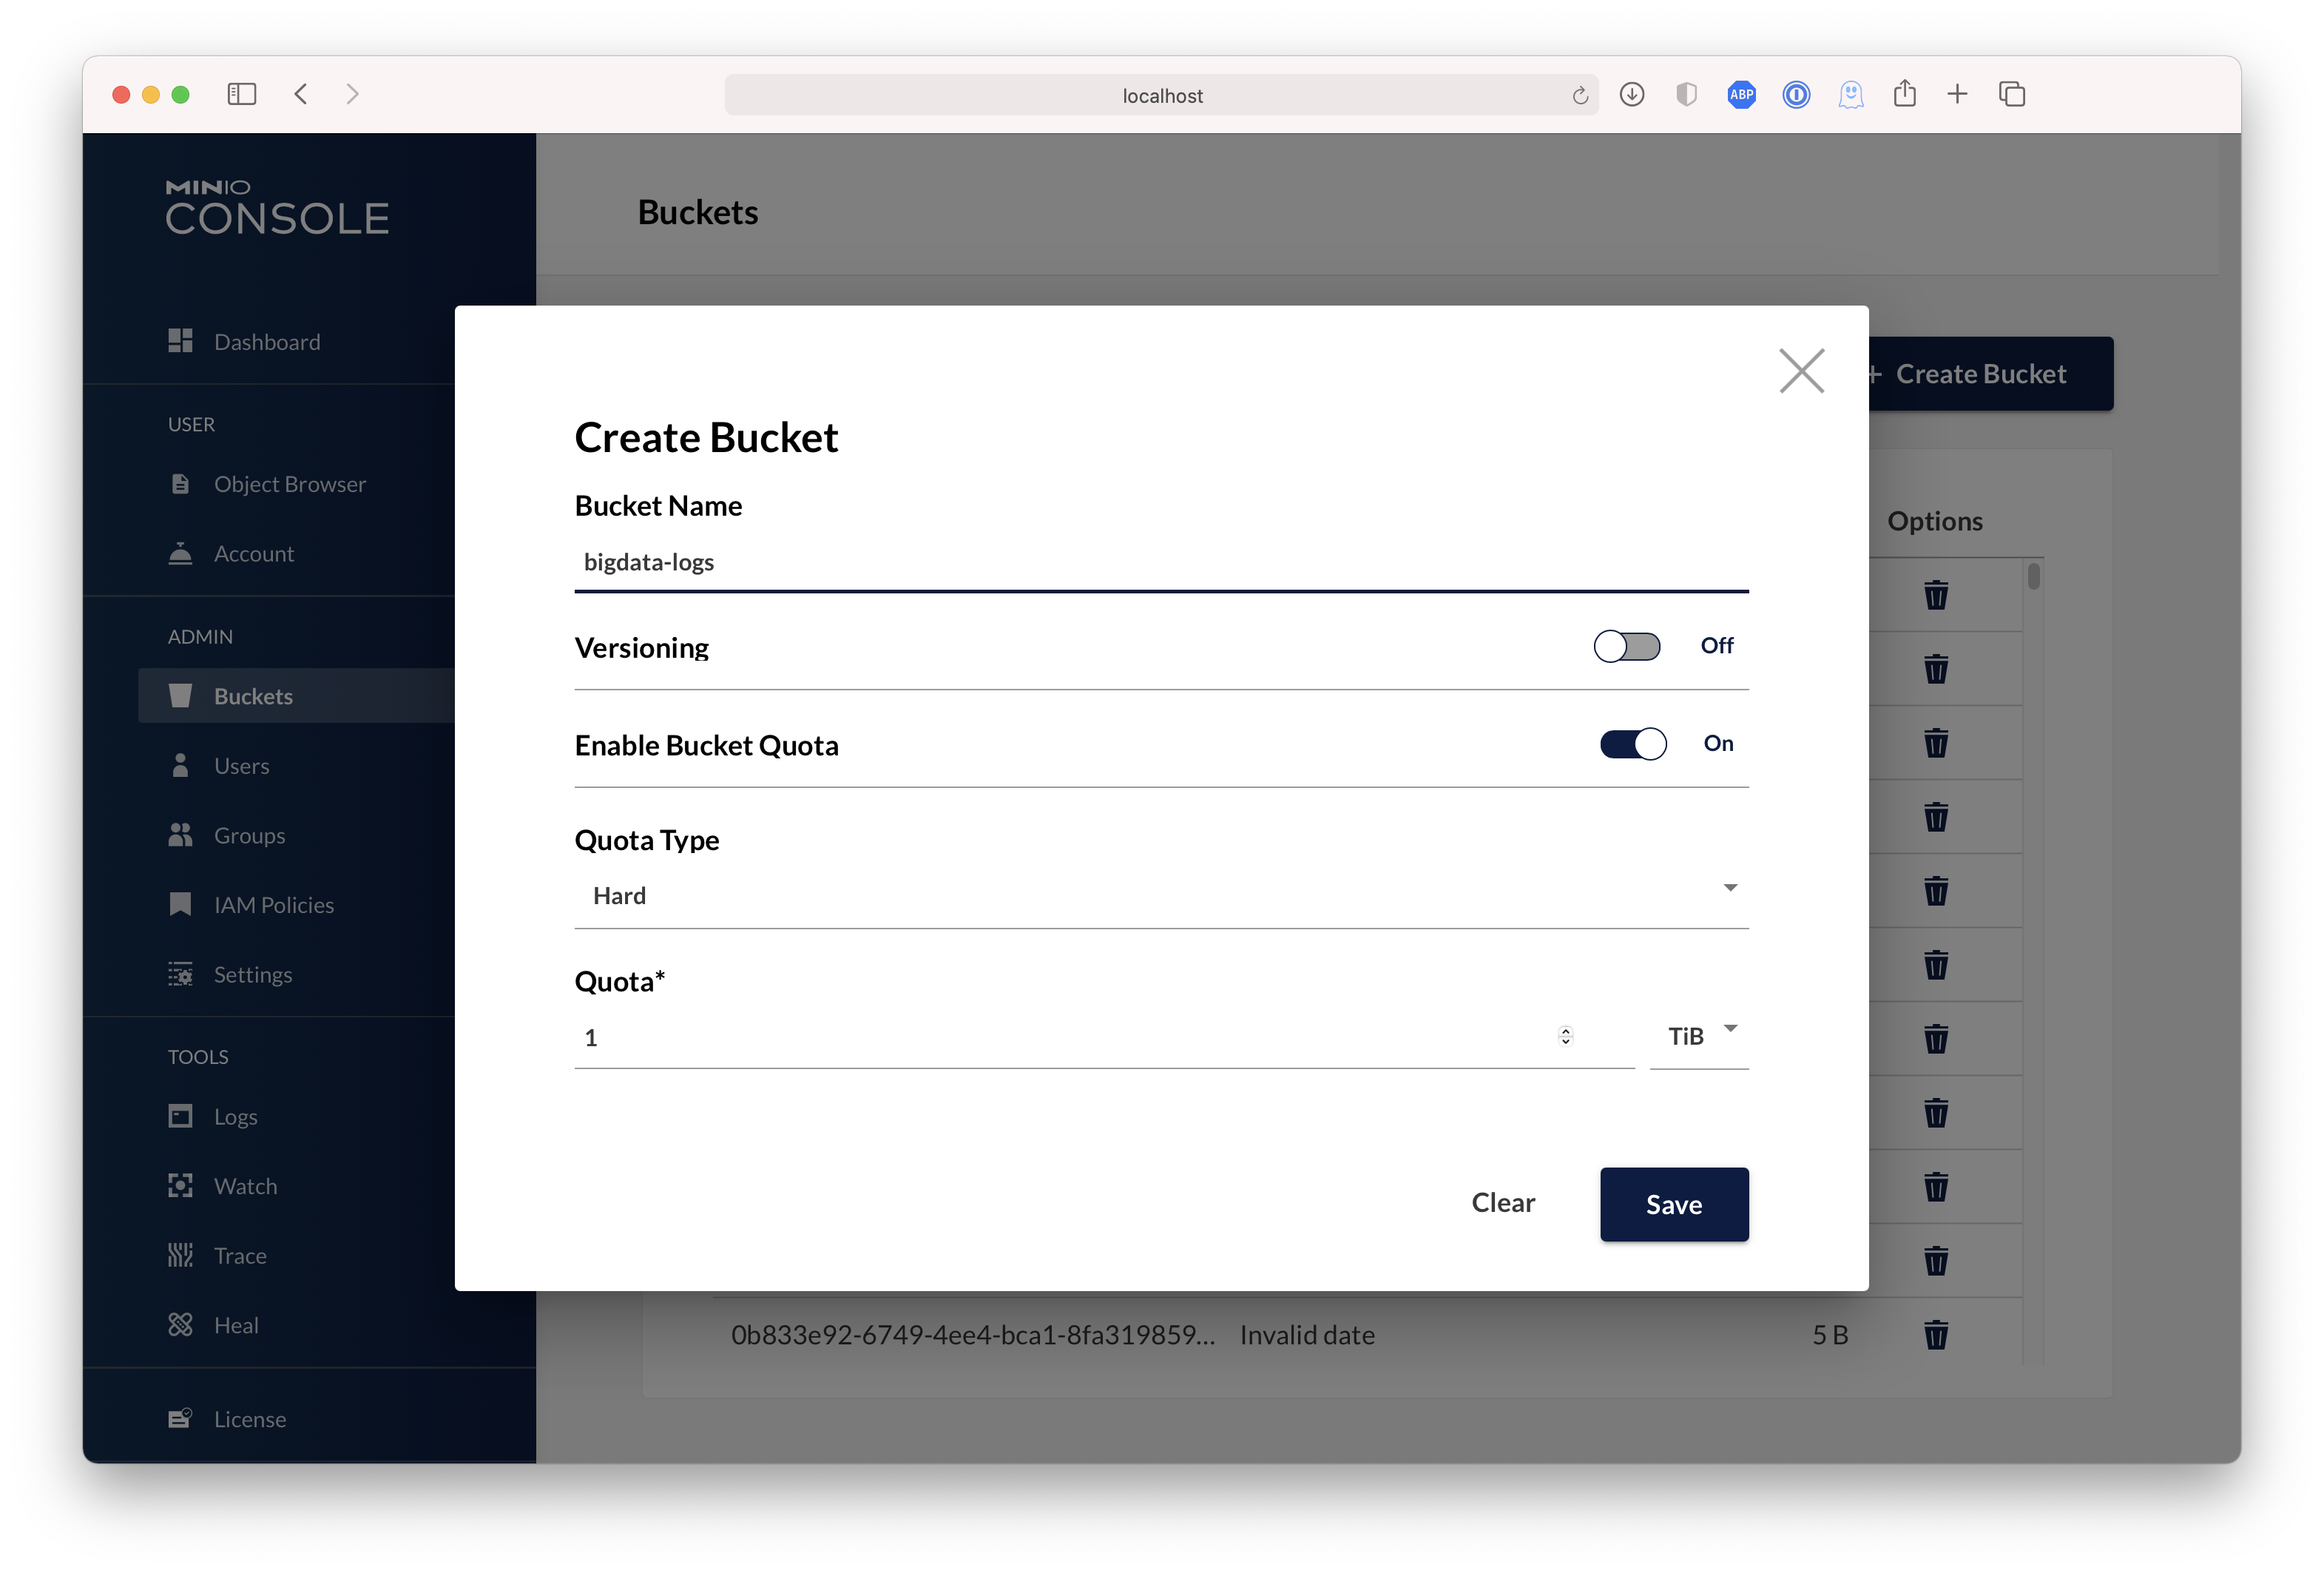
object browser built into MinIO Server. Point a web browser running on the host machine to http://127.0.0.1:9000 and log in with the
root credentials. You can use the Browser to create buckets, upload objects, and browse the contents of the MinIO server.
You can also connect using any S3-compatible tool, such as the MinIO Client mc commandline tool. See
Test using MinIO Client mc for more information on using the mc commandline tool. For application developers,
see https://min.io/docs/minio/linux/developers/minio-drivers.html to view MinIO SDKs for supported languages.
NOTE: To deploy MinIO on with persistent storage, you must map local persistent directories from the host OS to the container using the
podman -voption. For example,-v /mnt/data:/datamaps the host OS drive at/mnt/datato/dataon the container.
Use the following commands to run a standalone MinIO server on macOS.
Standalone MinIO servers are best suited for early development and evaluation. Certain features such as versioning, object locking, and bucket replication require distributed deploying MinIO with Erasure Coding. For extended development and production, deploy MinIO with Erasure Coding enabled - specifically, with a minimum of 4 drives per MinIO server. See MinIO Erasure Code Overview for more complete documentation.
Run the following command to install the latest stable MinIO package using Homebrew. Replace /data with the path to the drive or directory in which you want MinIO to store data.
brew install minio/stable/minio
minio server /data
NOTE: If you previously installed minio using
brew install miniothen it is recommended that you reinstall minio fromminio/stable/minioofficial repo instead.
brew uninstall minio
brew install minio/stable/minio
The MinIO deployment starts using default root credentials minioadmin:minioadmin. You can test the deployment using the MinIO Console, an embedded web-based object browser built into MinIO Server. Point a web browser running on the host machine to http://127.0.0.1:9000 and log in with the root credentials. You can use the Browser to create buckets, upload objects, and browse the contents of the MinIO server.
You can also connect using any S3-compatible tool, such as the MinIO Client mc commandline tool. See Test using MinIO Client mc for more information on using the mc commandline tool. For application developers, see https://min.io/docs/minio/linux/developers/minio-drivers.html/ to view MinIO SDKs for supported languages.
Use the following command to download and run a standalone MinIO server on macOS. Replace /data with the path to the drive or directory in which you want MinIO to store data.
wget https://dl.min.io/server/minio/release/darwin-amd64/minio
chmod +x minio
./minio server /data
The MinIO deployment starts using default root credentials minioadmin:minioadmin. You can test the deployment using the MinIO Console, an embedded web-based object browser built into MinIO Server. Point a web browser running on the host machine to http://127.0.0.1:9000 and log in with the root credentials. You can use the Browser to create buckets, upload objects, and browse the contents of the MinIO server.
You can also connect using any S3-compatible tool, such as the MinIO Client mc commandline tool. See Test using MinIO Client mc for more information on using the mc commandline tool. For application developers, see https://min.io/docs/minio/linux/developers/minio-drivers.html to view MinIO SDKs for supported languages.
Use the following command to run a standalone MinIO server on Linux hosts running 64-bit Intel/AMD architectures. Replace /data with the path to the drive or directory in which you want MinIO to store data.
wget https://dl.min.io/server/minio/release/linux-amd64/minio
chmod +x minio
./minio server /data
Replace /data with the path to the drive or directory in which you want MinIO to store data.
The following table lists supported architectures. Replace the wget URL with the architecture for your Linux host.
| Architecture | URL |
|---|---|
| 64-bit Intel/AMD | https://dl.min.io/server/minio/release/linux-amd64/minio |
| 64-bit ARM | https://dl.min.io/server/minio/release/linux-arm64/minio |
| 64-bit PowerPC LE (ppc64le) | https://dl.min.io/server/minio/release/linux-ppc64le/minio |
| IBM Z-Series (S390X) | https://dl.min.io/server/minio/release/linux-s390x/minio |
The MinIO deployment starts using default root credentials minioadmin:minioadmin. You can test the deployment using the MinIO Console, an embedded web-based object browser built into MinIO Server. Point a web browser running on the host machine to http://127.0.0.1:9000 and log in with the root credentials. You can use the Browser to create buckets, upload objects, and browse the contents of the MinIO server.
You can also connect using any S3-compatible tool, such as the MinIO Client mc commandline tool. See Test using MinIO Client mc for more information on using the mc commandline tool. For application developers, see https://min.io/docs/minio/linux/developers/minio-drivers.html to view MinIO SDKs for supported languages.
NOTE: Standalone MinIO servers are best suited for early development and evaluation. Certain features such as versioning, object locking, and bucket replication require distributed deploying MinIO with Erasure Coding. For extended development and production, deploy MinIO with Erasure Coding enabled - specifically, with a minimum of 4 drives per MinIO server. See MinIO Erasure Code Overview for more complete documentation.
To run MinIO on 64-bit Windows hosts, download the MinIO executable from the following URL:
https://dl.min.io/server/minio/release/windows-amd64/minio.exe