Chapter 3. Quick Start & Tours
Abstract
This chapter is aimed at getting Virtuoso up and running quickly with a few basic examples to demonstrate key concepts.
The Virtuoso quick start tour is designed to familiarize you with some of the components in Virtuoso. After completing the tour, you should be able to link new tables into Virtuoso, and query the tables.
Table of Contents
- 3.1. Where to Start
-
- 3.1.1. Default Passwords
- 3.1.2. Post-Installation Sanity Check
- 3.1.3. Administering Your Virtuoso Installation
- 3.2. Client Connections
- 3.3. Virtual Database Server
-
- 3.3.1. Configuring Your ODBC Data Sources
- 3.3.2. Datasource Check
- 3.3.3. Demo Datasource Query
- 3.3.4. Linking Remote Tables Into Virtuoso
- 3.3.5. Listing or Unlinking Tables
- 3.3.6. Querying Linked Tables
- 3.4. Web Server
-
- 3.4.1. Virtual Directories
- 3.4.2. Multi Homing
- 3.5. WebDAV
-
- 3.5.1. Web Folders
- 3.6. Web Services
- 3.7. Exposing Persistent Stored Modules as Web Services
- 3.8. VSMX - Virtuoso Service Module for XML
- 3.9. SQL to XML
-
- 3.9.1. FOR XML Execution Modes
- 3.9.2. Tables With XML Columns
- 3.10. NNTP
-
- 3.10.1. NNTP Server Setup
- 3.10.2. Local & Remote Groups
- 3.10.3. NNTP Client Setup
- 3.11. Dynamic Web Pages
- 3.12. VSP Examples
-
- 3.12.1. Simple HTML FORM usage
- 3.12.2. Manipulating Database Data in VSP
- 3.12.3. Simple Tutorial
- 3.13. Third-Party Runtime Typing, Hosting & User Defined Types
- 3.14. Troubleshooting Tips
-
- 3.14.1. General Tips
- 3.14.2. DBMS Server will not start
- 3.14.3. Case Mode
3.1. Where to Start
3.1.1. Default Passwords
When you start up Virtuoso for the first time, there are 3 user accounts defined:
Table 3.1. Default users of Virtuoso
| User Name | Default Password | Usage |
|---|---|---|
| dba | dba | Default Database Administrator account. |
| dav | dav | WebDAV Administrator account. |
| vad | vad | WebDAV account for internal usage in VAD (disabled by default). |
| demo | demo | Default demo user for the demo database. This user is the owner of the Demo catalogue of the demo database. |
| soap | soap | SQL User for demonstrating SOAP services. |
| fori | fori | SQL user account for 'Forums' tutorial application demonstration in the Demo database. |
One database user and 2 WebDAV users. These users have their passwords set to default values. It is therefore important to change them immediately after the installation.
The one database user is the database administrator with username "dba" and password "dba". This can be changed using the Interactive SQL utility. When started without parameters, the ISQL tries to log on as dba with the default password. The SQL statement to change a user's password is:
set password <old password> <new password>
The password is an identifier, so take care to use proper quotation.
You can also use the graphical Virtuoso Administration Interface to administer Virtuoso database users.
The 2 WebDAV user accounts, dav and davuser also have their password set to their username. There are 2 easy ways to change them. Either use the GUI in Administration Interface under WebDAV Administration / WebDAV services / Users Administrator or use the SQL statement:
update WS.WS.SYS_DAV_USER set U_PASSWORD='<new password>'
where U_NAME='<username>'
Note quotation around varchar values. Please remember to perform these operations for all Virtuoso server instances installed. By default these are the Virtuoso with an empty database and Virtuoso [demo] with the demo database.
3.1.2. Post-Installation Sanity Check
Verify by ISQL
Verify usability of your Virtuoso server by executing the following command from your command line prompt:
isql
From the ISQL prompt enter the following SQL command:
select * from DB.DBA.SYS_USERS;
This should produce a resultset containing one record if everything has been implemented correctly to this point.
Figure 3.1. ISQL in Telnet

Verify by HTTP
A quick way to check that the database is running, is to point a browser to the http port. The following example URLs will show the System Manager for the default, and the demo Virtuoso databases:
http://example.com:8889/
http://example.com:8890/
http://a_virtuoso_server.org:8890/
On a Windows Client there is a shortcut to the OpenLink Virtuoso Conductor in the OpenLink Virtuoso program group.
You will be presented with the OpenLink Virtuoso Conductor screen:
Figure 3.2. Virtuoso Conductor

Verify by web based SQL query
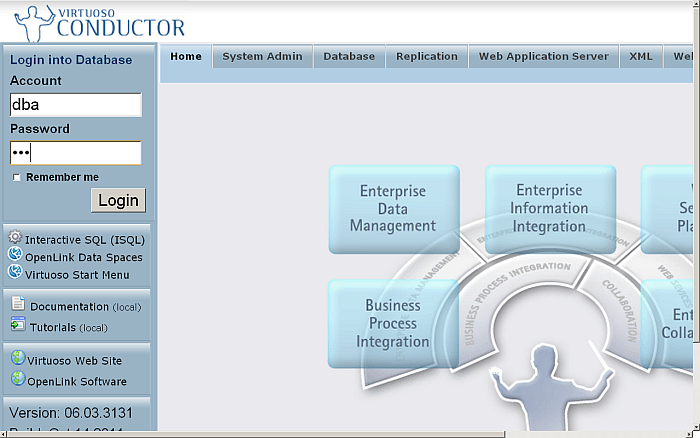
Click on the Conductor link to enter the Virtuoso Server Administration Conductor Interface. You will be presented with a login form, type in the correct details for the database DBA user, by default this is username=dba; password=dba.
Figure 3.3. Virtuoso Conductor - Login Form

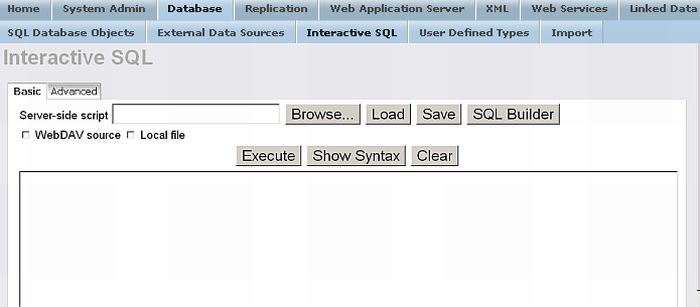
Got to tab "Database" and then go to tab "Interactive SQL".
Figure 3.4. Virtuoso Conductor - Interactive SQL

Enter the SQL Statement command "SELECT * FROM SYS_USERS" in the SQL Statement text area. Note that only valid SQL can be supplied, so you cannot type a database command such as "tables;". Also, note that the ";" is not valid in this context. Press Execute .
You should see the SQL results, as shown below.
Figure 3.5. Virtuoso Conductor - SQL Results

3.1.3. Administering Your Virtuoso Installation
Virtuoso has been designed for Web based Administration. With your Virtuoso server running you will be able to point a Web browser at the servers listening address and port. The installation will include the default server and optionally the demo database server. The default server listens on port 8890 whilst the demo server listens on port 8889. If you are using the machine where Virtuoso was installed then the server address can be localhost or the hostname otherwise you will need to know the hostname or IP address of the machine where Virtuoso was installed. The URL that you will want to point your browser may be:
http://example.com:8890/
Note that that trailing / is important and may be required for older browsers
Figure 3.6. Visual Server Administration Interface

The "Conductor" link will take you to the Visual Server Administration Interface. Information about Visual Server Administration Interface can be found in the Server Administration chapter , which describes all the Interfaces available for configuring your server.
